Saturday, November 24, 2018

Paper Plate Ghost – Paper Plate Crafts for Kids

Let’s make an adorable boo! This swirly paper plate ghost is fun to make and can easily double up as a Halloween decoration as it will swirl in the air!
We love paper plate crafts around here (I’m sure you already noticed)!
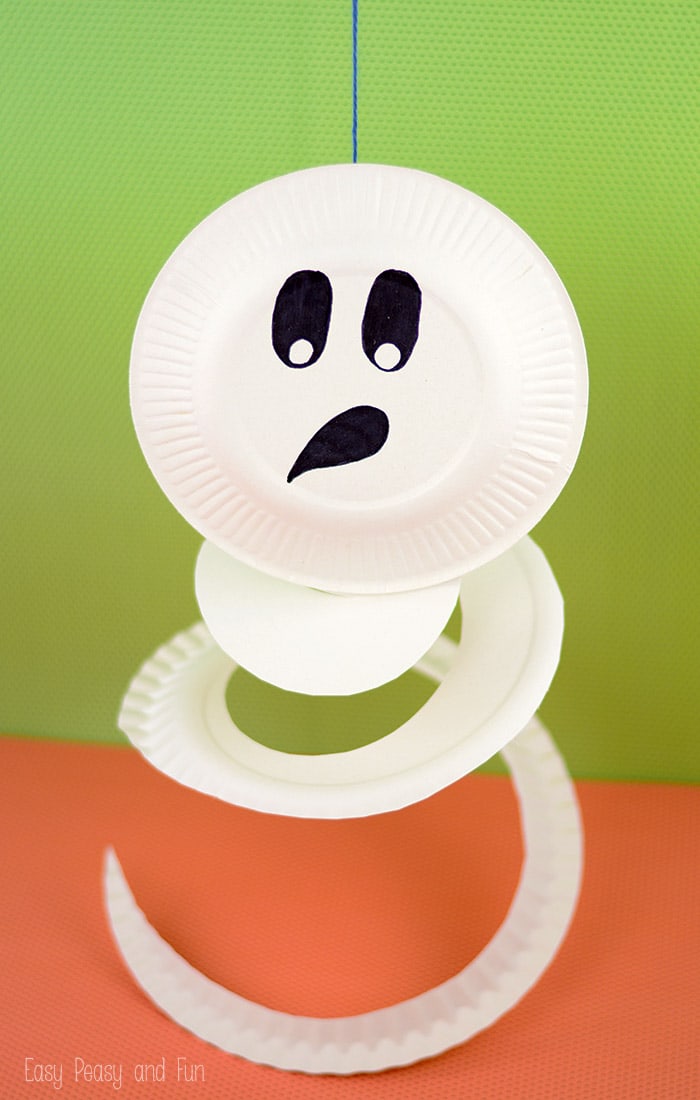
Paper Plate Ghost Craft

Paper Plate Ghost Craft

While I do think ghost crafts are cute I was dead afraid of ghost when I was a kid (thanks to the many absolutely scary ghost stores I was told by the older kids in the neighbourhood). Think it was until I saw the movie Casper and “realized” ghost can be nice too that anything ghost related would make me look like, well a ghost.
What you need;
  • 1 small and 1 big paper plate (or 2 larger ones and you trim one down)
  • scissors
  • glue
  • black marker
  • thread
Take the larger paper plate and start cutting it with scissors in a spiral manner towards the middle.
Draw spooky expression on the smaller paper plate and glue it onto the center point of the now swirly cut larger paper plate.
Attach a thread on the ghost’s head and watch it swirl!
More Fun Paper Plate Crafts 
There’s another fun Halloween themed paper plate craft your kids can do – why not make a paper plate black cat! Or a paper plate crocodile as this little fellow can easily double up as a scary Halloween monster!
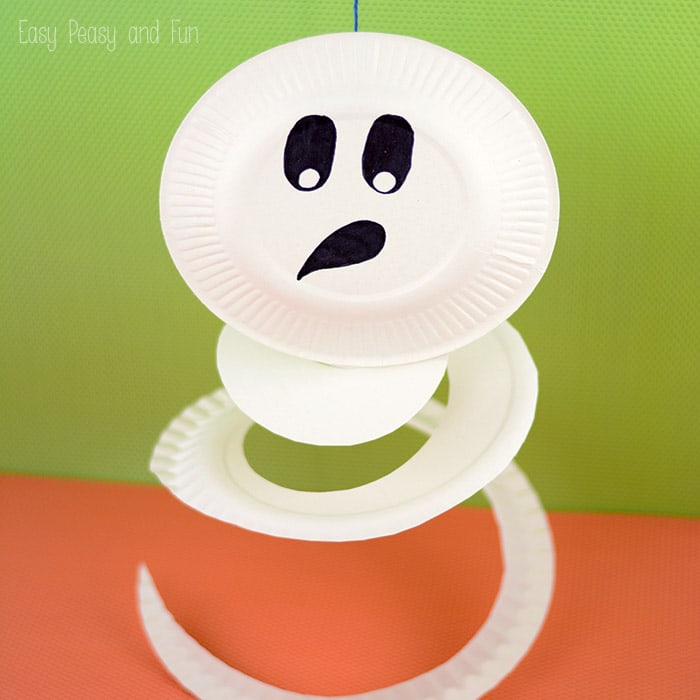
Ghost Paper Plate Craft

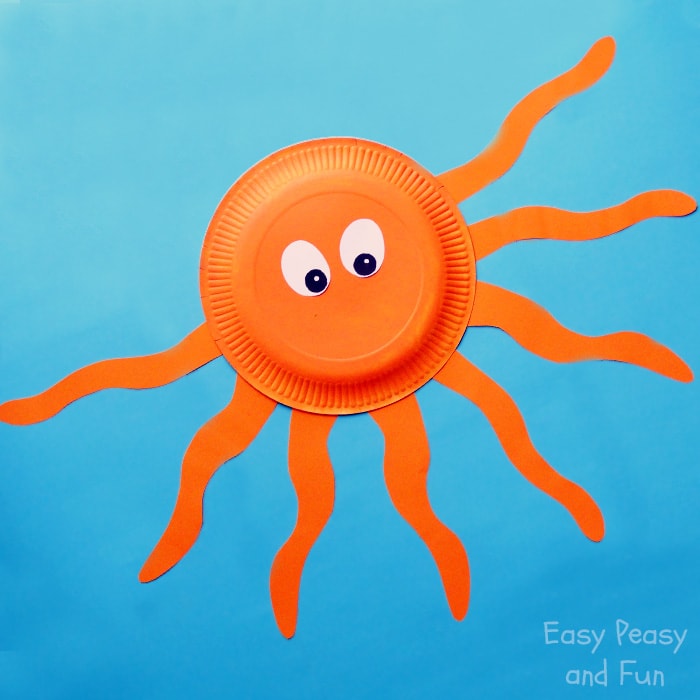
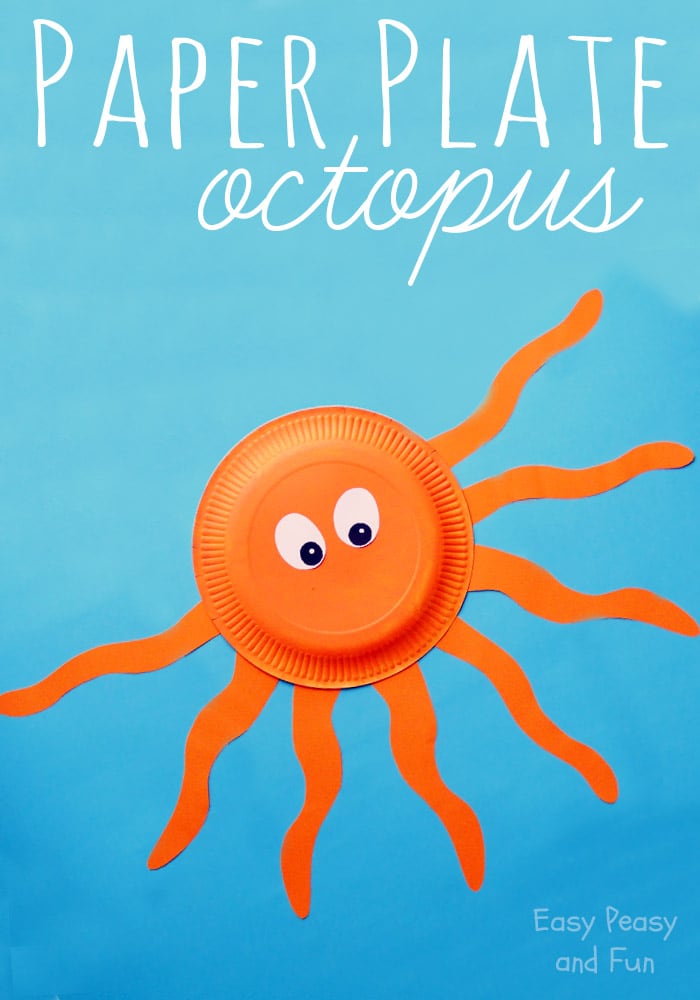
Octopus Paper Plate Craft

Octopuses are one of the most intelligent creatures in the ocean and they look kind of awesome – so why not make a octopus paper plate craft!
Paper plate crafts are great for all ages – you can make super simple crafts with preschoolers and more detailed projects with older kids!
Paper Plate Crafts - Octopus

Let’s make a paper plate octopus!

You will need
  • paper plate (plain white one or per-colored one)
  • orange color
  • orange sheet of paper (or plain white paper and have the kids color it)
  • white paper
  • scissors
  • glue
  • pen, black marker
Start by coloring the paper plate. While the color dries we’ll be making tentacles and eyes! Fold the orange sheet of paper to half – fold that half to half again (I think the technical term for this is double fold). Now draw two tentacles on the paper and cut them – this giving you 8 tentacles!
Cut two ellipses for eyes and draw the eyes with black marker.
When the color on the paper plate has dried flip it and start glueing the tentacles. You can go all around (but this way this octopus paper plate craft might easily be mistaken for a sun craft) or just have the tentacles on one half like we do.
Now all that is left to do is to glue on the eyes (you could just as easily just draw them directly on paper plate).
You can also add suckers to the tentacles – draw them, use bubble wrap, buttons, glitter glue, paper circles…
Paper Plate Octopus - Paper Plate Crafts

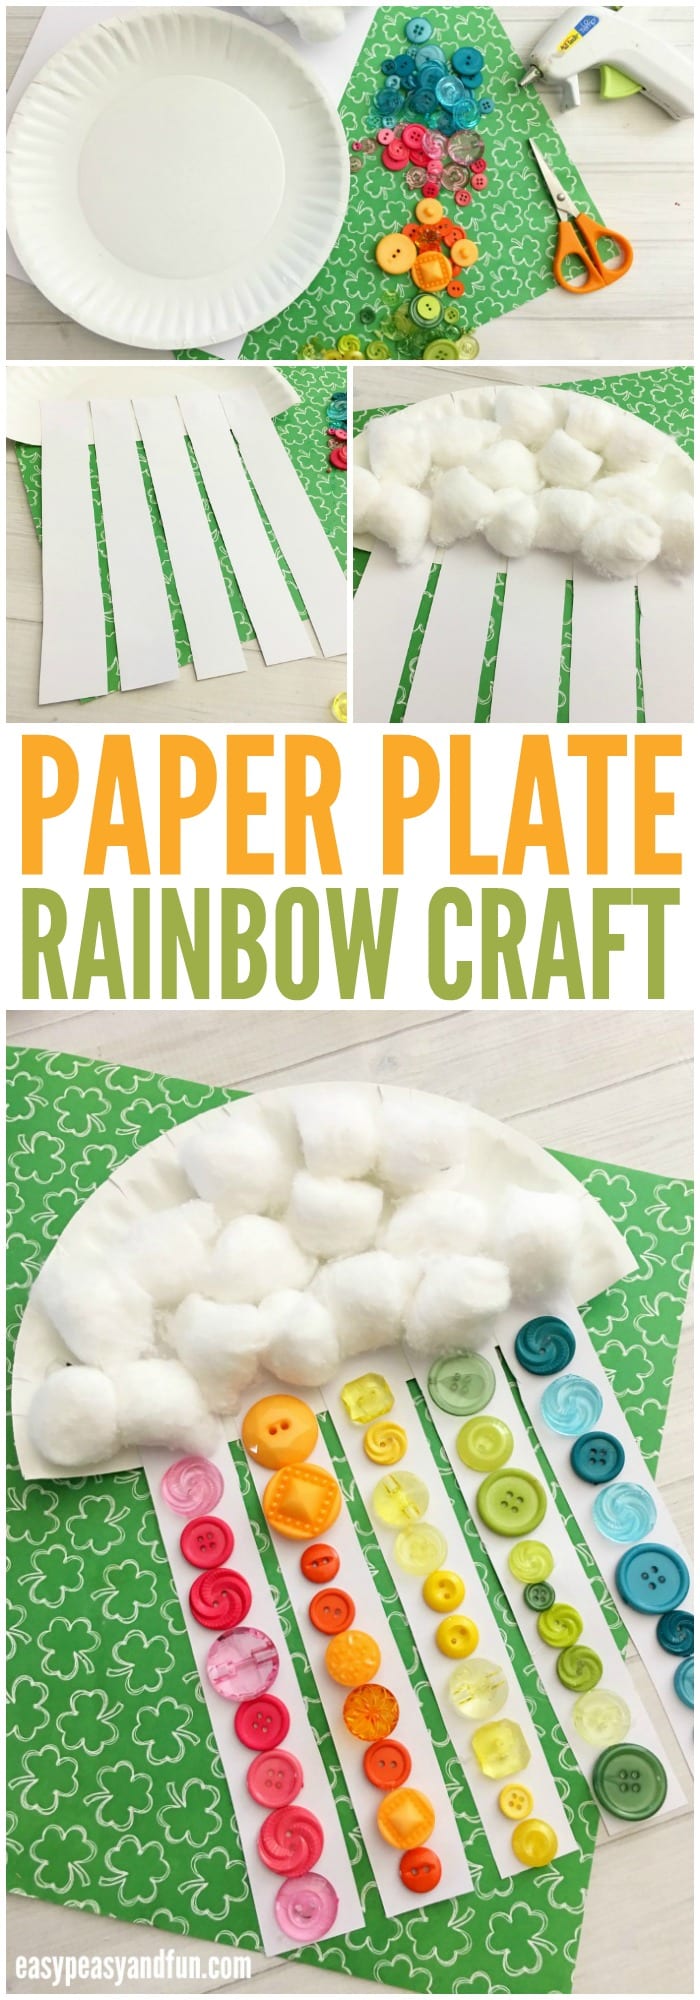
Paper Plate Rainbow Craft

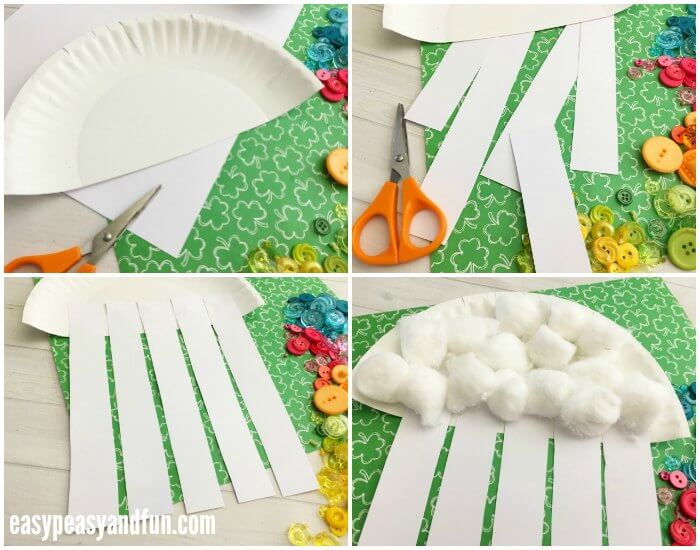
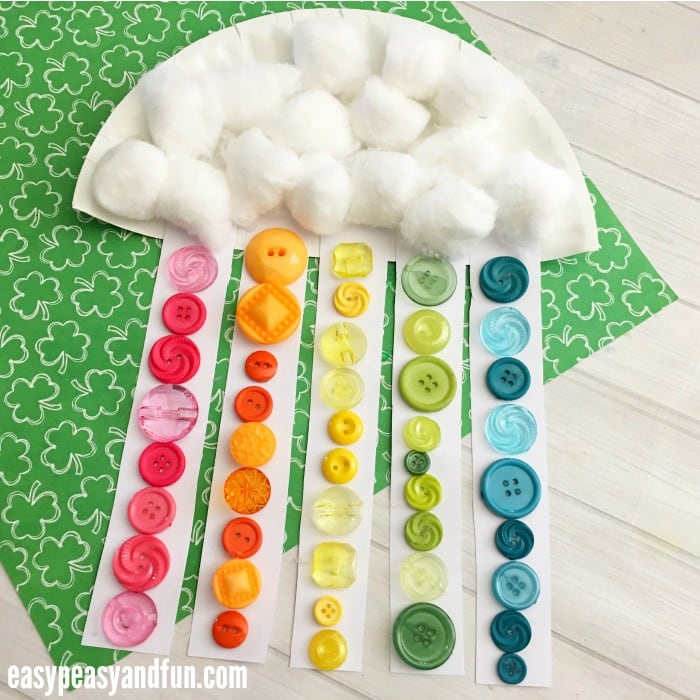
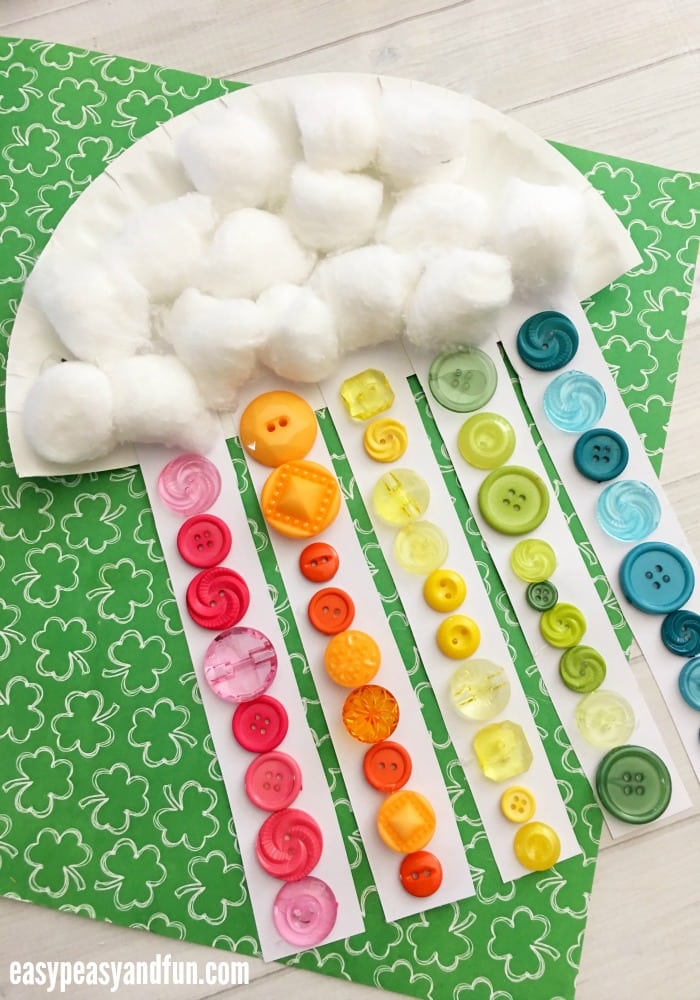
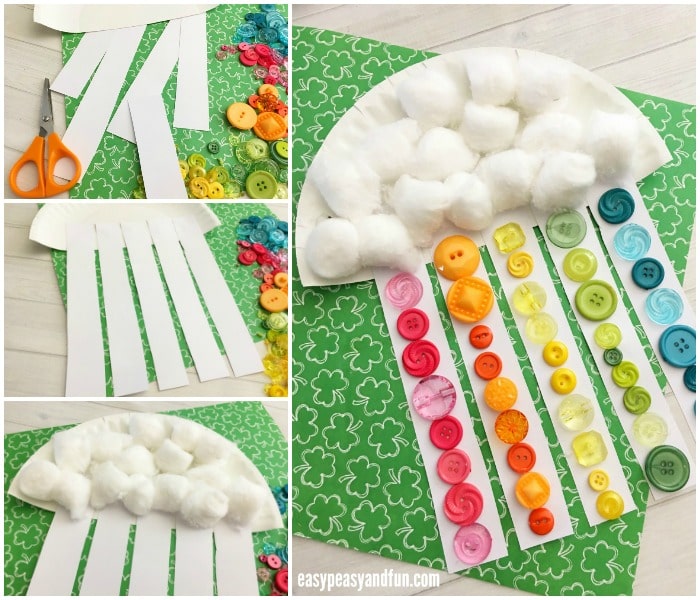
t’s time to bring some color in your home and what better way to do it than to make a paper plate rainbow craft. Such a great craft to use up the left over buttons (or the craft ones you can get at dollar stores). This wonderful craft is great both for St. Patrick day or as a spring craft (well and for rainbow lowers in general).
Adorable Paper Plate Rainbow Craft for Kids
##Paper Plate Rainbow Craft
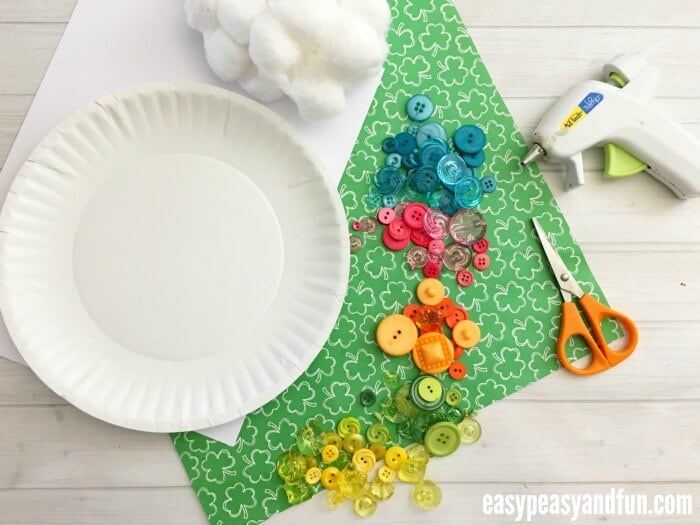
What you need
  • Paper plate
  • Cotton balls
  • White card stock
  • Pink, orange, yellow, green, and blue buttons (can aslo use ripped paper, pom poms or just colorful paper)
  • Scissors
  • Hot glue/hot glue gun
Cut your paper plate in half.  Cut 5 – 1″x8.5″ strips from you white card stock and glue one side to the bottom front of your paper plate. Carefully hot glue enough cotton balls to the front of your paper plate to fill it up.
Sort your buttons and carefully glue all pink to the 1st strip of paper, all orange to the 2nd, all yellow to the 3rd, all green to the 4th, and all blue to the 5th.
You can also add some string on the back of the paper plate and hang this Paper Plate Rainbow Craft. It will twist and twirl in all it’s glory.
Paper Plate Rainbow Craft for Kids
Paper Plate Rainbow Craft
Lovely Paper Plate Rainbow Craft

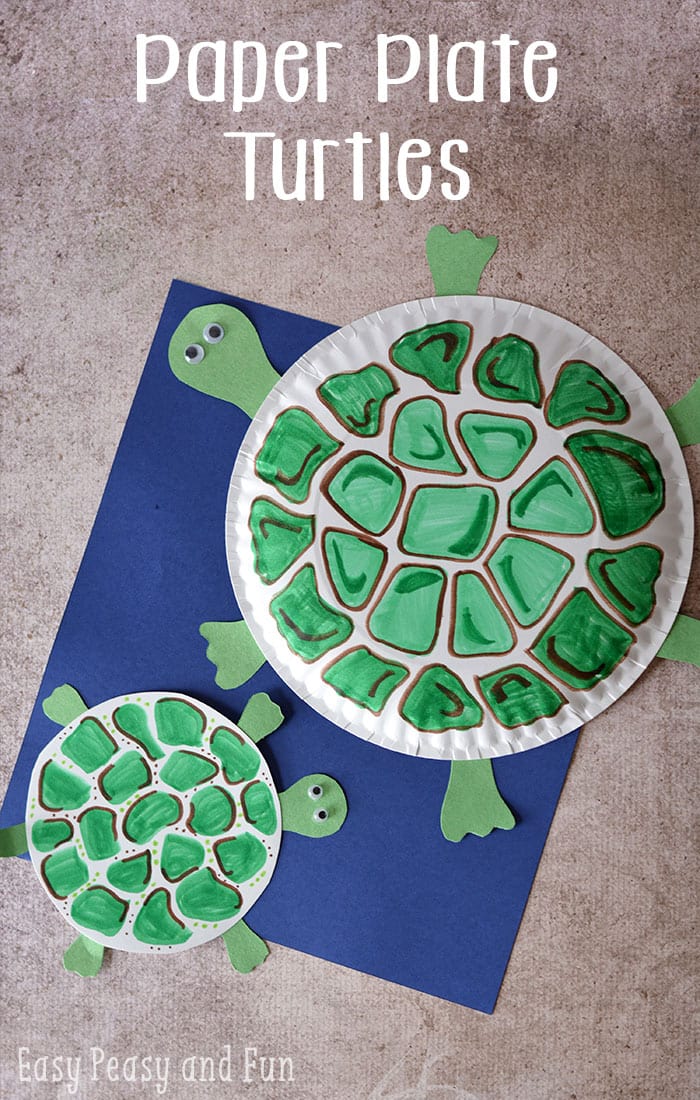
Paper Plate Turtle Craft

We’ve got a turtle craft to share with you today as we’re making a paper plate turtle (don’t paper plates just scream to be crafted into this lovely animal).
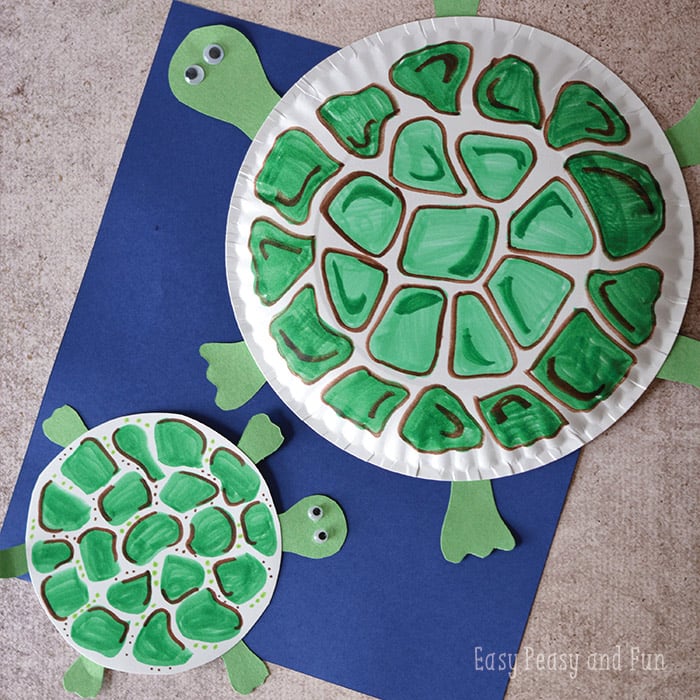
Paper Plate Turtle Craft
This parent and child turtle craft is pretty sweat isn’t it?

Easy Paper Plate Turtle Craft

What you need:
  • paper plates
  • scissors
  • markers
  • green paper
  • googly eyes
  • glue
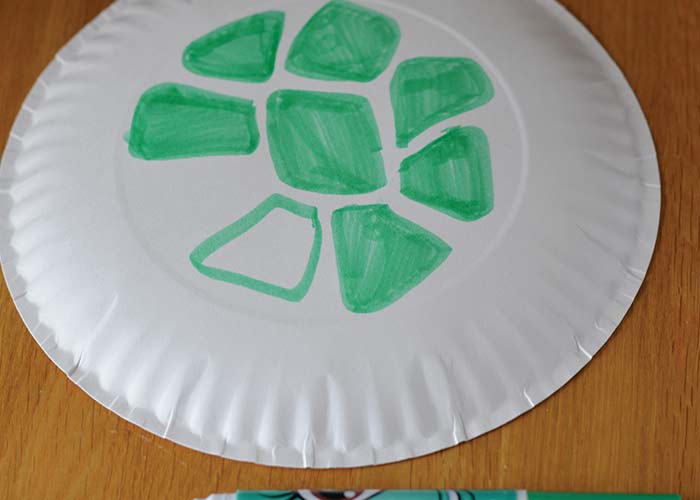
To make the large parent turtle, use a regular, full size paper plate. To make a smaller turtle, cut the center out of a regular size paper plate. Use the center, smaller circle for your child turtle.
Making the shell
Decorate the turtle shell with marker, no need to stick to one color only here.
Cut out a head, four legs and a tail with scissors and green construction paper. Glue them onto the underside of the shell.
Add googly eyes to the head.
More Paper Plate Crafts for Kids
As the most fun way to craft with paper plates is just to give the kids some paints, scissors, glue (and lovely decorations) and paper plates of course and let them be creative. To spark your imagination here is a few creative ideas we did;
Paper Plate Crafts for Kids - Turtle

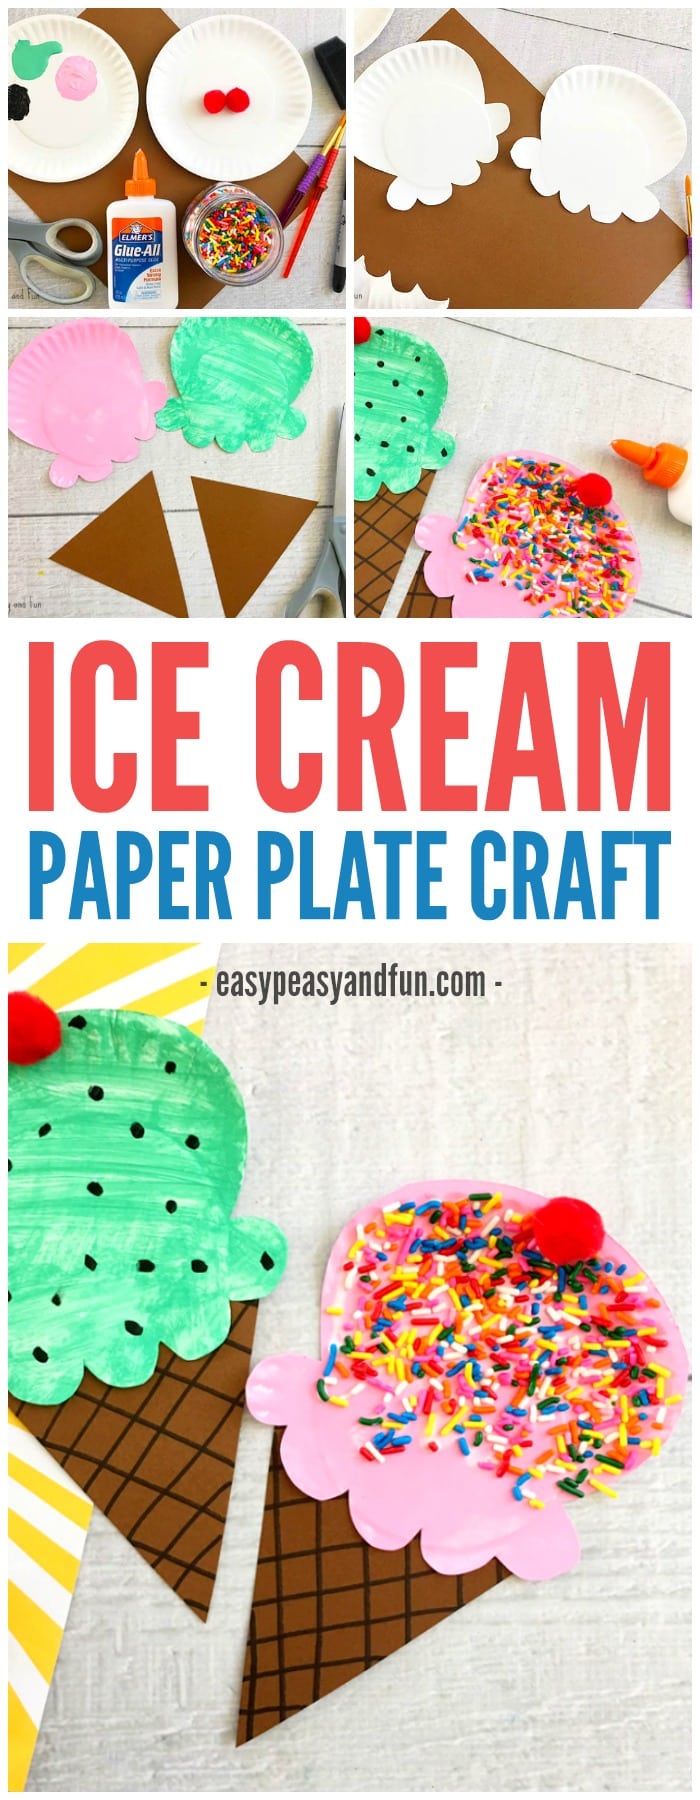
Paper Plate Ice Cream Craft – Summer Craft Idea for Kids

Summer and ice cream go hand in hand and while this paper plate ice cream craft won’t exactly cool you, it still is super fun to make.
These are fun to craft, they can be used as a party decoration or even as pretend play ice cream cones.
Fun Paper Plate Ice Cream Craft for Kids
*this post contains affiliate links*
I haven’t yet met a person who wouldn’t love ice cream. There are so many flavours and kinds to choose from these days, that I am 100% sure each and everyone can find just their flavour.
We’re not serving real ones today though, we have a fun summer craft for kids to share with you today, and this one really can be a very open ended one. Especially with young kids as they can have some super silly answers when you ask them what their favourite flavor is, ranging from your every day fruity flavours to poo flavored ice cream.
We are sharing two simple ideas on how to make and decorate an ice cream craft but we are sure your kids will get super creative when it comes to making their own ice cream.

How to Make a Paper Plate Ice Cream Craft

What you need
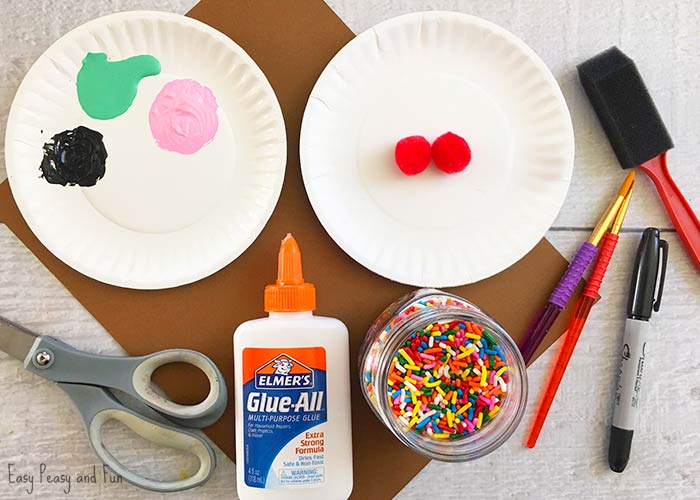
  • paper plates
  • brown card stock
  • pink, mint and black paint
  • red pom pom balls
  • sprinkles
  • black markers
  • scissors
  • glue
  • brushes

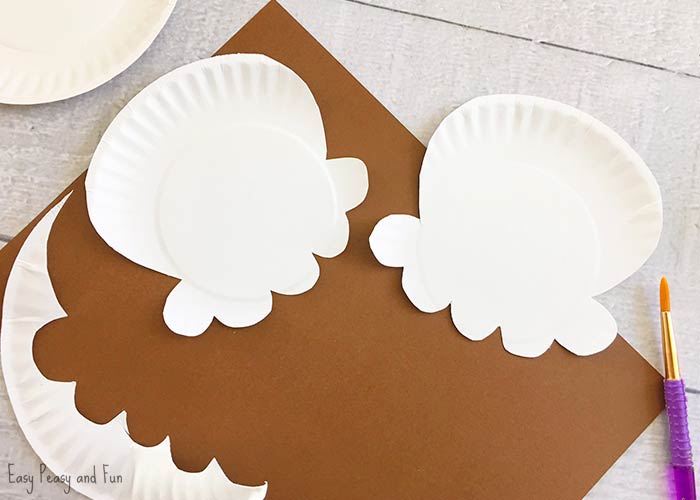
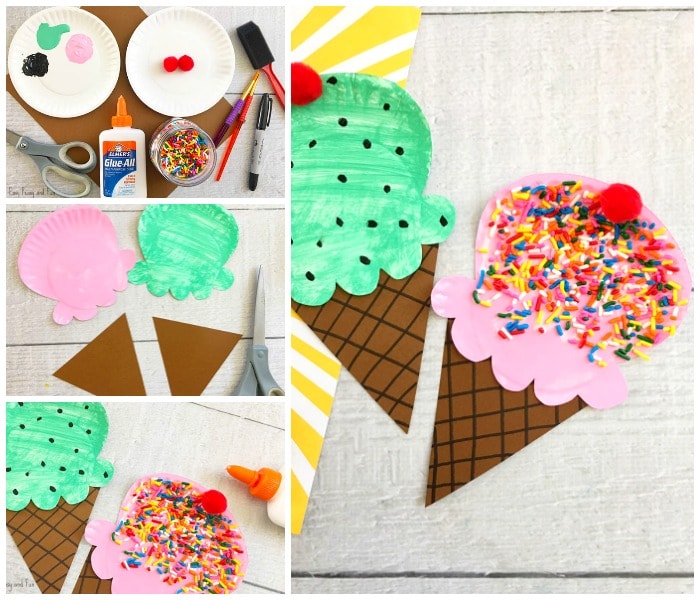
Draw an ice cream scoop onto your paper plates with a rounded circle top, a scalloped bottom with the sides slightly bigger than the top circle and cut out with scissors.


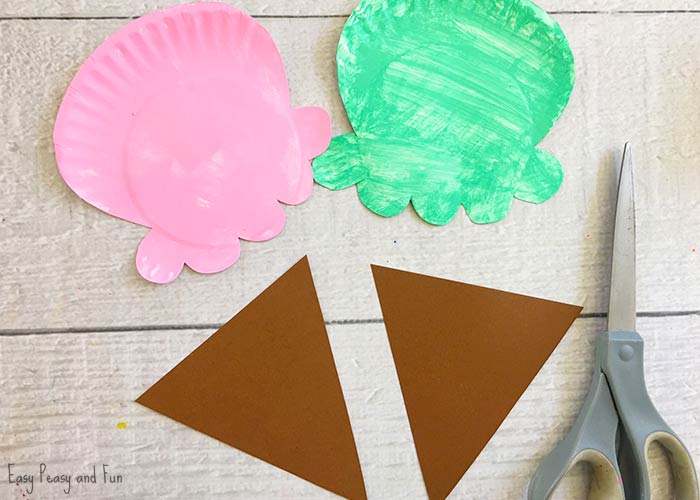
Paint one scoop pink and one mint green and let dry.

Cut out two triangle shapes from your brown paper with the top being about 4-5″ wide.

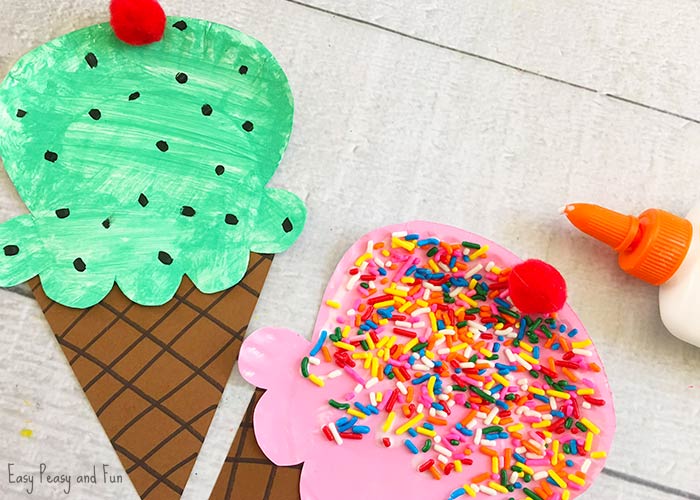
Draw a criss cross pattern onto your brown triangle cones with your black marker. Glue your ice cream scoops onto the top of your cones.
Use a small paint brush to paint on small black dots onto your mint green scoop to look like chocolate chips.
Apply glue onto the pink scoop and top with sprinkles (do not eat).
Then glue one red pom-pom ball onto the top of each ice cream scoop and let your cones dry.

Cute Paper Plate Ice Cream Craft
Paper Plate Ice Cream Craft for Kids to Make

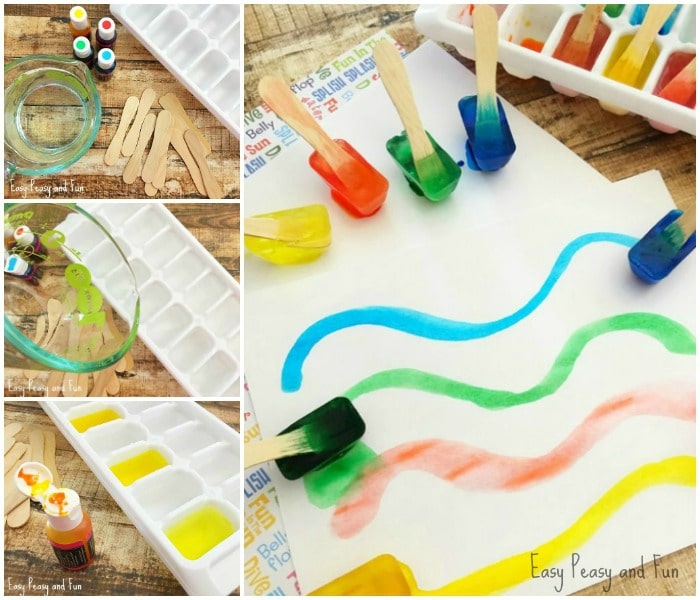
Painting With Ice – Make Your own Ice Paint

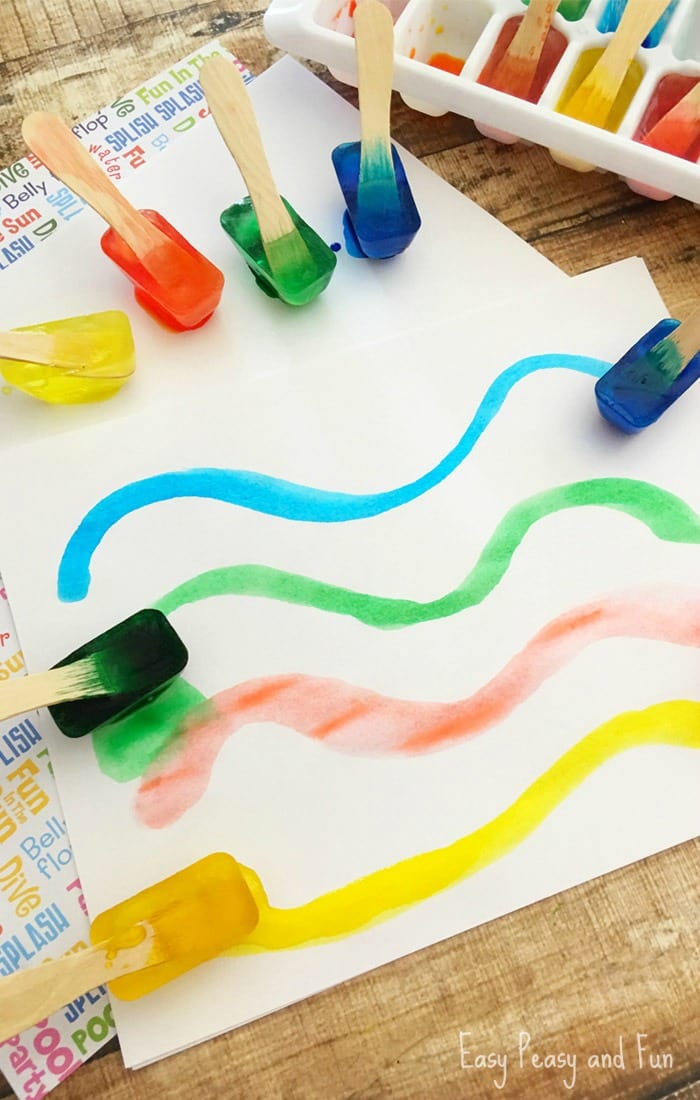
If you’re looking for a fun summer activity that will cool your kids you have to try painting with ice! Make a batch of ice paints for your kids and let them get super creative while keeping cool at the same time.
Ice Paint for Kids - Painting With Ice

Painting With Ice – Make your own ice paint

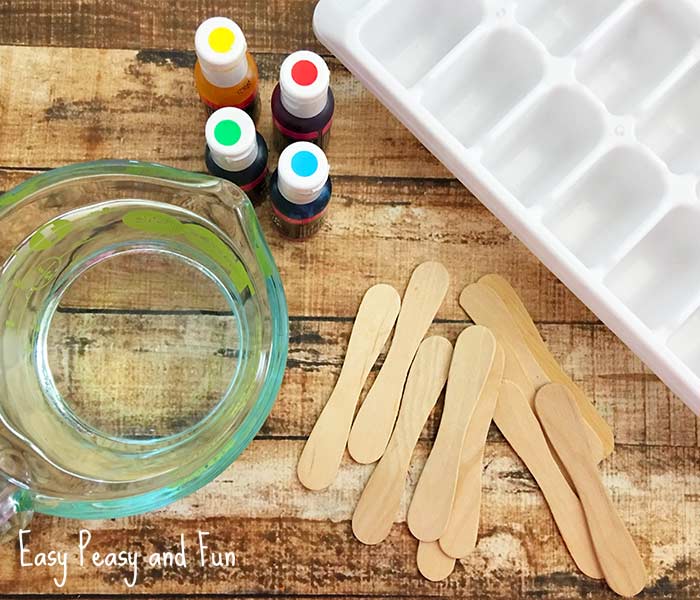
What you need
  • 1 cup of water
  • Red, yellow, green, and blue food coloring
  • Short Popsicle sticks
  • Ice cube tray
step1 (1)

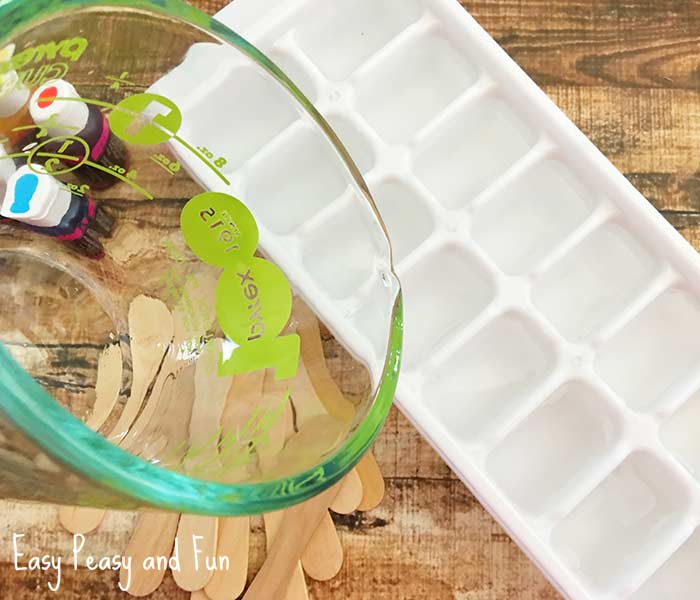
1. Pour your water into your ice cube tray evenly

step2 (1)
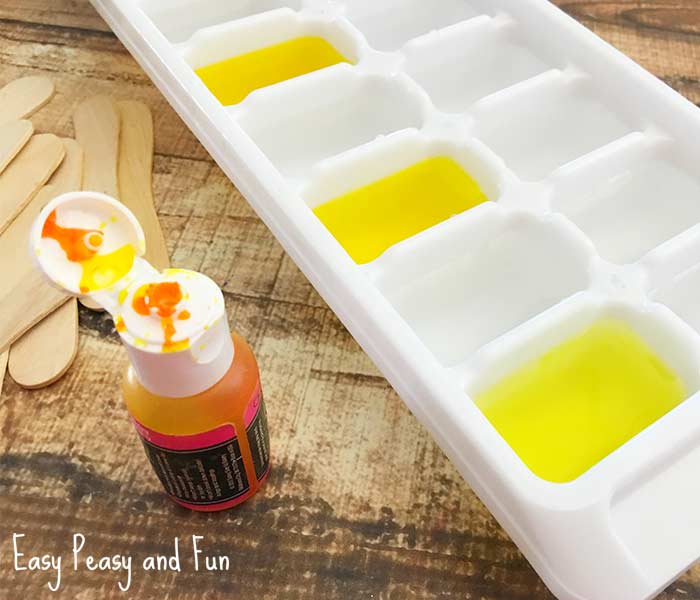
2. Add just a tiny drop of red food coloring to four different cubes and mix well
3. Add just a tiny drop of yellow food coloring to four different cubes in mix well
4. And just a tiny drop of blue food coloring to four different cubes and mix well
5. Then add a tiny drop of green food coloring to four cubes and mix well
6. Place a short popsicle stick into beach ice cube mold

step3 (1)
7. Freeze for about 4 to 6 hours or overnight
8. Pull on the sticks to remove from the tray
9. Lay old newspaper down on the table before you paint, as food coloring will stain
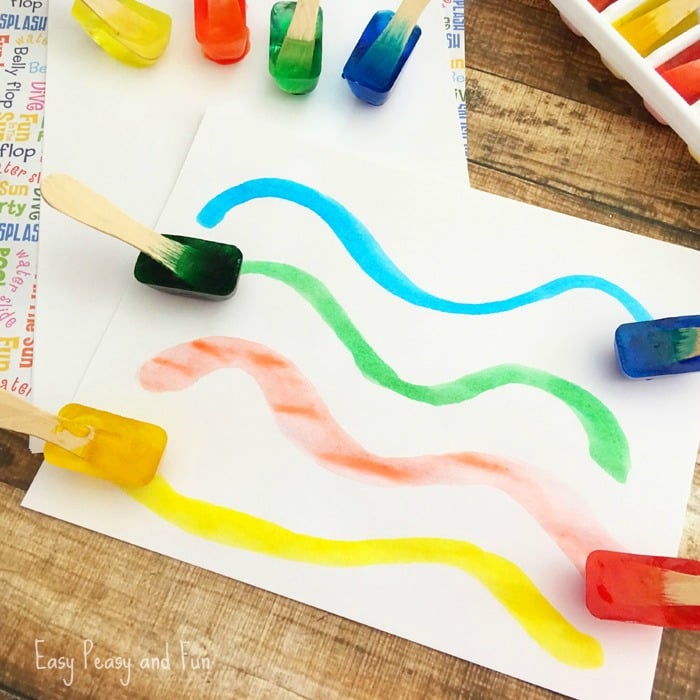
10. Hold the wooden sticks to paint with

And the fun can begin! These run supper smoothly on the paper and the colors are great (kind of water colory). This ice painting activity will be a hit over the summer (perfect if you’re throwing a summer party).

Ice Painting - Fun Summer Activity for Kids

Salt Dough Handprints Candle Holder Keepsakes

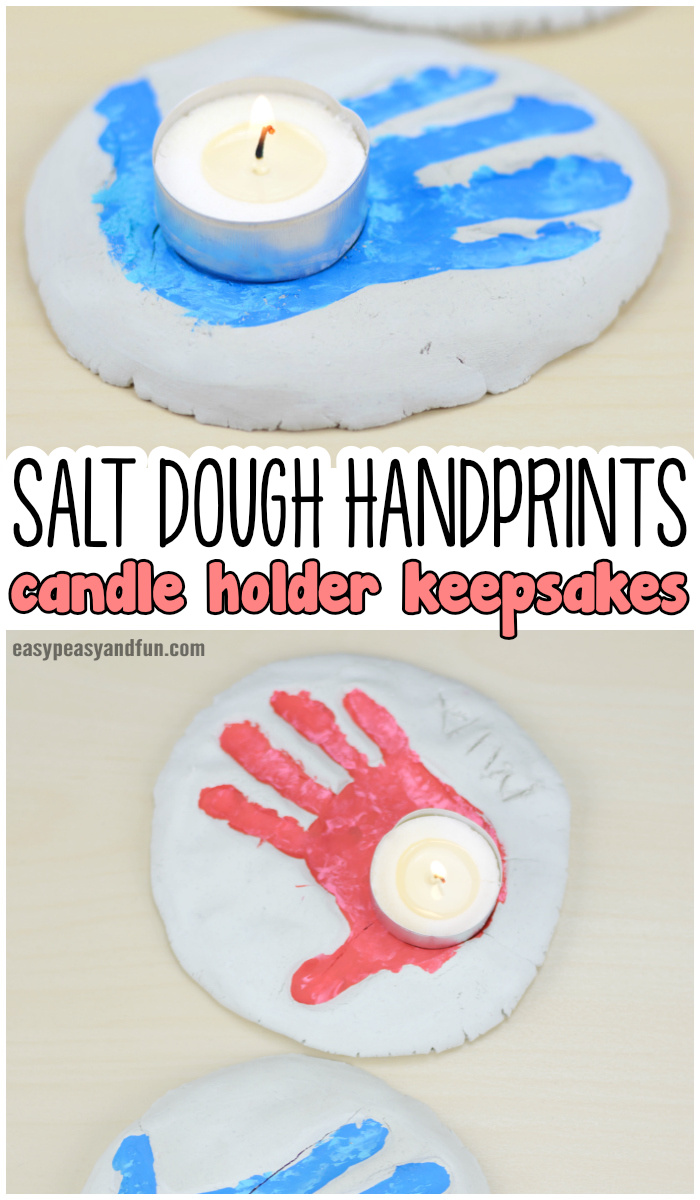
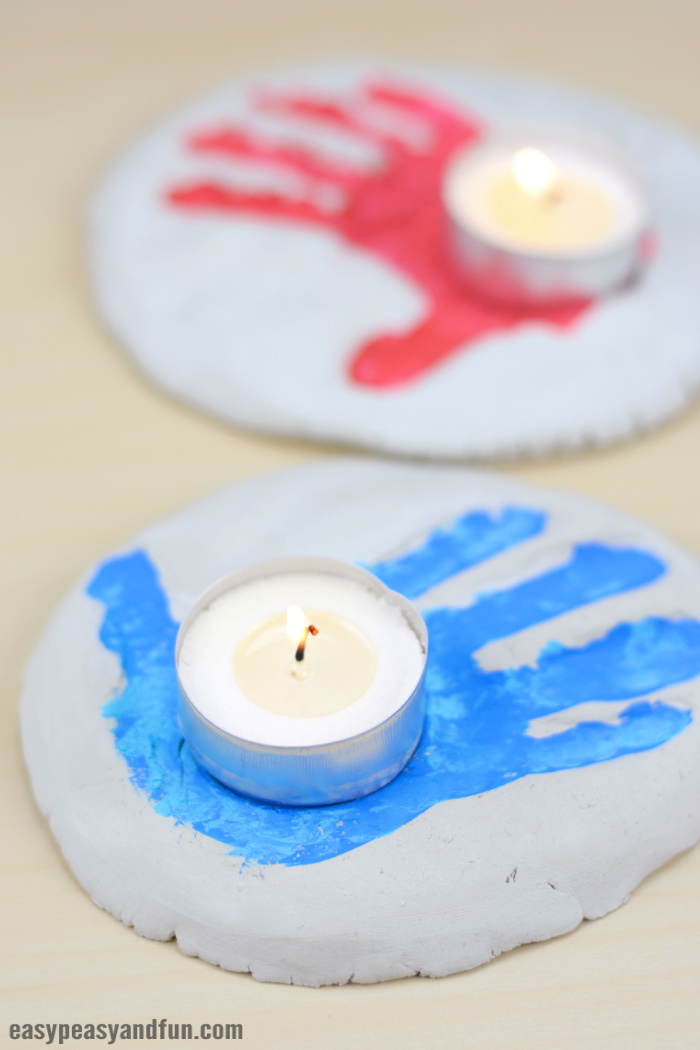
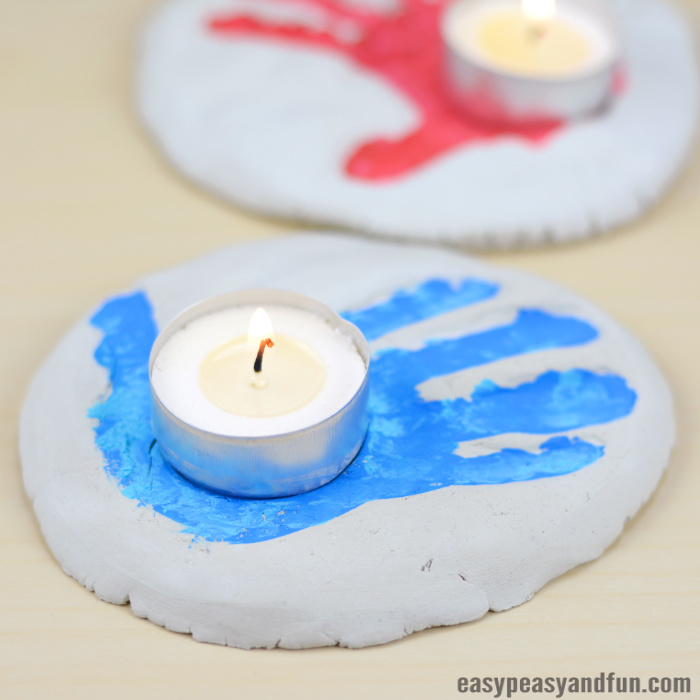
These Salt Dough Handprints Candle Holder Keepsakes will make the most adorable (and useful) kid made Mother’s day gift or a Christmas gift too. Well seeing as they are adorable, personal and insanely easy to make, they will make a wonderful kid made gift for any ocassion.
You can use salt dough to make them, which is really frugal for a classroom made gift, or use air dry clay if you are making these salt dough handprints at home.
Salt Dough Handprints Candle Holder Keepsakes Craft Idea for Kids to Make
*this post contains affiliate links*
These keepsakes not only make a wonderful kid made gift, they are actually an useful one, so what’s not to love about that!
If you are a teacher and are looking for a wonderful project to do with your classroom for Mother’s day (preschool, kindergarten is perfect) this one is certainly a nice fit, and if you use salt dough (which we certainly recommend as it’s cost effective). If you are making this at home, salt dough is certainly an option but you might want to give air dry clay a try to as it’s even quicker – so a no prep activity.
Salt Dough Handprints Candle Holder Keepsakes Craft Idea
Salt dough is really easy to make, we will share a quick recipe in this tutorial, however if you want a more information and tips and tricks to make the very best salt dough ever, check our in depth “how to make salt dough recipe” guide with tips and tricks.

How to Make Salt Dough Handprints Candle Holder Keepsakes

<div id=”xte7jj7unaikdfaanqdz” data-sticky=”1″ data-autoplay=”1″ data-volume=”70″ data-ratio=”16:9″></div>
<script type=”text/javascript” src=”//video.mediavine.com/videos/xte7jj7unaikdfaanqdz.js” async data-noptimize></script>

What you need:
  • salt dough or air dry clay
  • craft paints
  • paint brush
  • tea candles (you can also get electronic ones) – these are really frugal, you can grab a whole bunch in the dollar store.
Optional: gemstones or other embellishments

Step by Step Tutorial

If making salt dough, start by making a batch. Skip this part if you are using air dry clay.
To make your salt dough you will need the following ingredients:
  • flour (1 cup)
  • salt (1/2 cup)
  • water – lukewarm (1/4 to 1/2 cup – start with 1/4 and add more if needed)
  • bowl
  • parchment paper
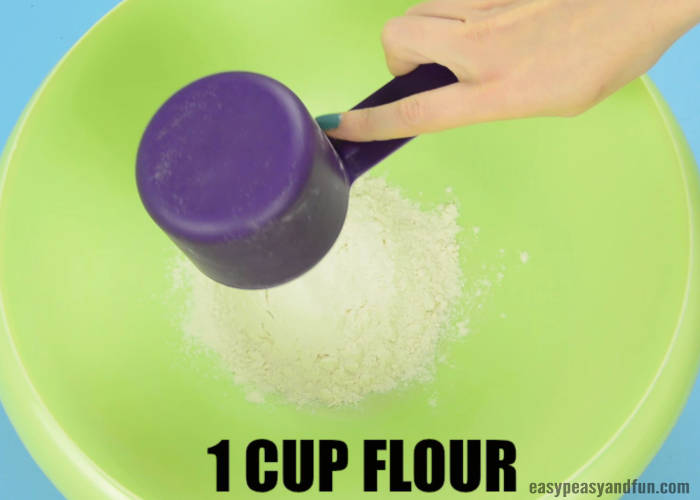
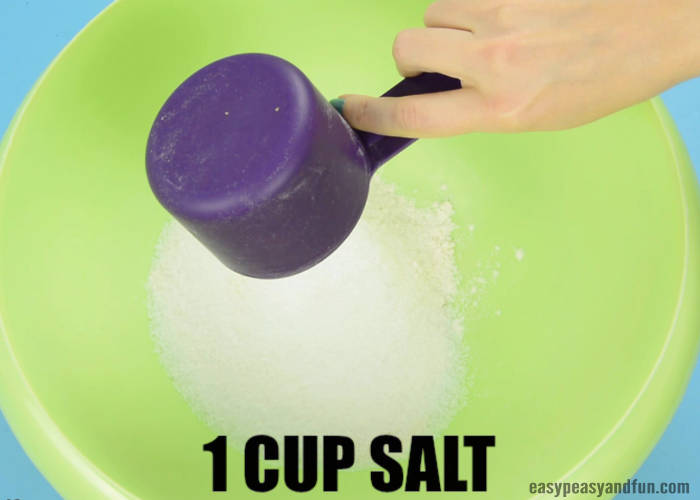
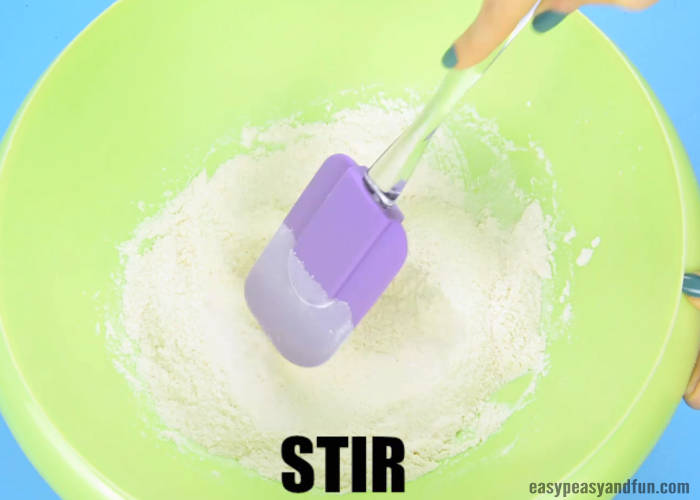
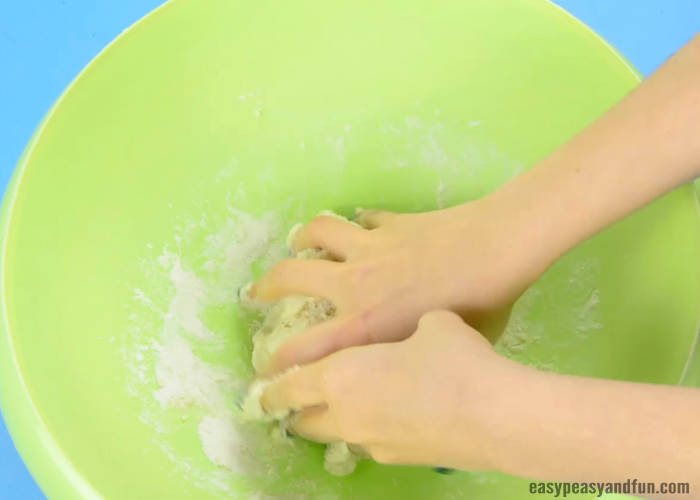
Start by mixing flour and salt in a larger bowl.
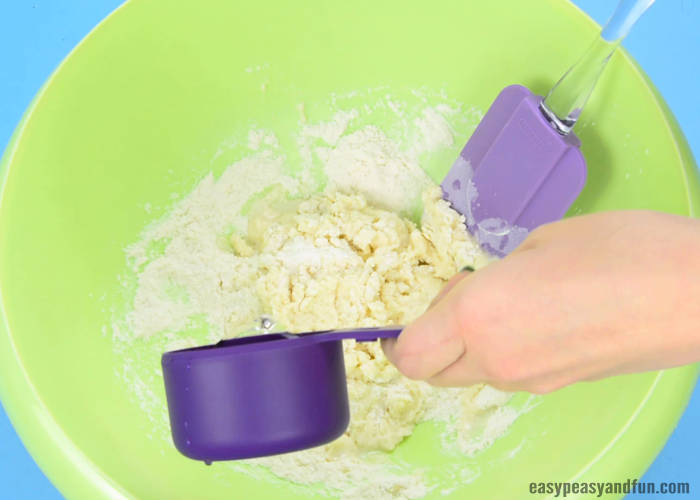
Next slowly add water, mix or knead as you are adding water.
Knead the dough for roughly 10 minutes – it has to have an even consistency. It shouldn’t be sticky!
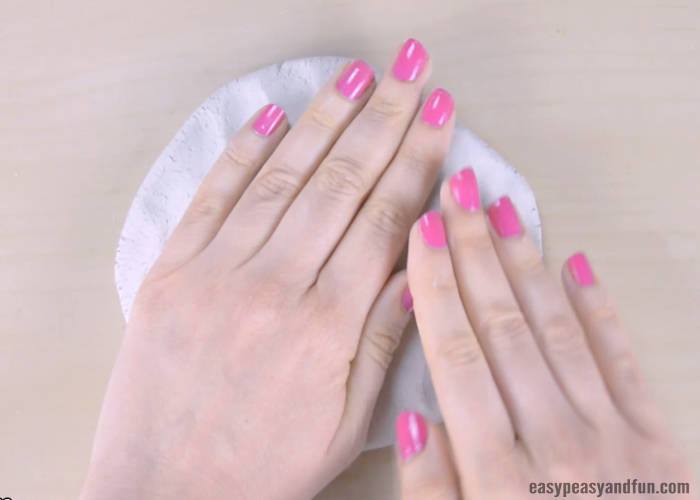
Now that you have your dough or air dry clay – shape it with your fingers. The shape has to be large enough to accommodate a child’s hand.
Press the hand on the dough or air dry clay firmly, to leave a handprint.
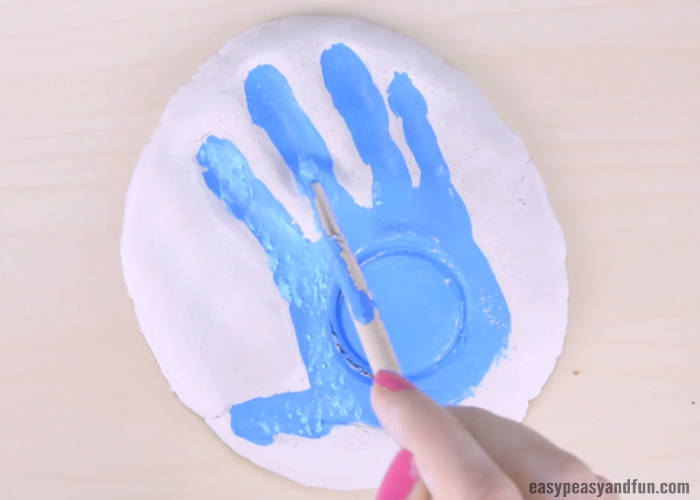
Depending on the age of children and type of candle this step might not be done by them independently. Press down the candle in the dough / clay in the center of the palm. Wiggle it around a bit, as the dough will shrink as it dries so the candle holder hole will shrink a bit.
Bake the dough or let it air dry.
Once dry, let the kids paint their handprints. Let the paint dry.
Place the candle on it’s designated spot (you can even secure it with some glue).
Salt Dough Handprints Candle Holder Keepsakes
All done! Your kids have made salt dough handprints candle holder keepsakes.

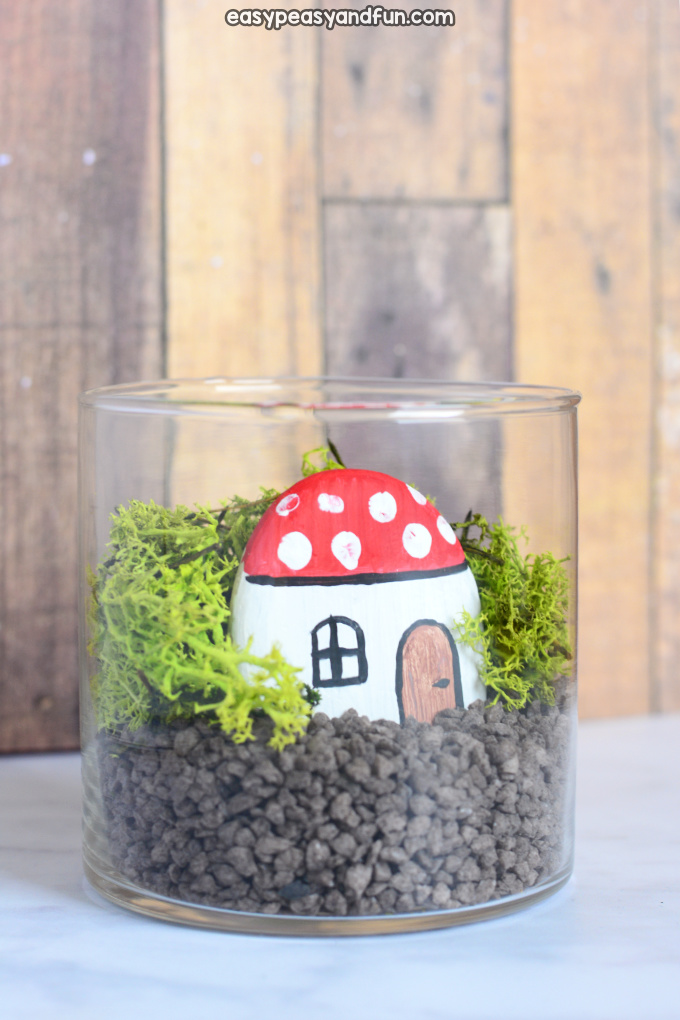
Fairy Garden in a Jar by  Andreja   1 Comment If you are one of those people (as are we) that loves anything that has to do with fai...