Saturday, November 24, 2018

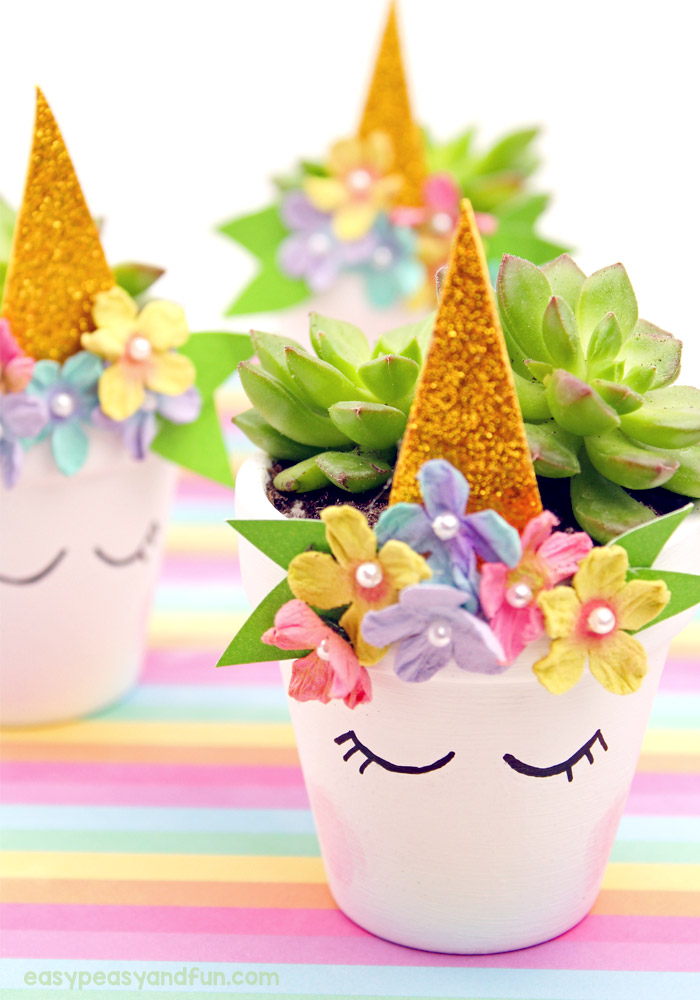
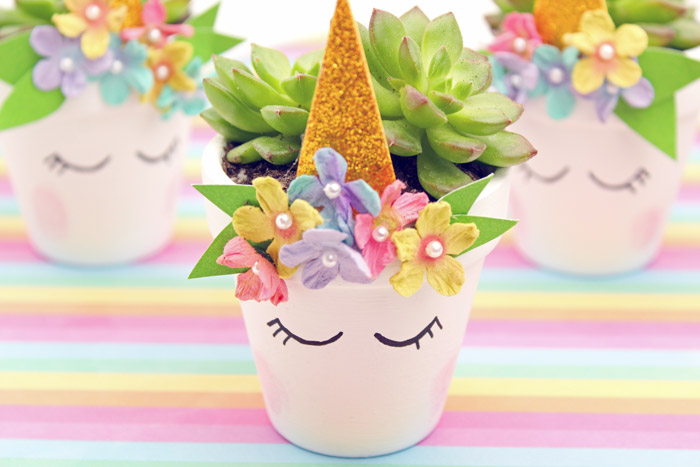
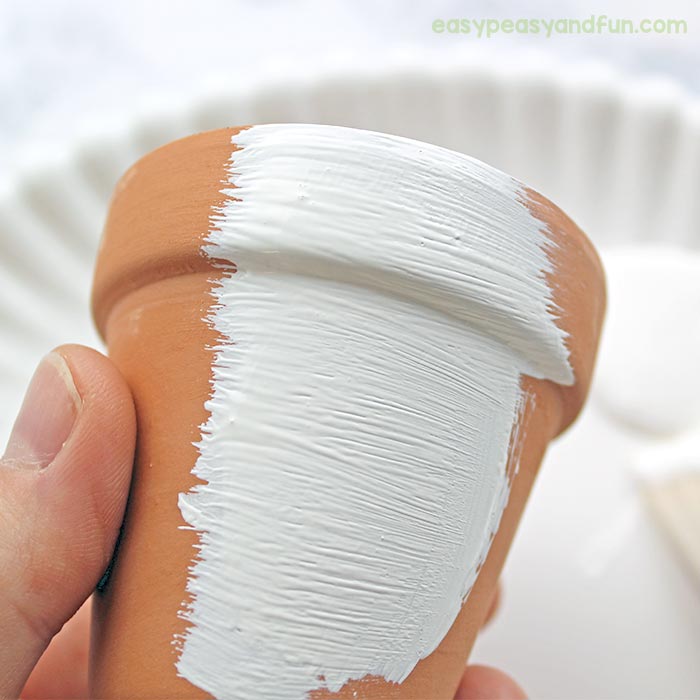
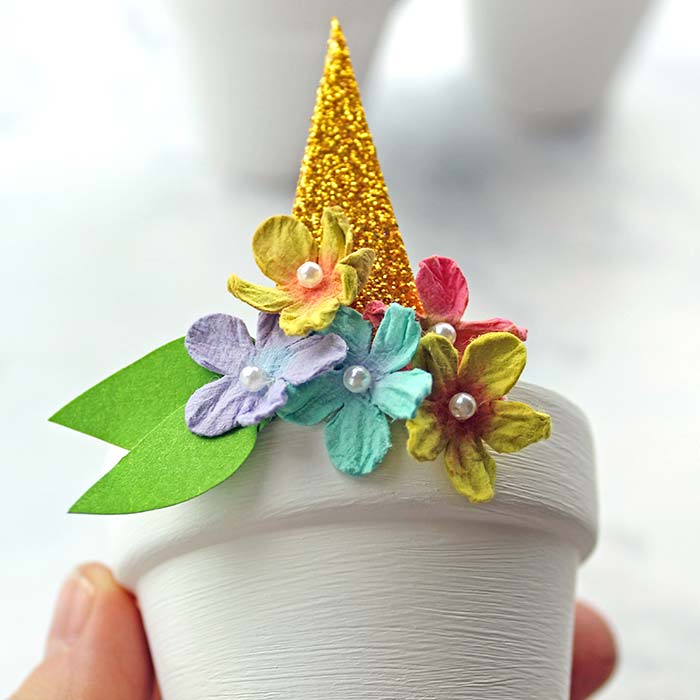
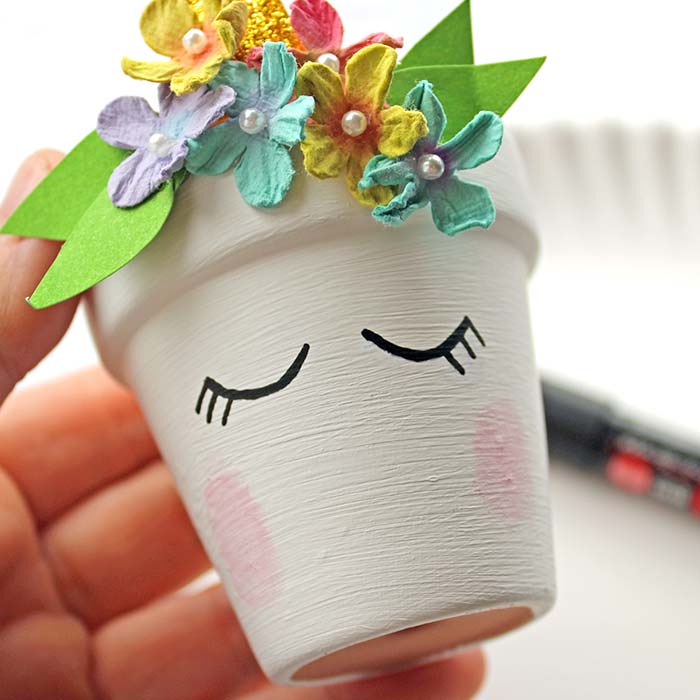
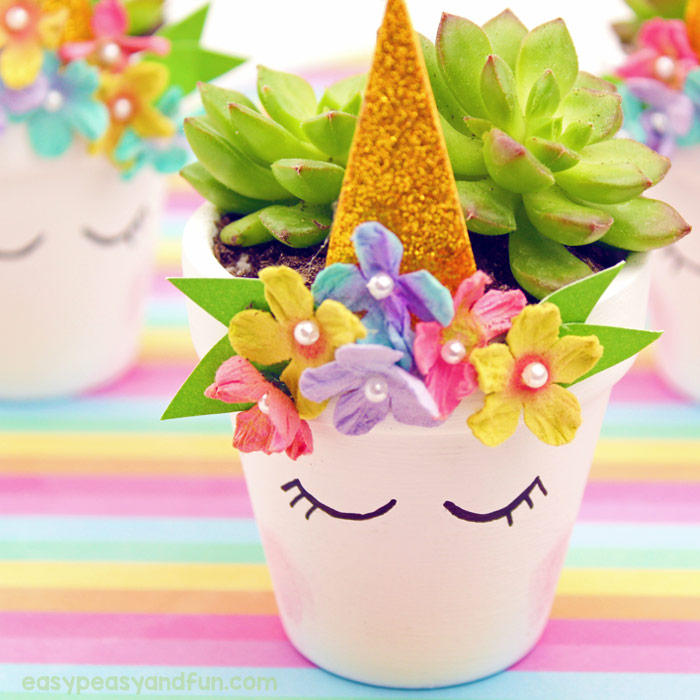
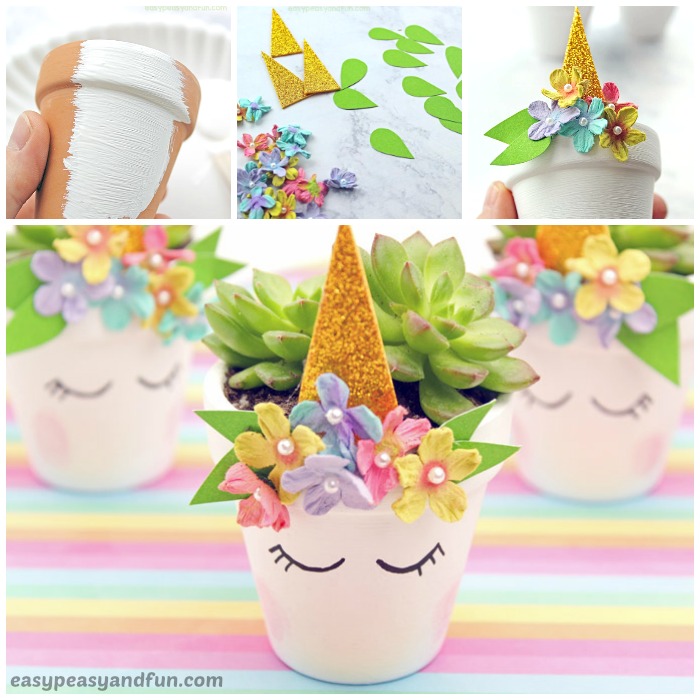
Unicorn Planter – Magical DIY Succulent Plant Pot Idea

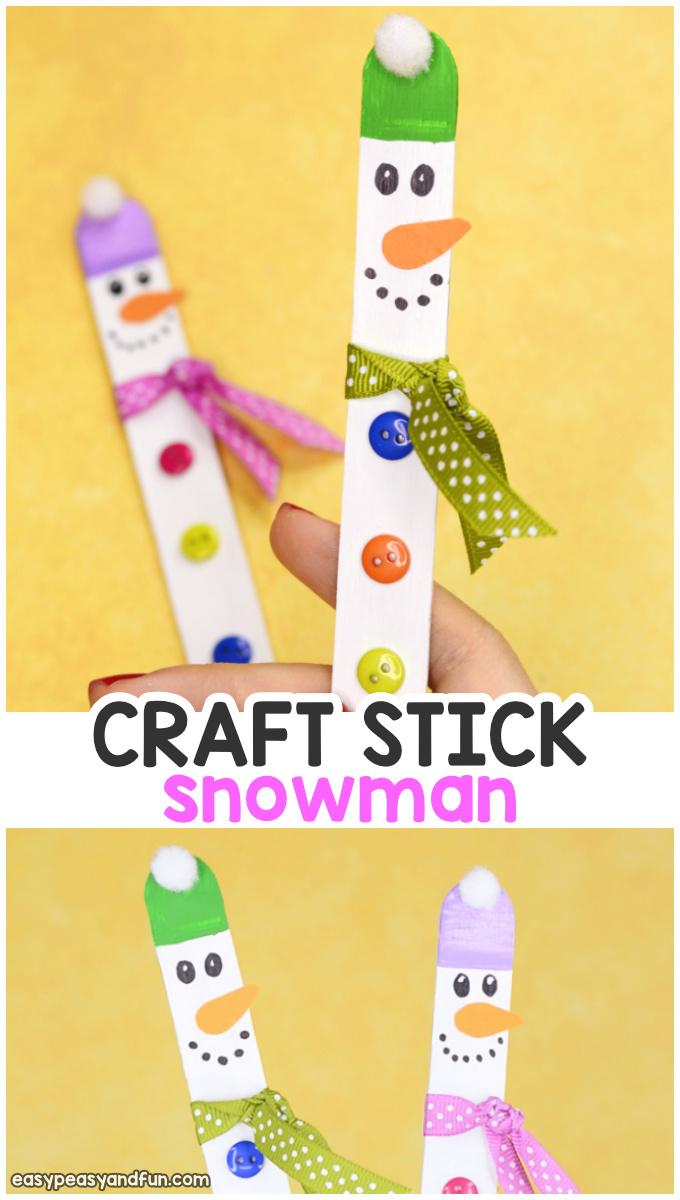
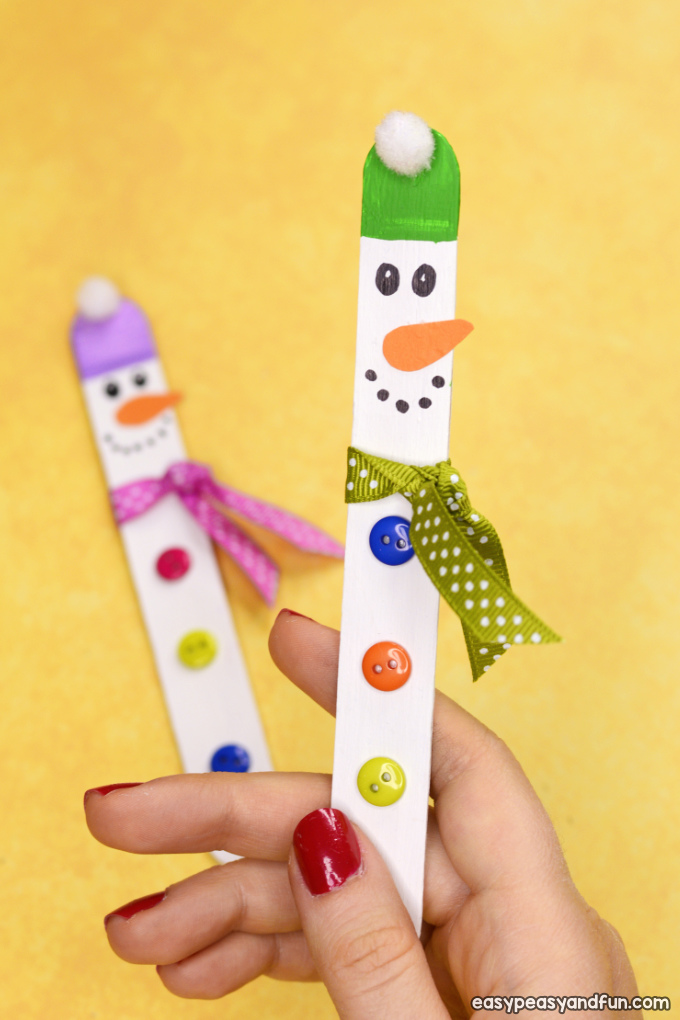
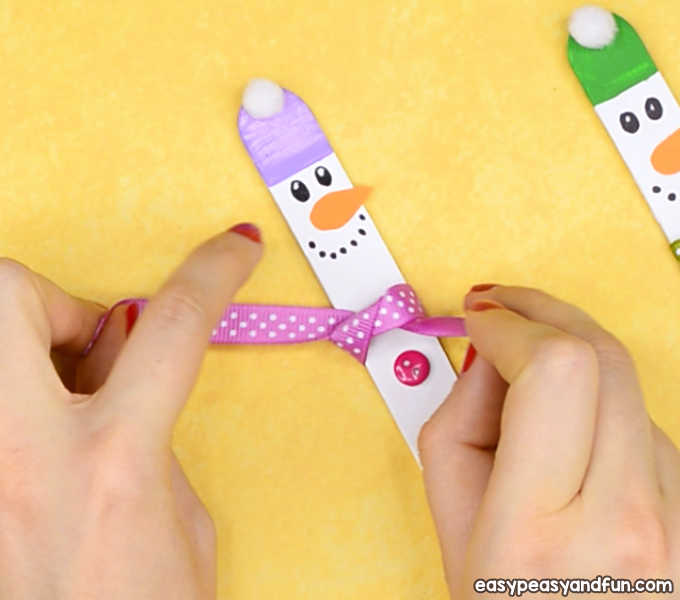
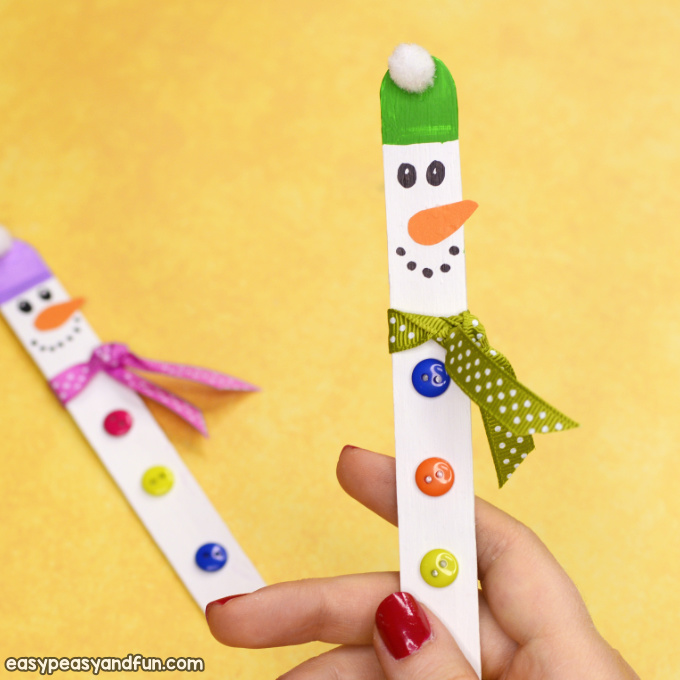
Prepare to be swept of your feet by these cuties – grab a few jumbo craft  and make this adorable Craft stick snowman.
These cuties are a great craft for preschool and kindergarten and can be used for bookmarks too.
Craft stick snowman craft idea for kids to make. Fun winter or Christmas activity for kids - these is a great winter craft for kindergarten*this post contains affiliate links*
These adorable snowmen are a great Christmas craft too, they will be a wonderful decoration for your kid made (or yours) Christmas gifts for family members and friends. 
They are great as a winter craft too and can be made either at home or in the classroom – the younger the kids, the bigger the craft sticks you should be using.

How to Make a Craft Stick Snowman

What you need:
  • jumbo craft sticks
  • white paint
  • paint for hat
  • paintbrush
  • orange construction paper
  • scissors
  • glue or preferably glue dots
  • buttons (you can also use little circles that are left behind when punching paper)
  • black marker
  • white pom pom
  • ribbon

Step by Step Tutorial

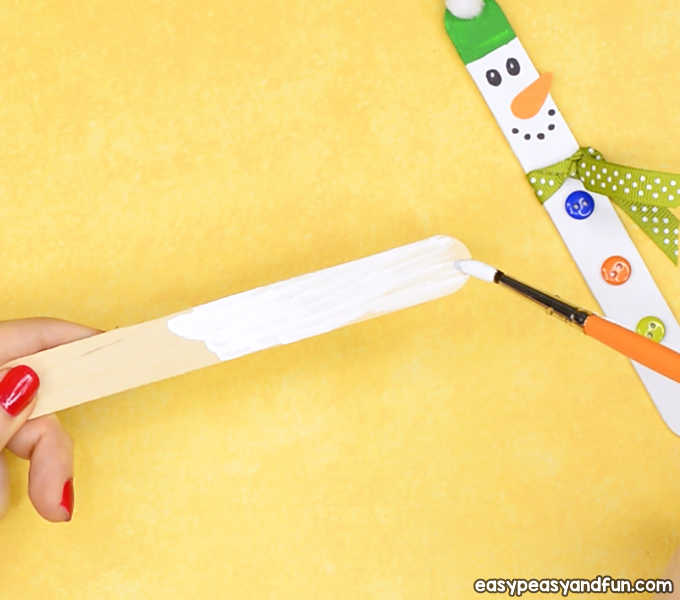
Start by painting the craft stick white. Depending on the paint, you might need to do more than one layer.
Let the paint dry before you move to the next step.
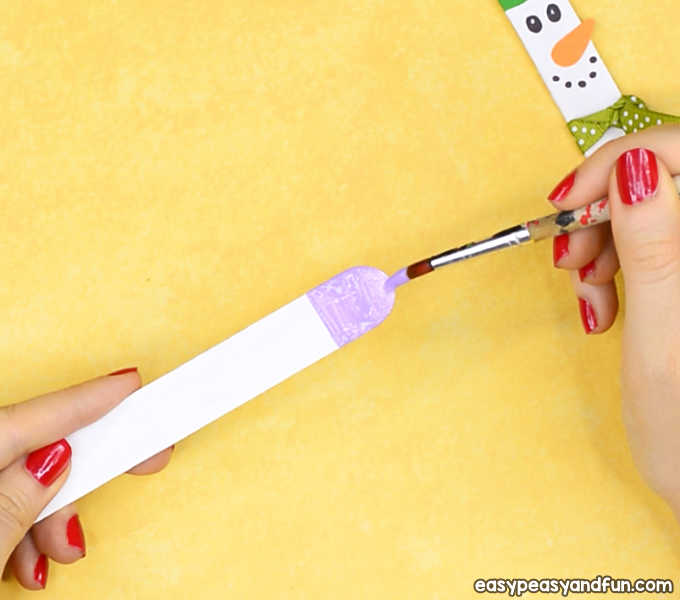
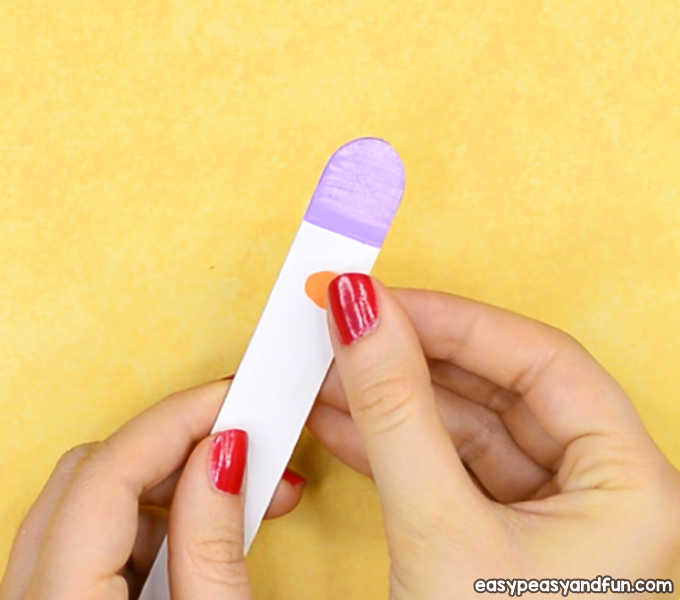
Once the white paint is dry, paint the hat. Paint one tip of the craft stick with a color of your choosing.
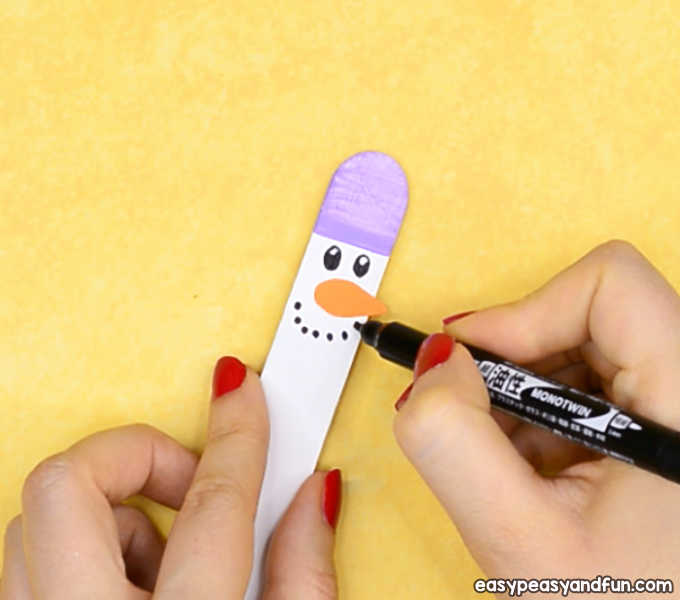
Cut a carrot shape out of orange construction paper (or paint it on the craft stick) and stick it on the craft stick – under the painted tip.
Draw two eyes and mouth with a black marker.
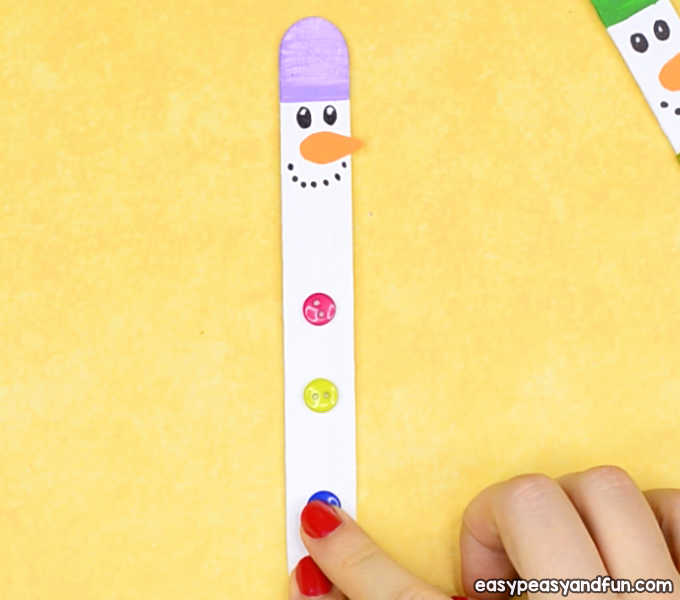
Glue a few buttons under the head (leave some space for the scarf too). We find that glue dots work best when it comes to sticking buttons on anything (and kids love using them).
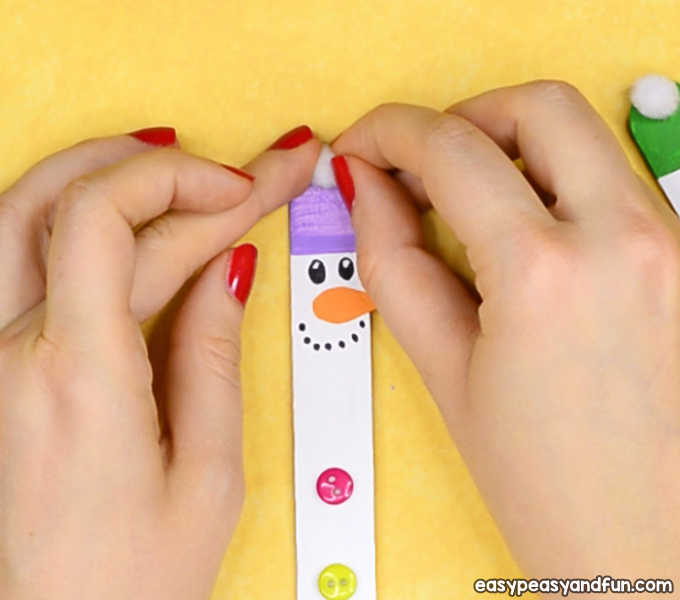
Stick a small white pom pom on the top of the craft stick (again, glue dots work best).

Last make a scarf. Tie a bit of ribbon (or if working with younger kids, yarn as it’s easier to tie) around the craft stick (between the snowman face and buttons).
Trim the ribbon to make it look nicer.
All done, your Craft Stick Snowman is all done.

Craft Stick Snowman
You can even add some string for the hanging and turn this into an ornament.
Craft Stick Snowman Idea for Kids


Or use as a bookmark.

Friday, November 23, 2018

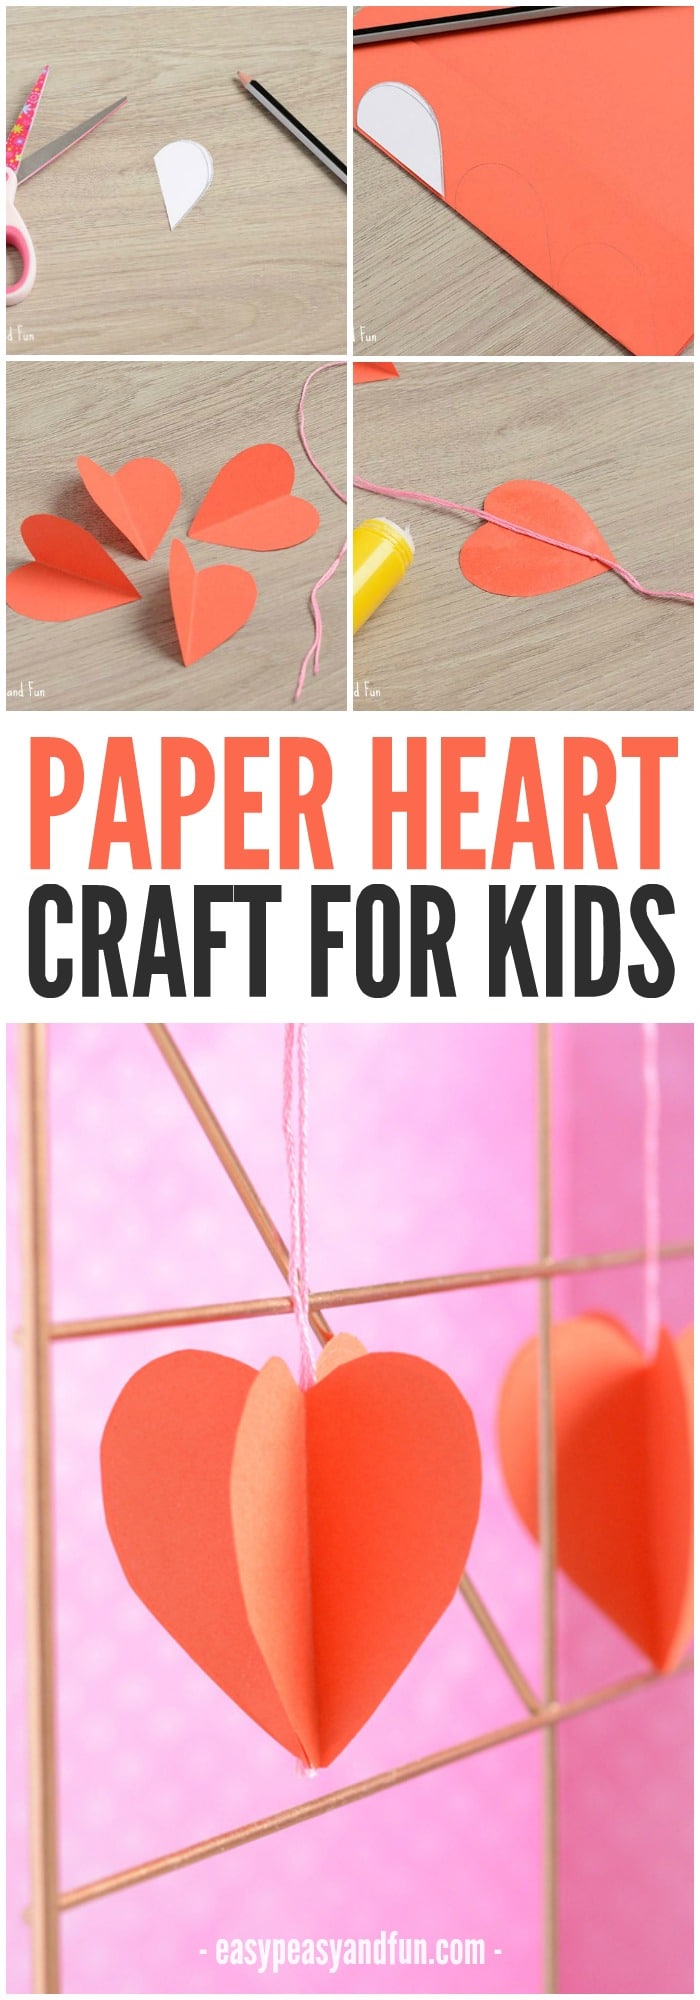
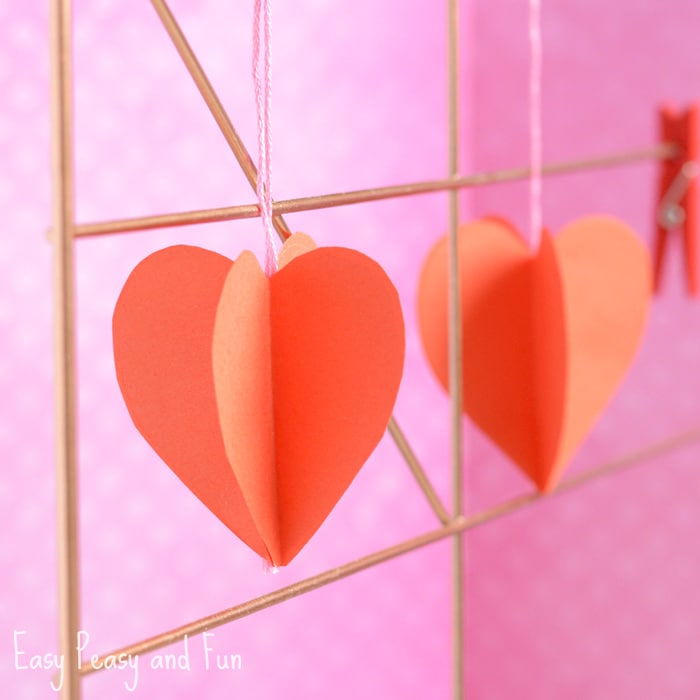
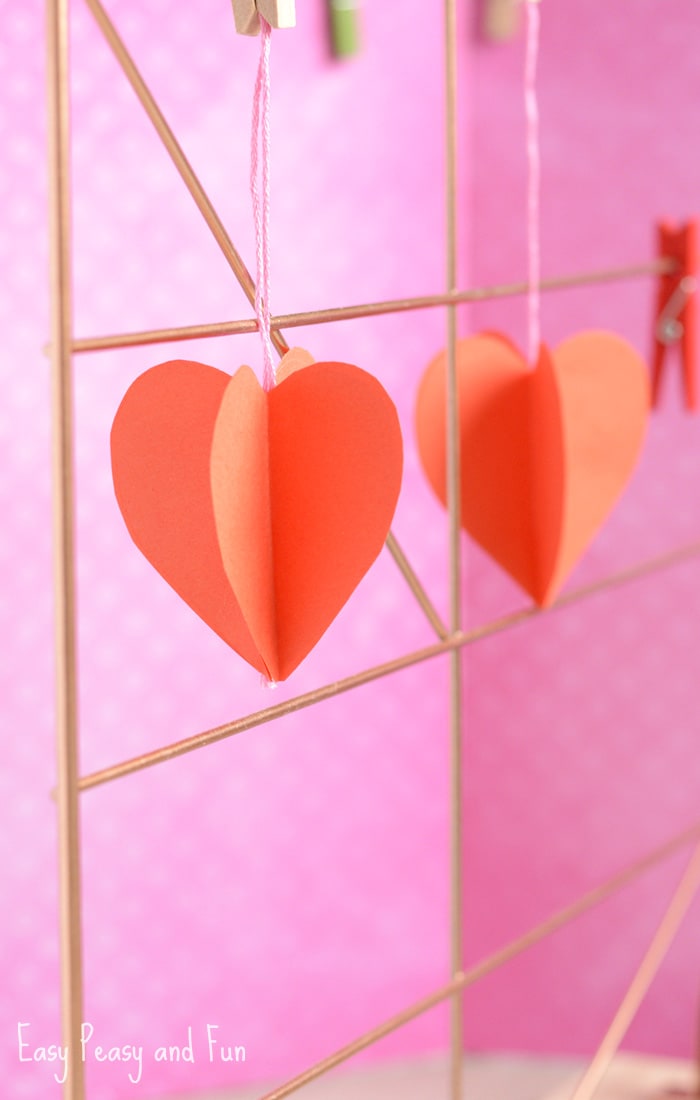
Simple paper crafts can be the most fun and adorable, and this certainly goes for this 3D paper heart craft. It’s easy to make and you can quickly decorate the whole room with a love filled garland, perfect for Valentines day or any other day of the year.

3D Paper Heart Craft

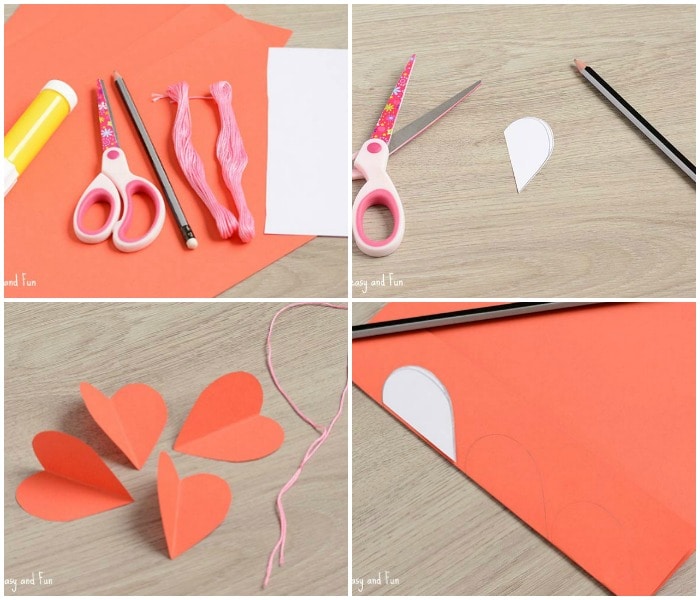
What you need
  • sheets of red paper
  • glue
  • scissors
  • cardstock
  • pencil
  • thread
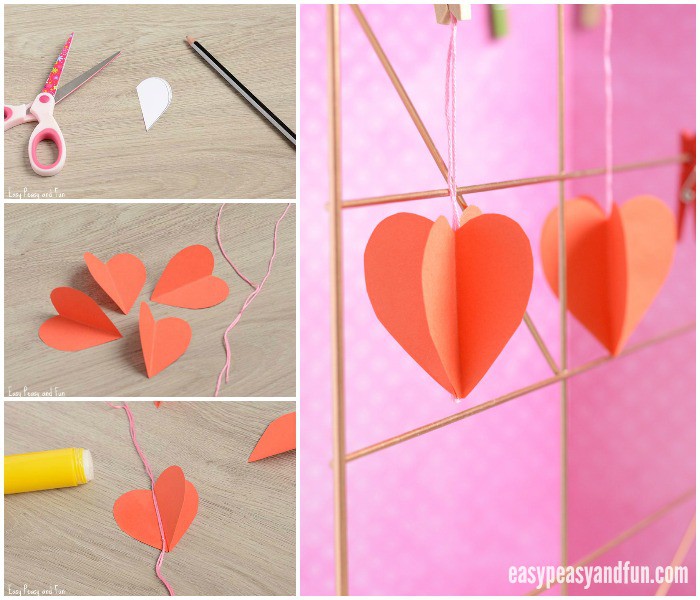
Draw a half heart shape on the cardstock and cut it out. You will be using this as a template for hearts. Fold the red paper and draw an outline of the heart shape on the red paper. Cut the hearts out. You need at least 4 paper hearts to make one 3D paper heart.
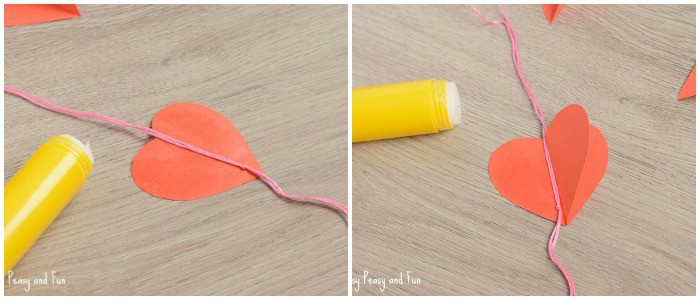
Glue string on one of the heart shapes, straight down the middle. Apply glue on on half of the heart (the one with string) and glue on another heart. Apply glue on the heart that you just glued onto the first one (again on the half). Glue another heart. Now apply glue both on the last heart you glued on and on the other half of the first heart and glue on the last heart.
Hang.
You can have each heart as an ornament individually or you can connect them into a wonderful heart garland.

More Valentines Day Craft Ideas for Kids to Make

3D Paper Craft
3D Paper Heart Craft
Simple 3D Paper Heart Craft
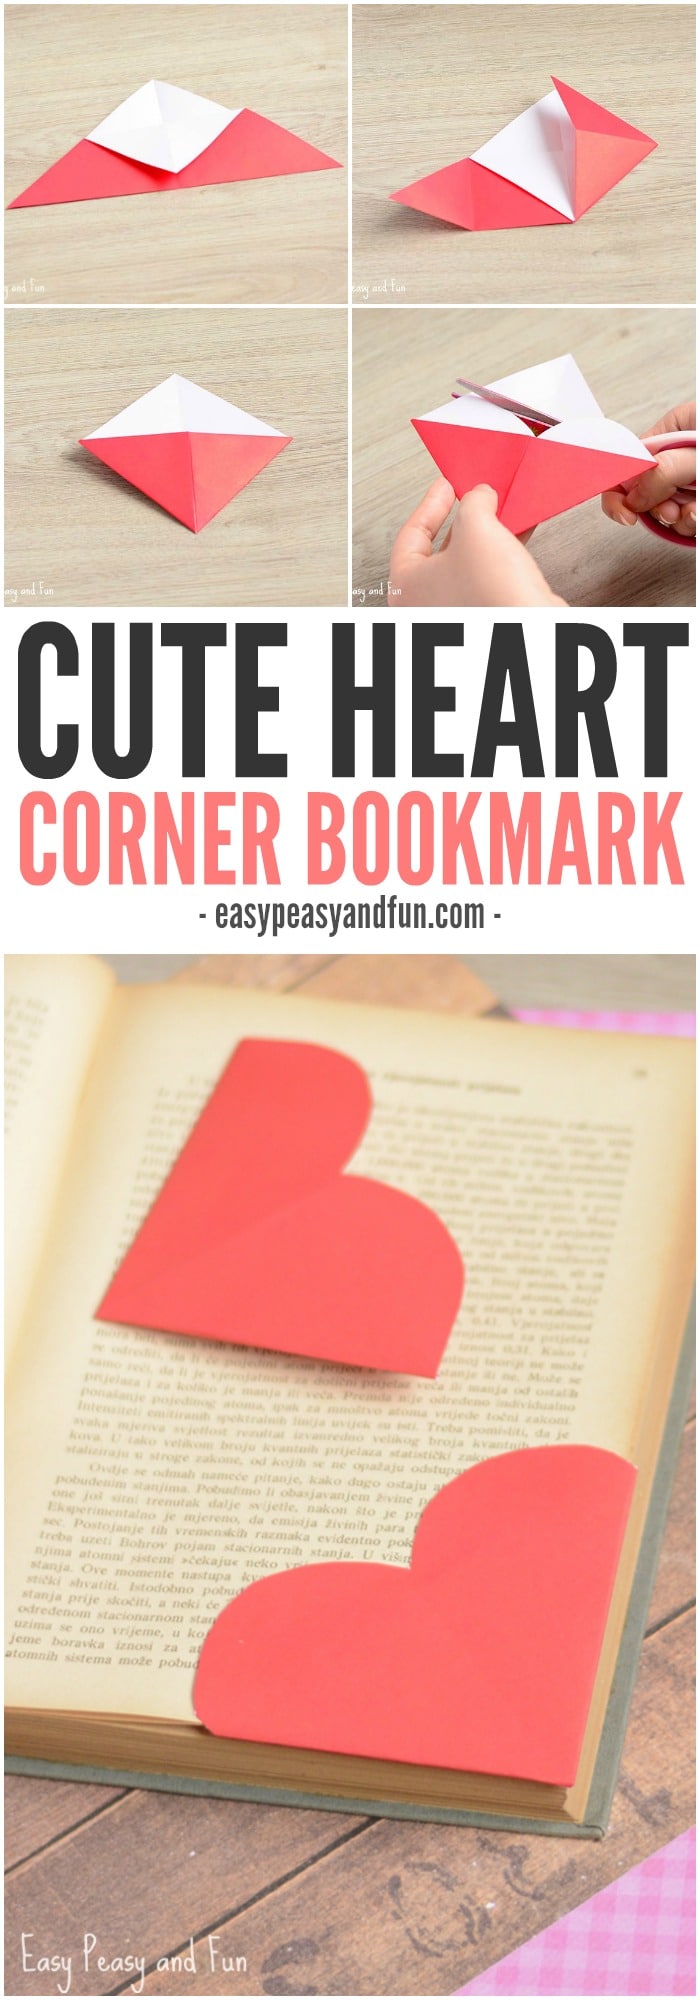
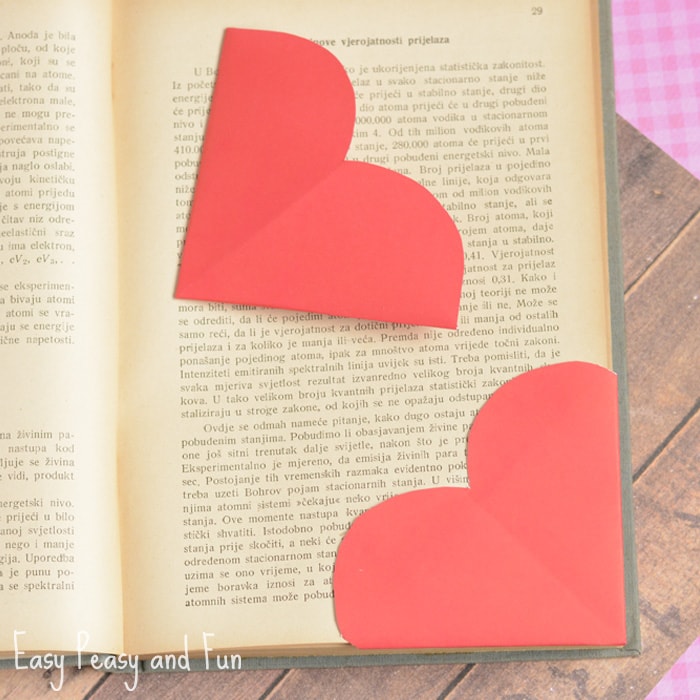
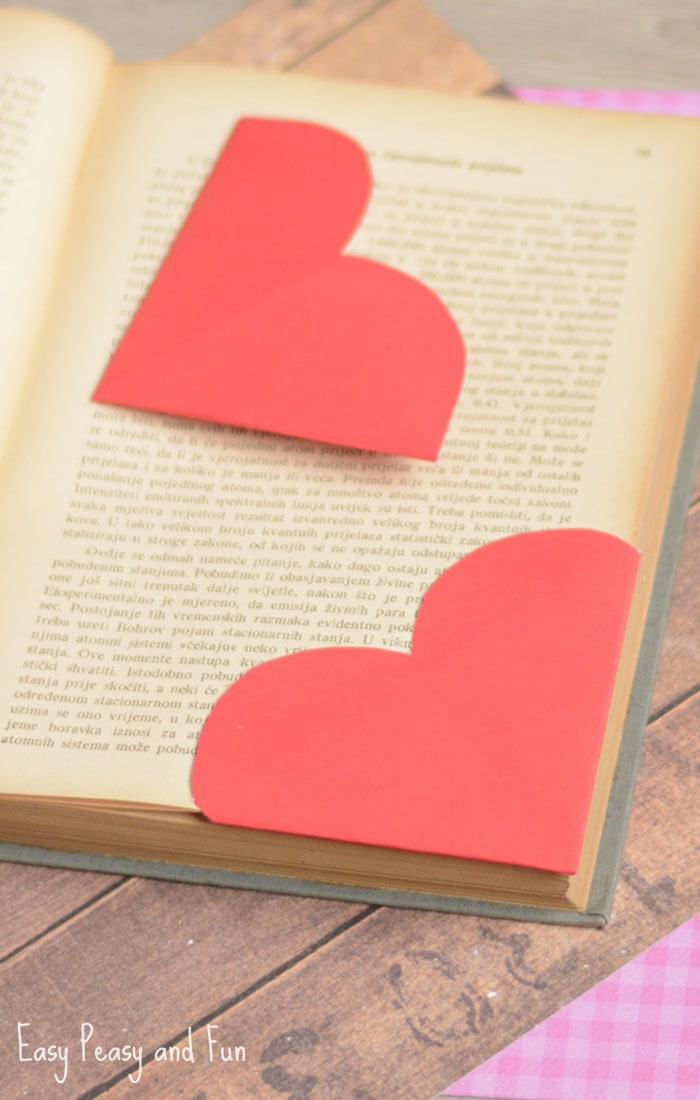
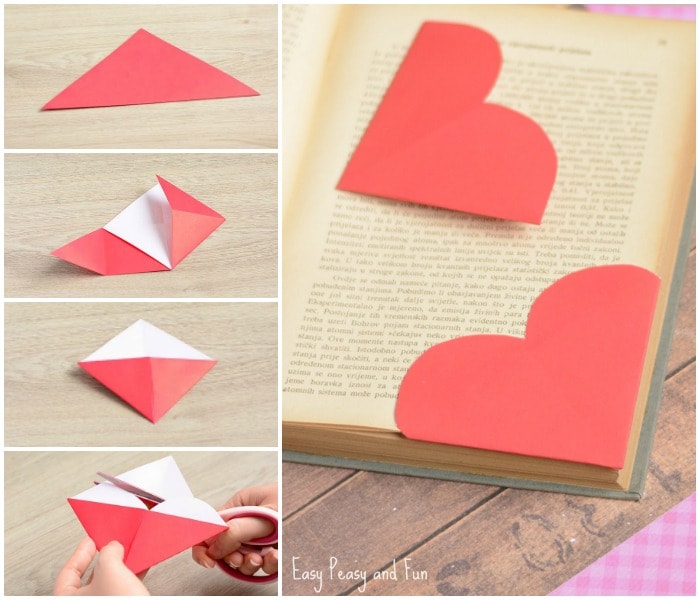
What a wonderful Valentine heart corner bookmarks can be, and you can even make them super personal by scribbling a special little note on them. Corner bookmarks are a great origami for kids and beginners and with some scissor magic afterwards, you can easily transform them into a heart.
Adorable Heart Corner Bookmarks

Heart Corner Bookmarks

What you need
  • origami paper in red (or pink)
  • scissors
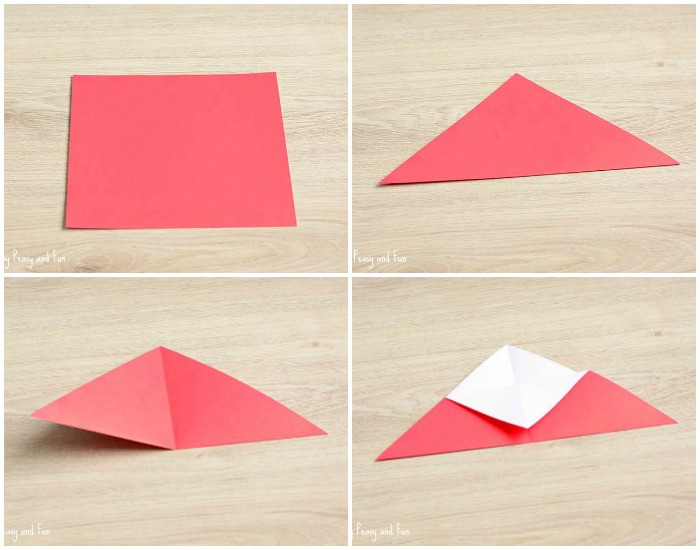
Start by folding the origami paper diagonally across both diagonals. Fold into a triangle. Grab the top of the triangle and fold it toward the bottom.
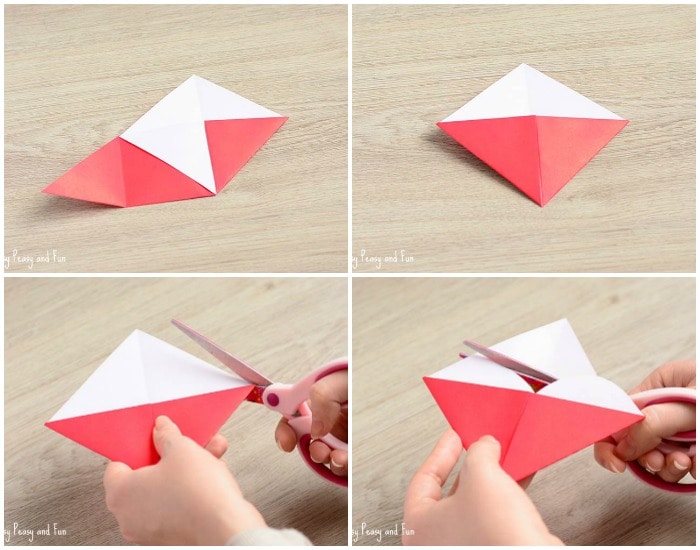
Now fold the left and right angle towards the middle. Unfold. Fold the left and right angle towards the top and “tuck them into the pocket”.
Now cut the heart shape with scissors. Your heart corner bookmark is ready to be gifted to that special little someone.
You can further decorate them with a personalised note or even adding an arrow or wings made out of paper to make it look even funkier.

More Valentines Day Craft Ideas for Kids to Make


Heart Corner Bookmarks Paper Craft


Heart Corner Bookmarks
Cute Heart Corner Bookmarks

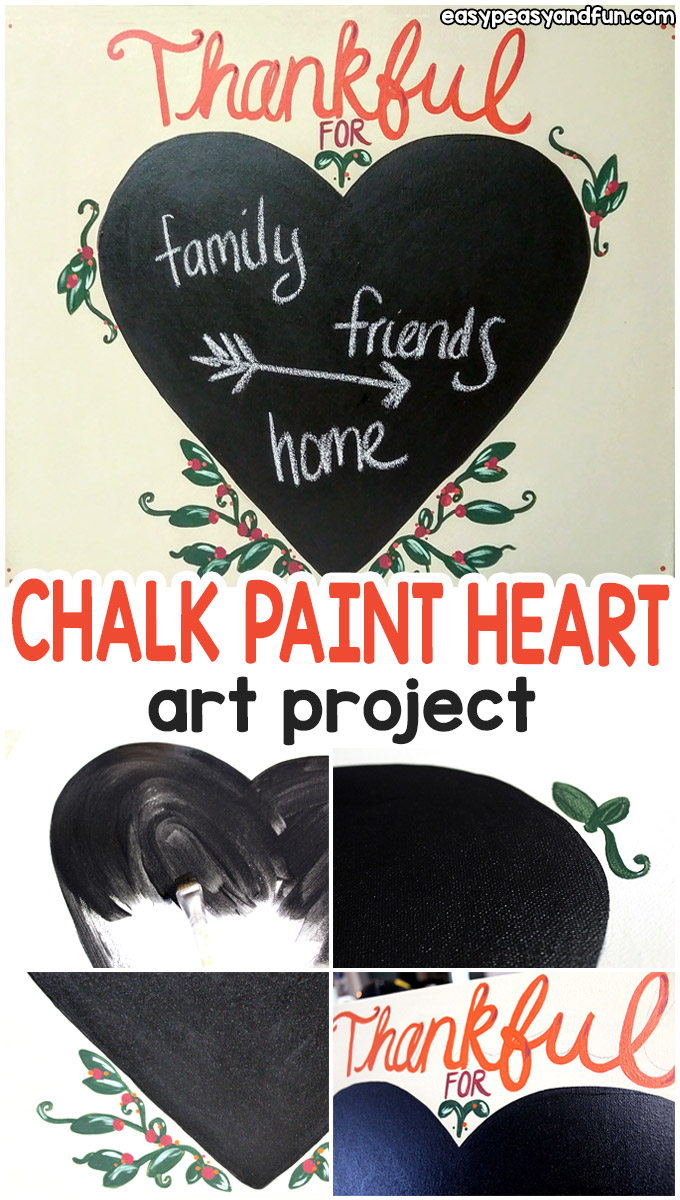
Chalk Paint Heart Thanksgiving Art Project

This art tutorial will teach you how to make Chalk Paint Heart Thanksgiving Art Project – this can be one of the easiest projects of acrylic painting for beginners as you can make the background super simple or really detailed.
This canvas art is a great one to do for that time of the year, but it could be painted in other colors as well and left up all year long too.

Chalk Paint Art ProjectThe Fall season is a time people tend to get really into decorating, and also reflecting on what they are thankful for most.

If you prefer not to try your hand at painting the letters, you can do a busier background with more colors or design on it, and just leave the writing for the chalkboard heart.
My best advice for the lettering is to use a very thin brush and pencil it on first before you paint, but we will go over that in a minute
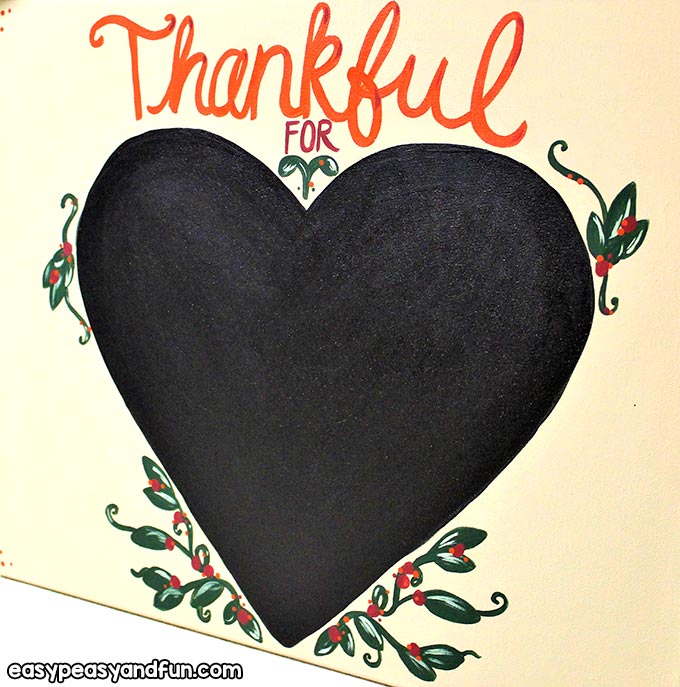
FInished Chalk Paint Art Project
Chalk Paint Heart Thanksgiving Art Project
What you will need:
canvas in a 16” x 20” size
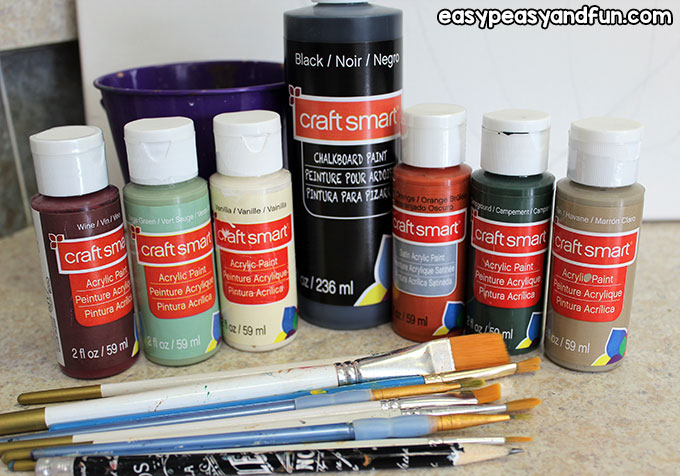
acrylic paints in your choice of colors – see photo for the colors used and suggested for the Fall theme
black chalkboard paint
pencil and eraser
paint brushes from very thin and small for detailing to 1” for background and chalkboard painting
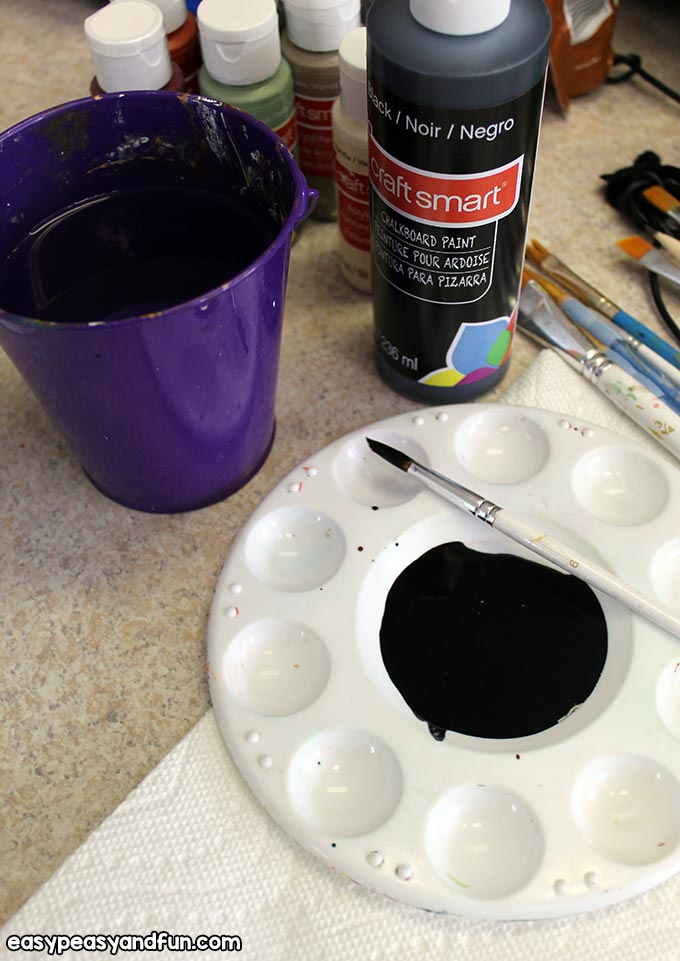
plate or palette and water cup
paper towels and a drop cloth or disposable tablecloth
easel if desired
Chalk Paint Art Supplies
Step by Step Instructions
To begin, you will want to draw the heart shape on the canvas first before pouring your paints.
Draw lightly so it doesn’t leave any indentation in the canvas and have a good eraser.
If you have trouble getting the round parts on the heart to match, you can take a small plate, like a teacup saucer size, and use the edge of it and draw around it, and then fill in the other angles from there.
Some people find that to work well. I sketched mine freehand, but I also erased a few lines until I got it right.
Brush off any eraser shavings before starting the paint process.
Go ahead and pour both your background and chalkboard paints into the plate or palette. The rest can wait, as this part takes the longest and those paints will start to dry out in the meantime
Paint


Drawing the Heart Shape on Canvas
As you do this painting, each time you take out a new brush to use, dip it in the water to loosen it up and then blot it on the paper towel to remove excess water before you dip it in the paint.
You don’t want any water mixing in with the paint, as it will make it runny and cause streaks, but this helps the paint move better and loosens up a stiff brush.
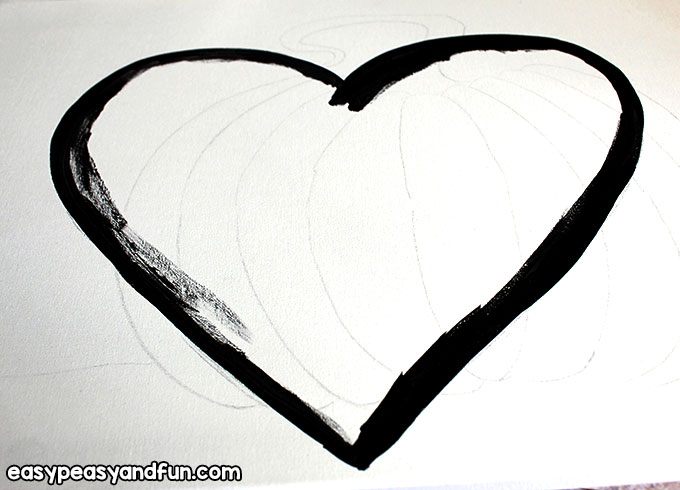
Using a thin brush, medium sized or smaller, whatever you are comfortable doing lines with, outline the heart first to establish that line there and to help keep you in the area the whole time.
Step 1
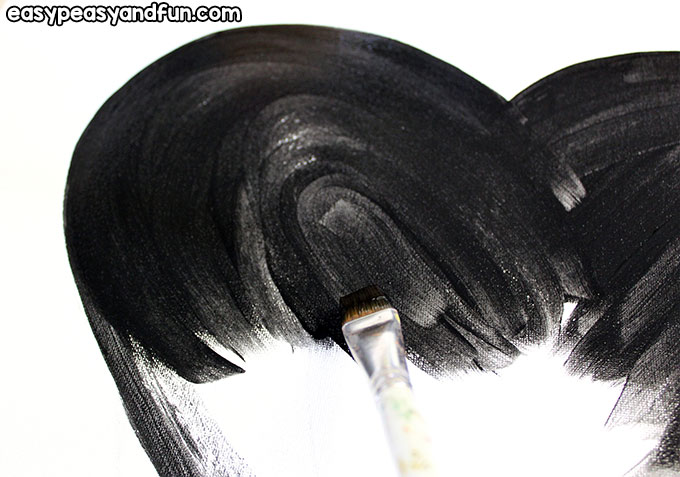
Then, once you have the whole outline done, go ahead and use a larger brush, like a 1” flat edged one to paint in the rest.
Step 2
. I tend to find that painting in the same direction helps it fill in better.
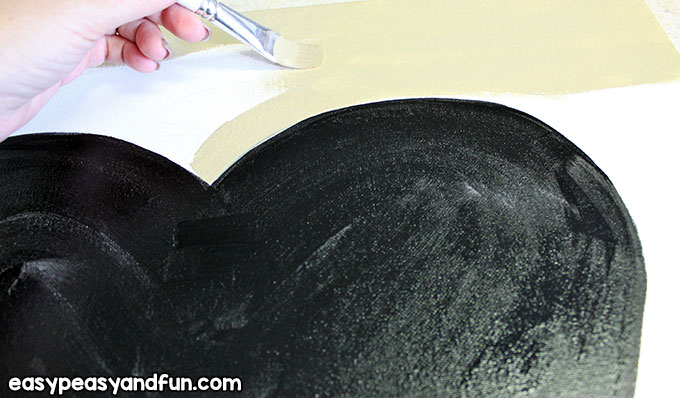
It will take 2 to 3 coats to get it nice and solid like you need to use it for chalk, so that is why we are starting with this and not the background.
Get one good coat on it, and smooth it out if you have any areas where the paint is chunky before you go on to the next color.
Step 3
Place your brush in the water and clean it off too, then set it aside for later. That paint is thick and sticky, you don’t want it ruining the brush and drying on there.
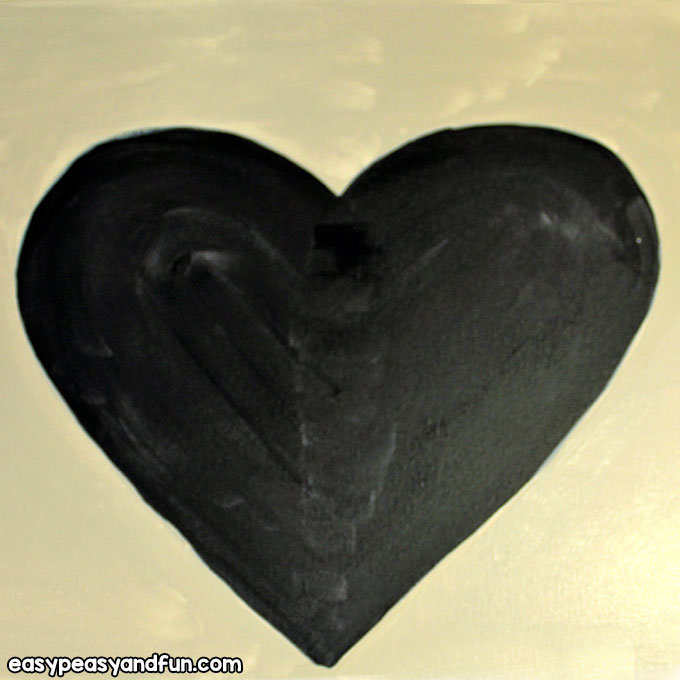
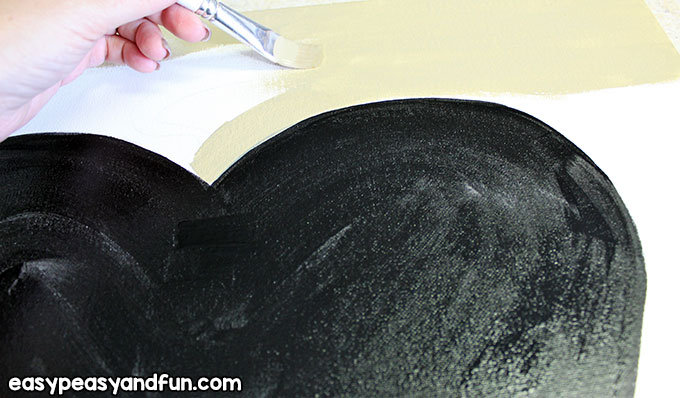
Now you can repeat those steps with the background color – outline the heart first with a thin brush, around the outside of the edge you painted in black, and then come back in with a bigger brush and paint the rest in.
Step 4
Depending on the color you chose, it may take more than one layer, so just alternate between the chalkboard paint and it until you get them both solid, smooth and can’t see any paint strokes or canvas popping through.
Step 5
f you are doing a patterned background or adding more than one color, go ahead and do that as you go, between layers of chalkboard painting.
Adding Accents
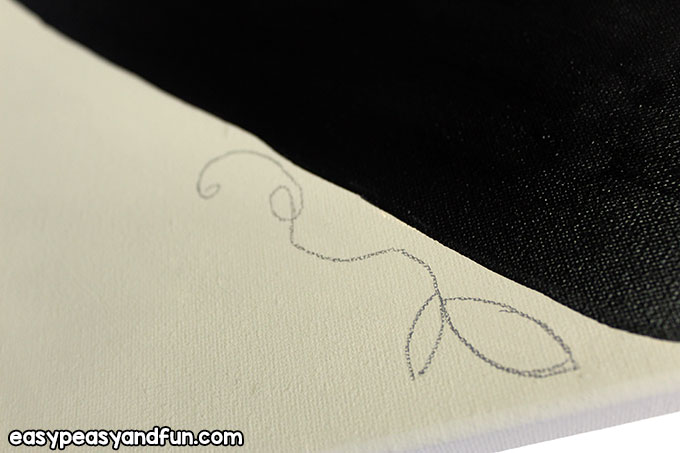
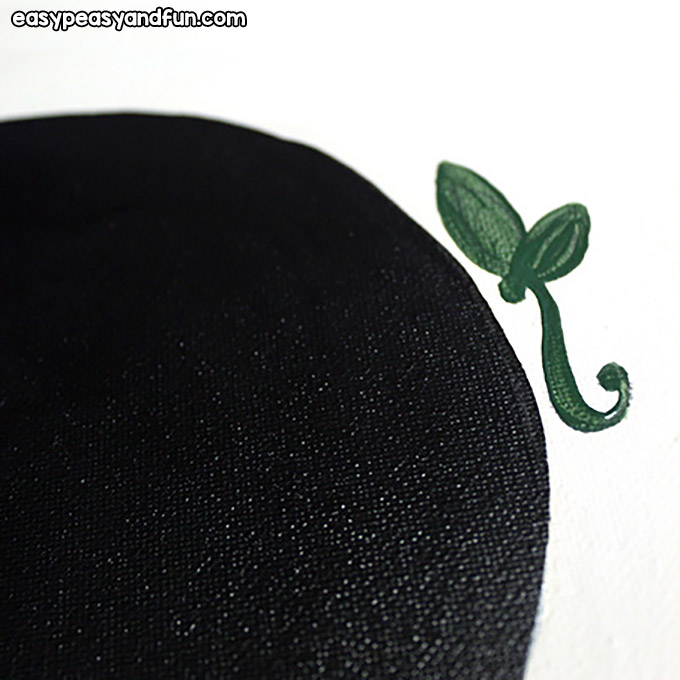
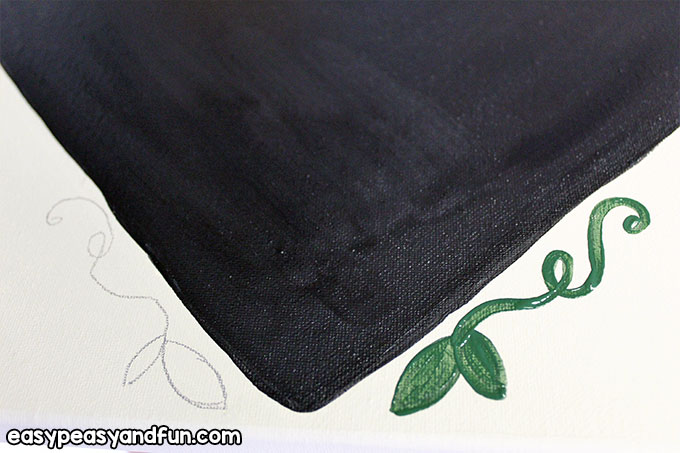
Allow enough time for the background to dry before you go on to adding any accents, like the vines I did.

Now, take your pencil again and sketch on your designs before using your brush.
Step 7
I added matching curvy lines to make vines…
Step 9
… and then drew small leaf shapes here and there mirroring them on the opposite side.
https://www.easypeasyandfun.com/wp-content/uploads/2018/10/Step-Ten.jpg

Creating the Lettering
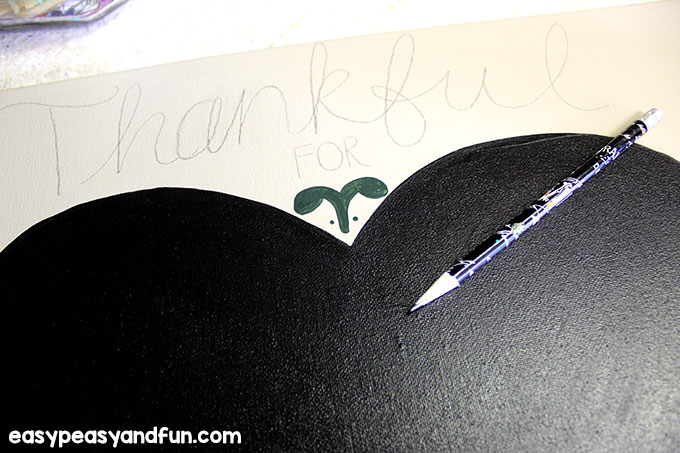
I also sketched on the lettering at this time as well.

The best way to do the lettering is to find the center first and figure out how wide you want the lettering to go. Then, draw the first letter, last letter and center letters before drawing the ones between, keeping them as close to the same size as you can.

Consistency is what makes it look professional. I would advise you not to go too small so that if you are across the room it is not difficult to read.

You can make cute dot accents if you like but flipping the brush over and using the tip of the handle. Dip it in the paint and make dots.
Step 11


and finally  add your favor colors 
bayyyyyyyyyyyyy se you soon


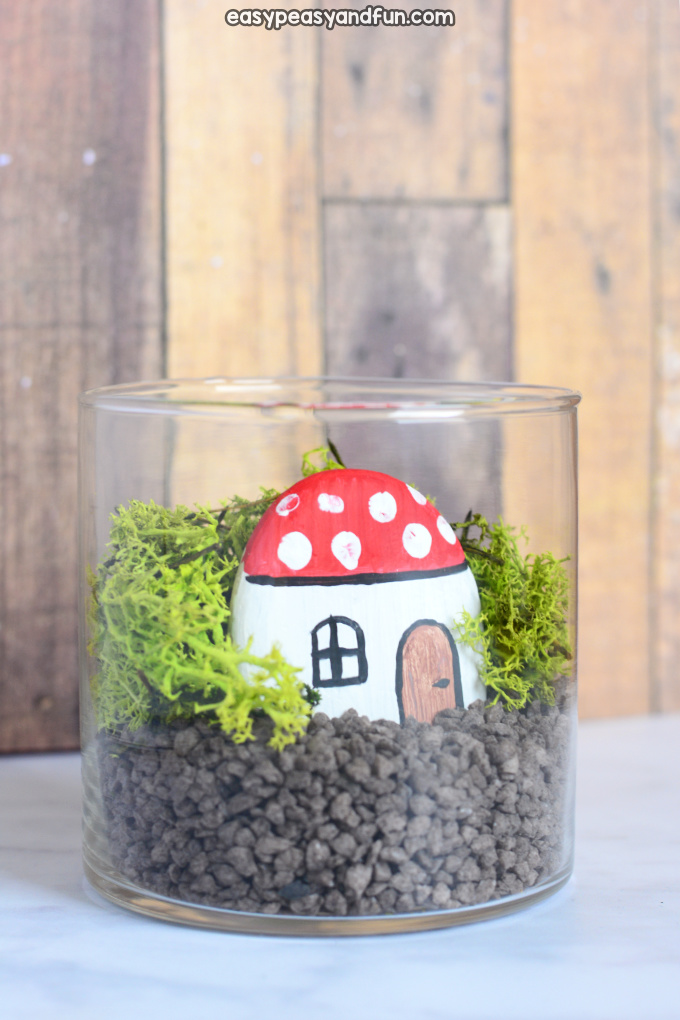
Fairy Garden in a Jar by  Andreja   1 Comment If you are one of those people (as are we) that loves anything that has to do with fai...