Friday, November 23, 2018

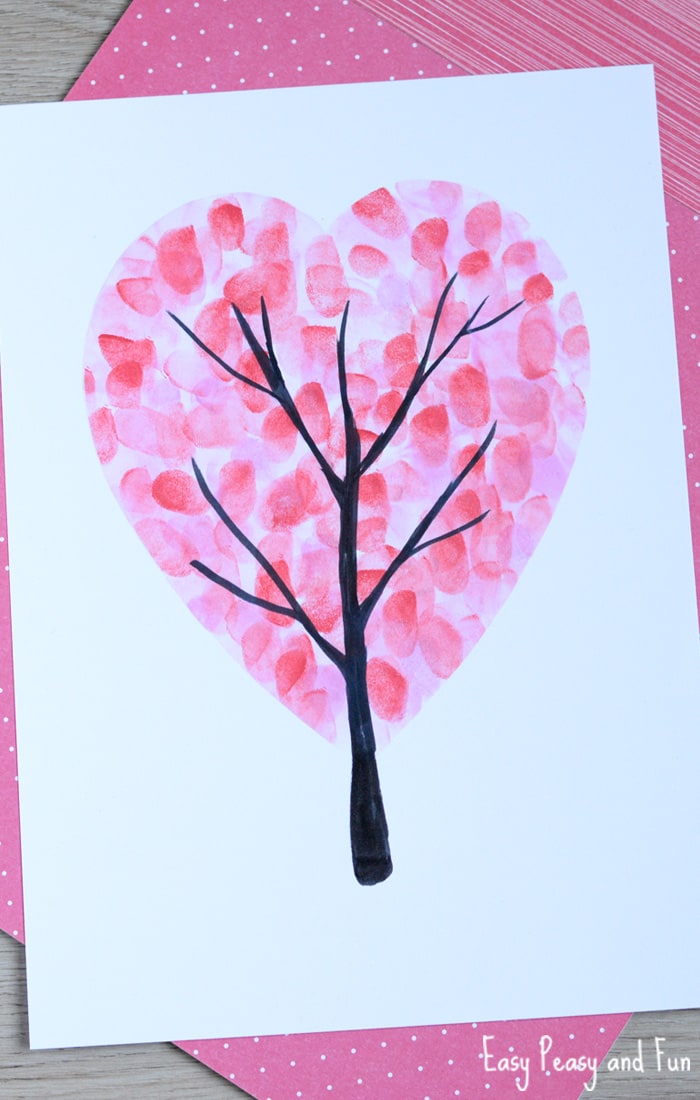
We have another love filled arty-crafty project to share with you – this Valentines Day Heart Fingerprint Tree is perfect both for kids and kids at heart. It’s super easy to make and it looks lovely.Valentines Day Heart Fingerprint Tree Craft for Kids
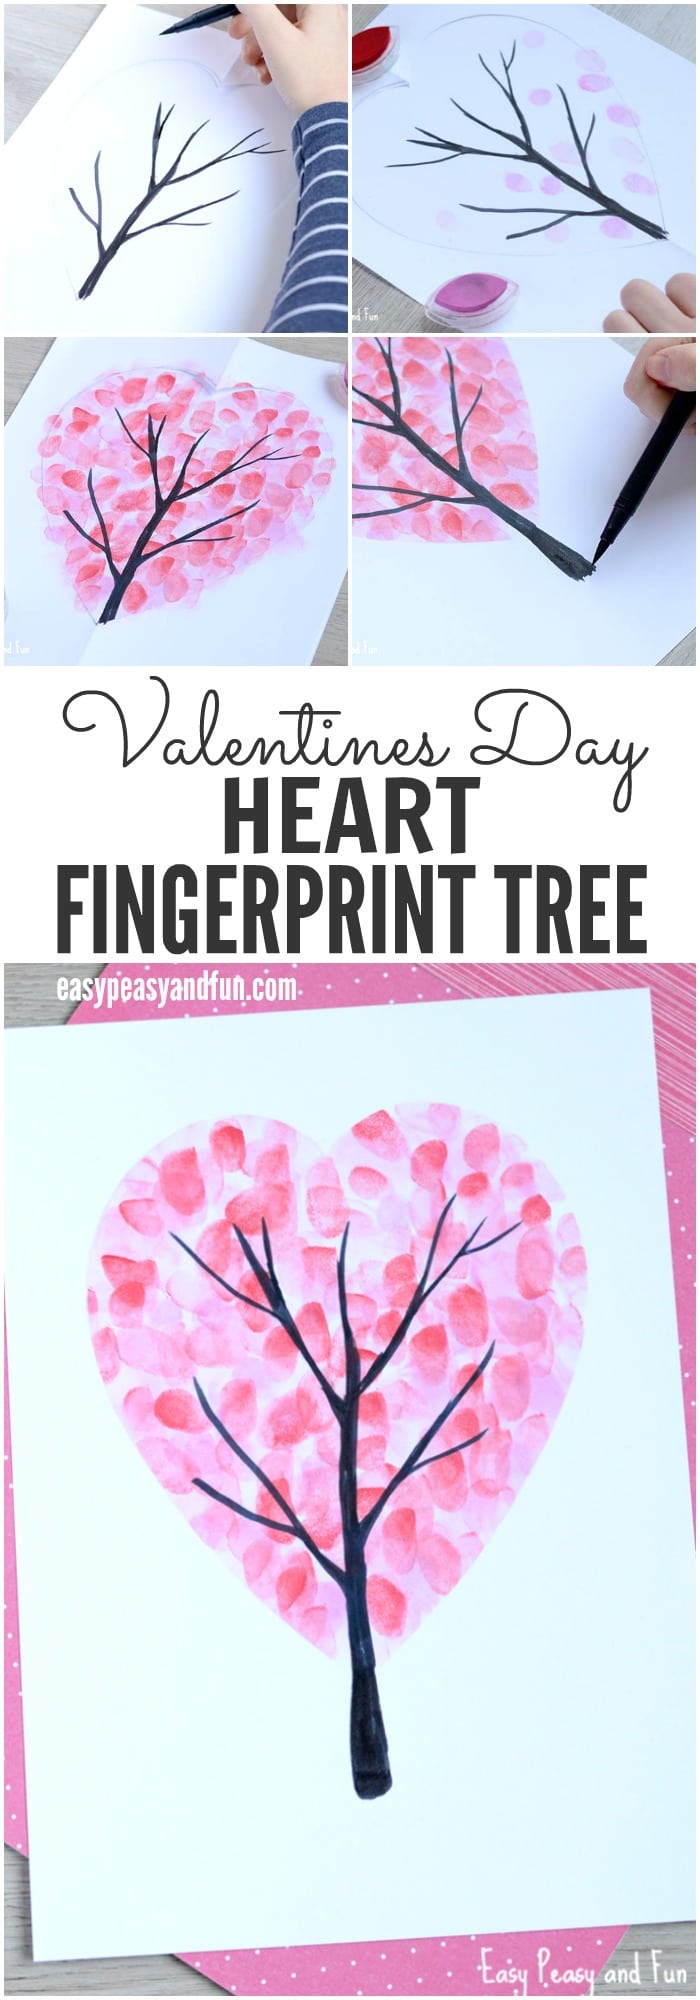
What is great about this project is that it’s easy to set up and is fairly quick to make so it can easily be a classroom project. Doubles up nicely as a Valentines day card too.

Valentines Day Heart Fingerprint Tree

What you need:
  • 2 sheets of white paper
  • ink pads – reds and pinks (you can also use finger paints)
  • black marker
  • scissors
  • pencil (optional)
step11
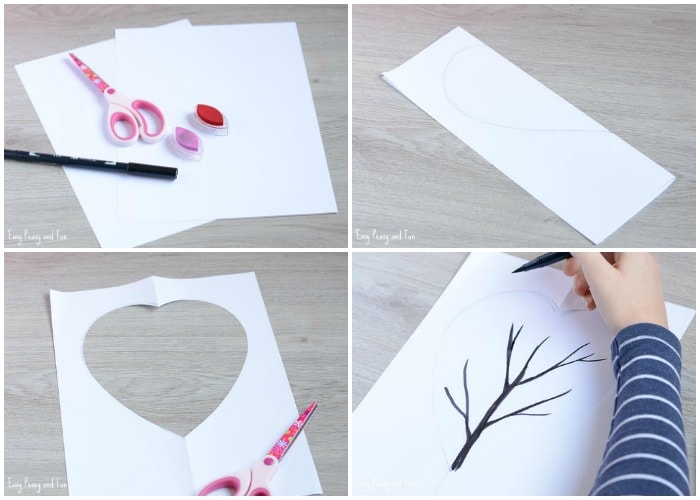
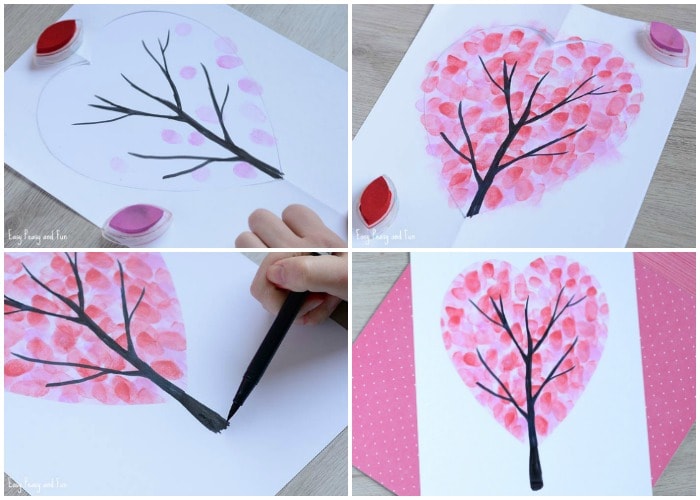
First we need to make a heart stencil. The easiest way to go about it (in our honest opinion) is to fold a sheet of paper in half and draw a half-heart shape. You can easily cut the heart out then, just by cutting along the line.
Place the sheet of paper with the heart outline on top of a regular sheet of white paper. For younger kids you can secure it with some tape so it won’t move around while they get creative.
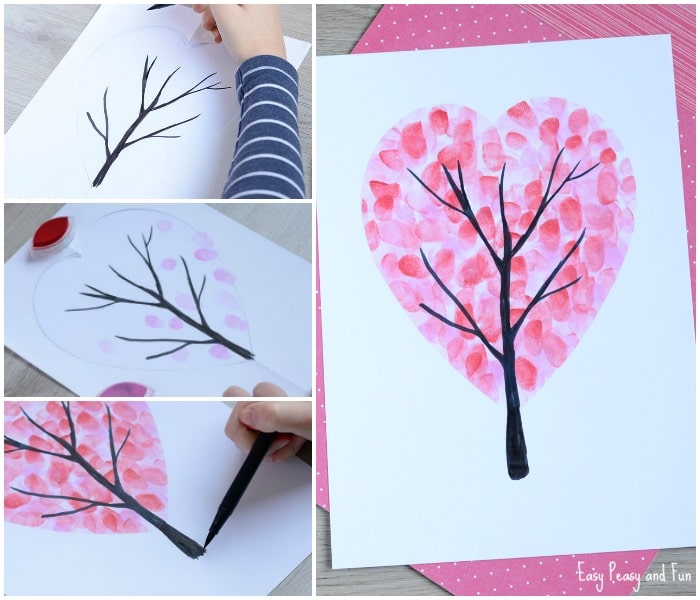
With a black marker, draw a tree withing the heart shape.
stes22
Now it is time to get messy with your fingers. Dab your fingers (thumbs and fingertips to get different shapes) in the ink pads and “stamp” them all over the heart shape. Do this until you are happy with how thick the leaves on the tree are :).
Remove the sheet of paper with the heart outline.
Draw the rest of the tree trunk, if necessary.

If you enjoyed this project we think you will love the fingerprint winter tree craft too.
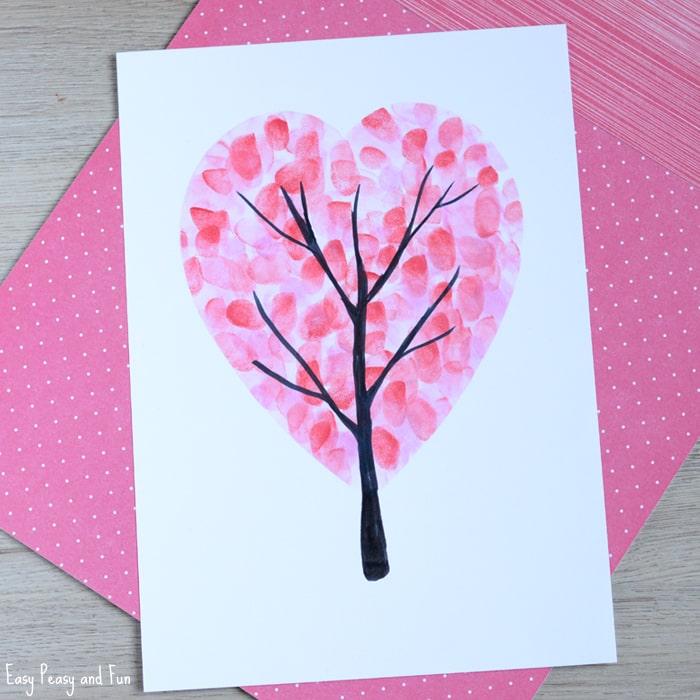
Fingerprint Tree

How You Made It

Made yours? We would love to see it (and even feature some) – do send your picture to info@easypeasyandfun.com
Made by Nika
Wonderful Valentines Day Art Project for Kids - perfect fingerprint idea for classroom

More Valentines Day Craft Ideas for Kids to Make
Fingerprint tree Craft
Valentines Day Heart Fingerprint Tree Craft

Tuesday, November 20, 2018

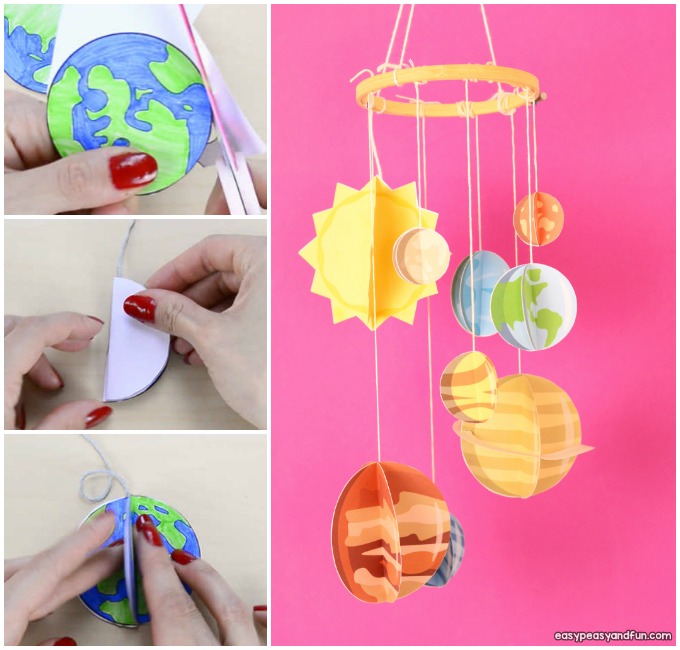
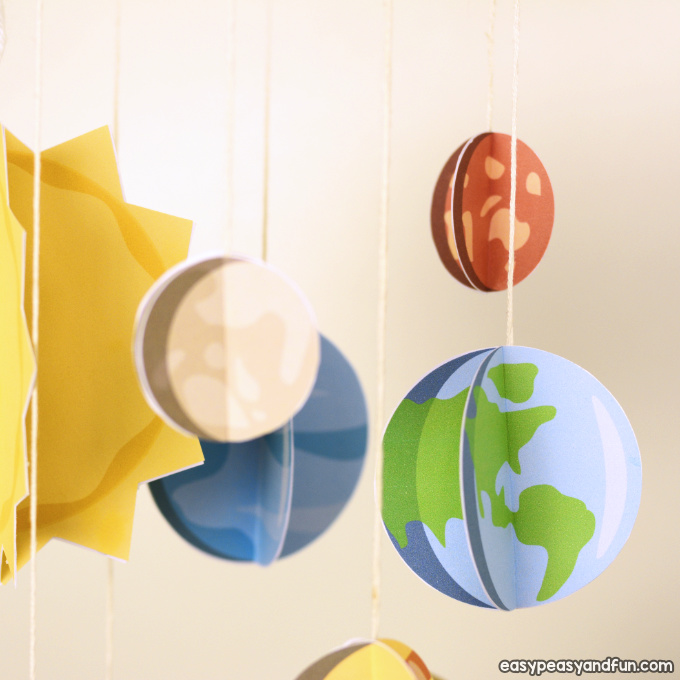
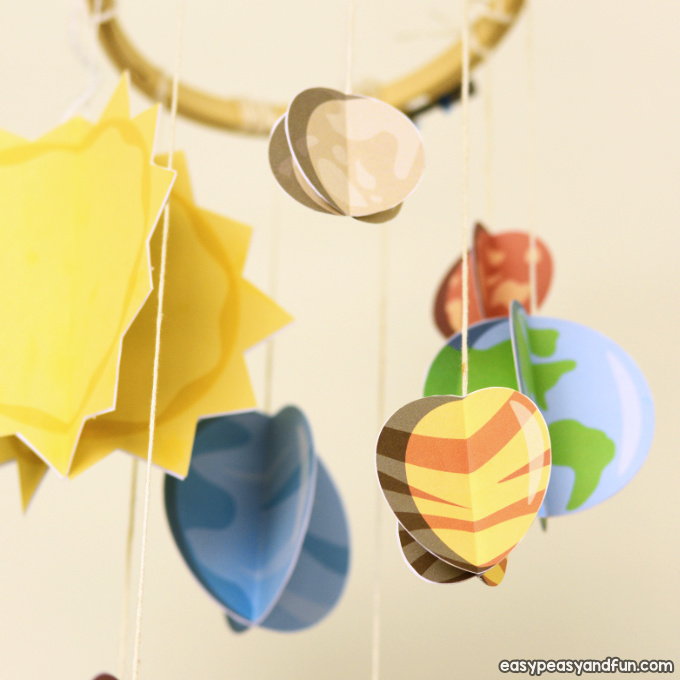
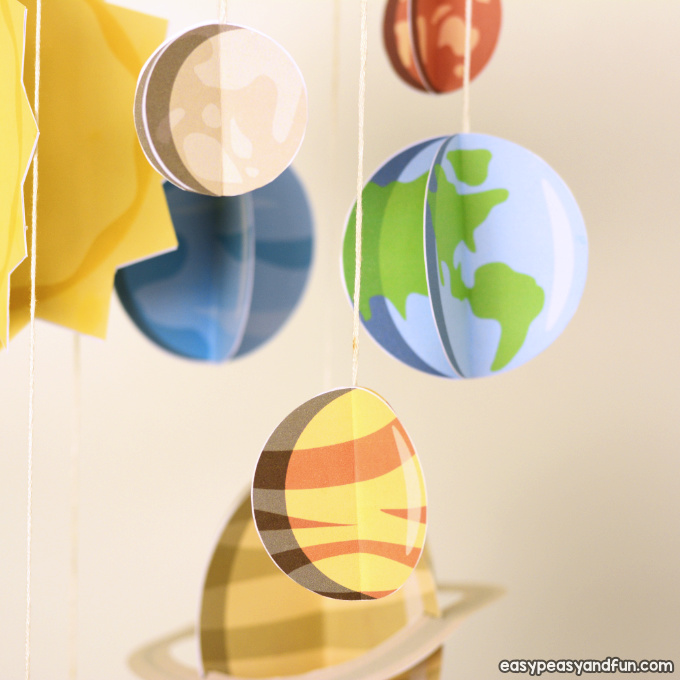
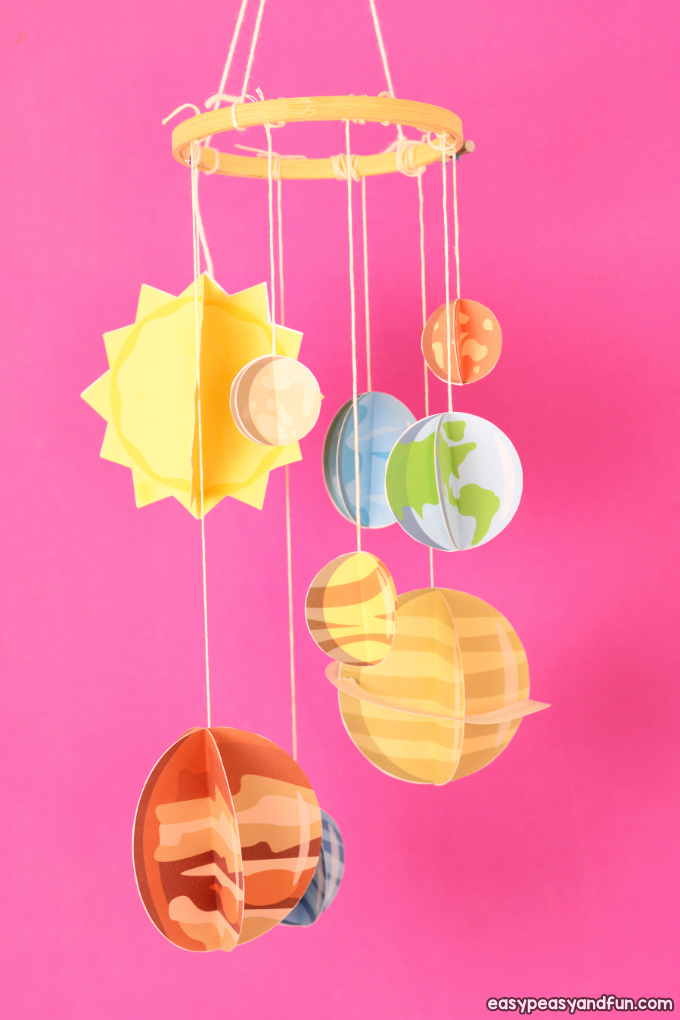
3D Paper Mobile Planets Craft Template – Solar System Craft

This 3D Paper Mobile Planets Craft is great for kids and grown ups!
Kids will love exploring our solar system by making this crafts and you can use the template to make a fun mobile for the baby room, your classroom or any other room.
3D Paper Mobile Planets Craft for Kids. Fun paper activity for kids.
*this post contains affiliate links*
Kids love learning about the solar system as it is, well fascinating! This 3D Paper Mobile Planets Craft can be made by the kids to help them learn the names of the planets and to learn their order, or it can be made by the parent or a teacher to use in their educational setting.
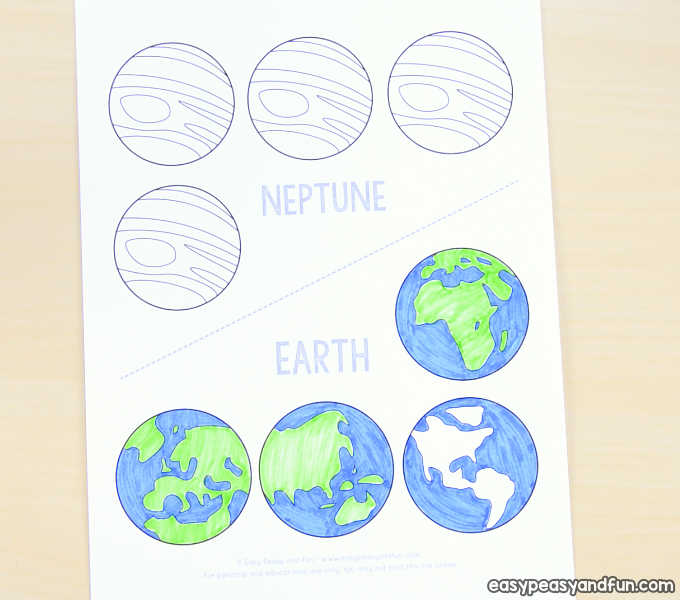
We have it ready for you in black and white for kids to color as well as in full color version.
3D Paper Mobile Planets Craft

How to Make 3D Paper Mobile Planets Craft with Our Template
What you need:
  • our printable solar system template (available in our members area)
  • heavier print paper
  • scissors
  • glue
  • yarn/thread
  • embroidery hoop (or simmilar)
Optional: coloring supplies if printing the black and white version

Step by Step Instructions

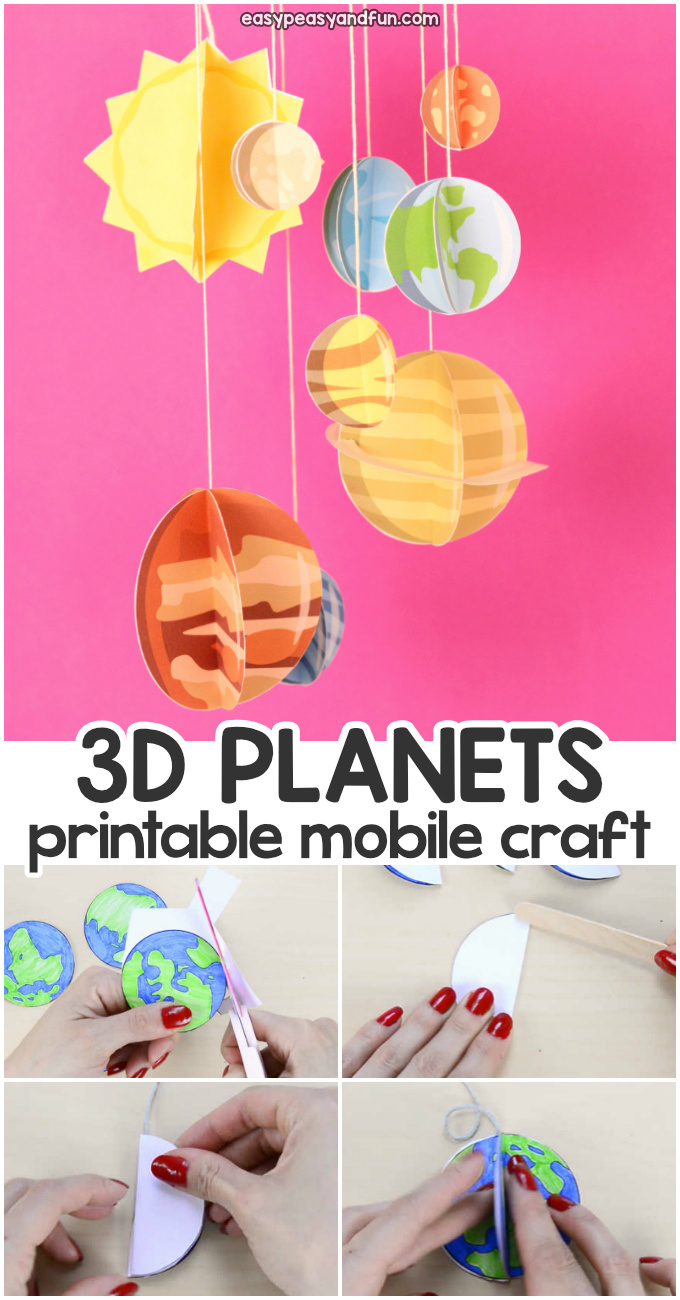
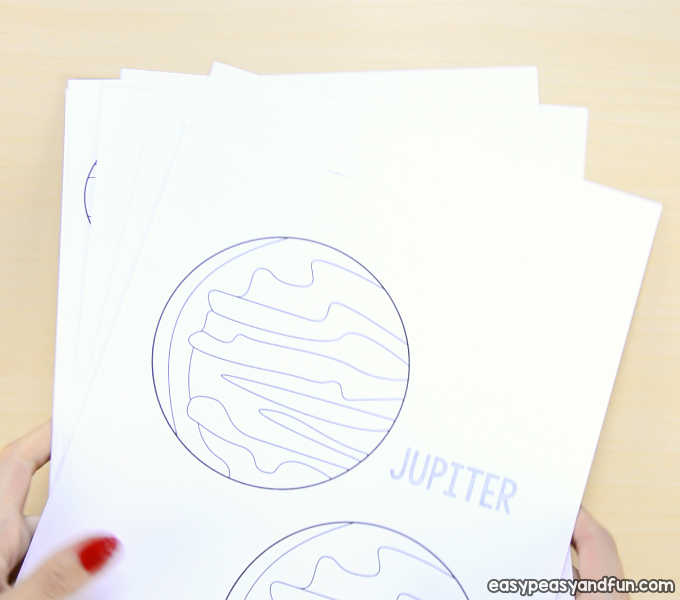
Print out the templates. Printing on cardstock is recommended.
Both full color and black and white versions available, in this tutorial we will be showing you how to use the black and white 3D Paper Mobile Planets Craft template.
Color in all the planets.
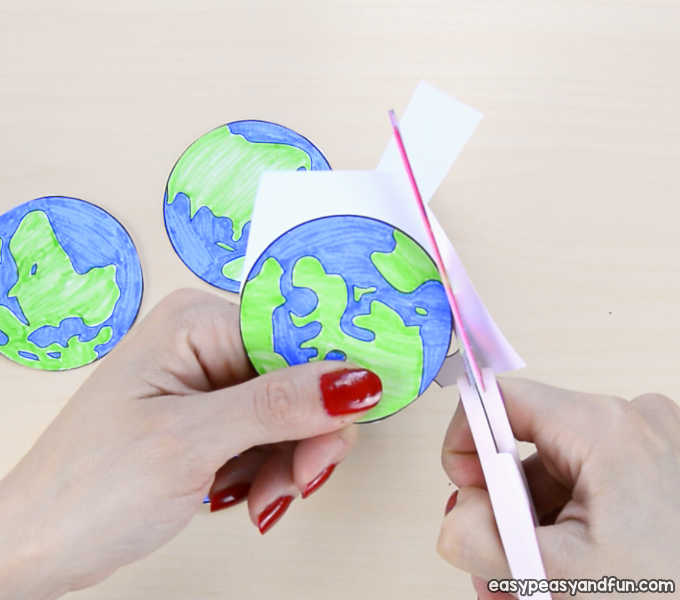
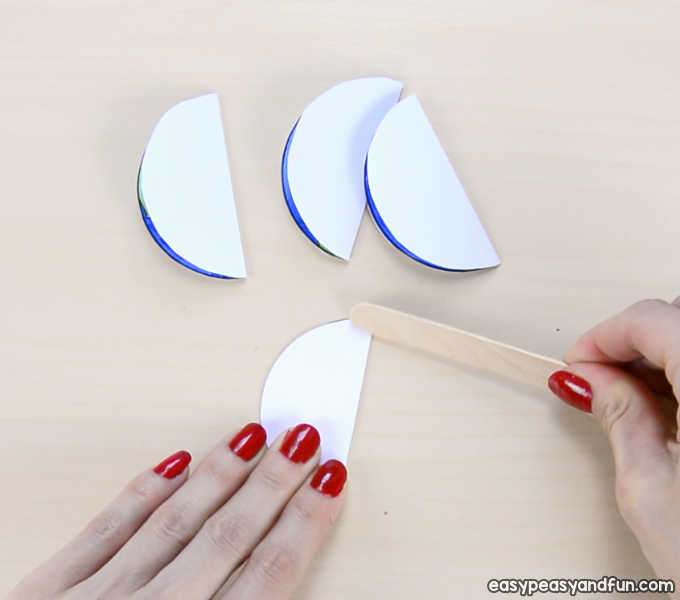
Cut out the circles.
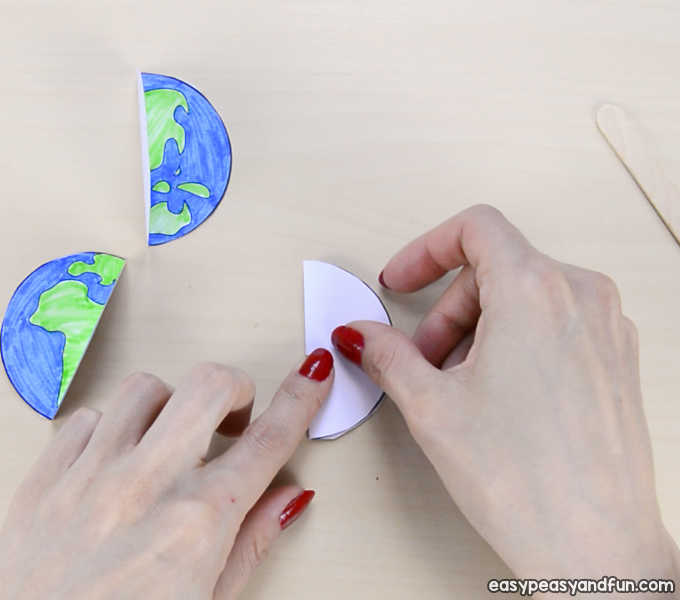
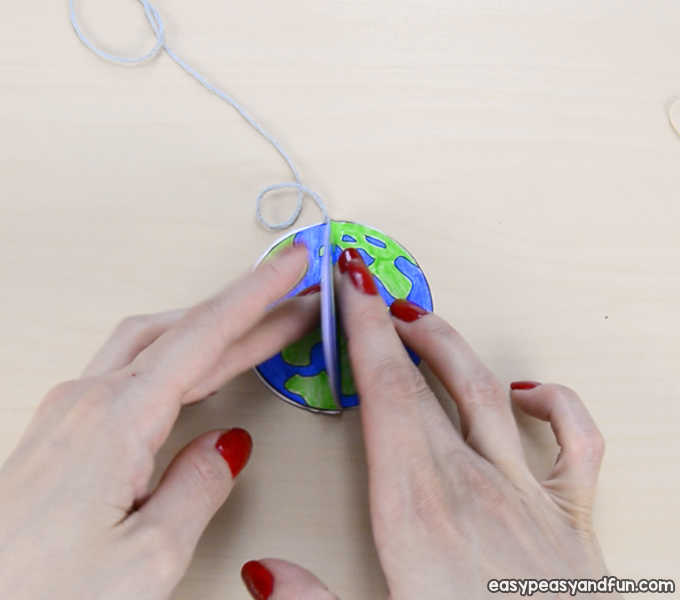
Fold them in half.
Make sure the folds are crisp – we helped ourselves with a craft stick, running it across the fold.
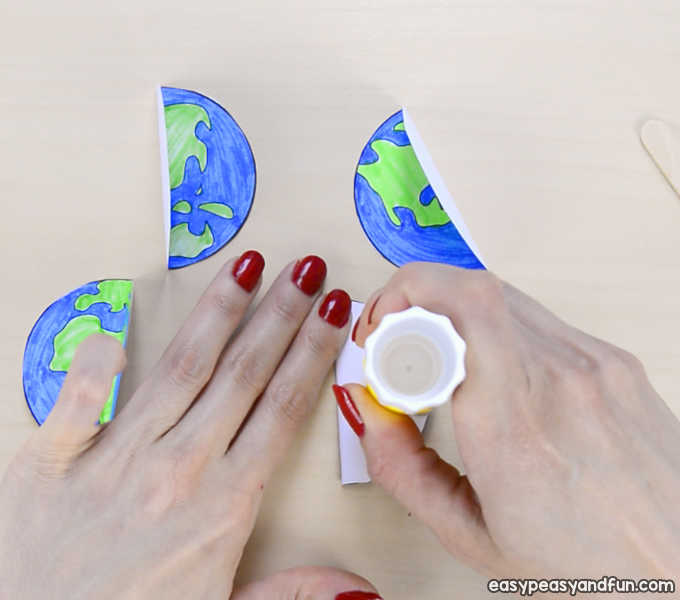
Apply glue on the half circle.
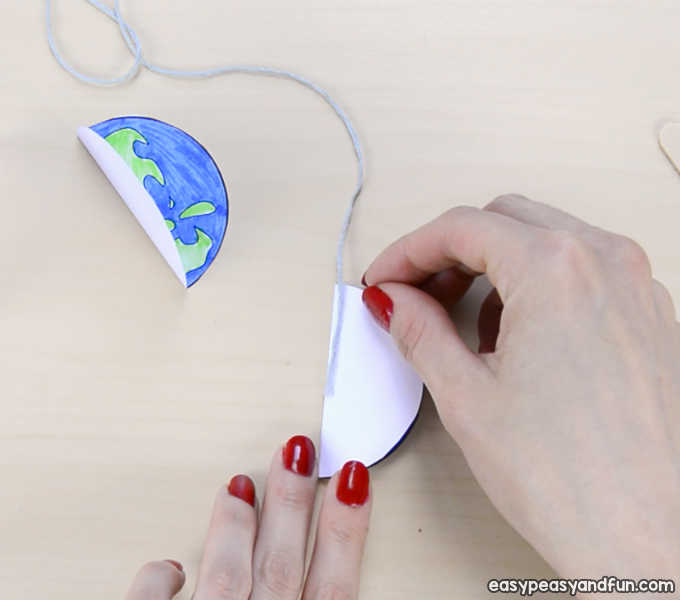
You can add string now, or once you have glue the first halves together.
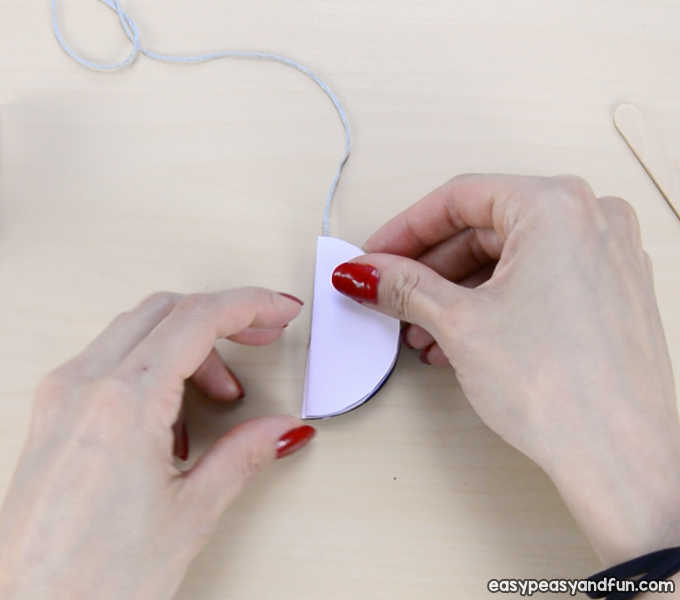
Secure the string with tape.
Adhere all other halves to complete the sphere.
Repeat with all other planets and string them on the embroidery loop or similar. All done and ready for display.
3D Paper Mobile Planets Craft for Kids

Become a Member and Get Printable 3D Paper Mobile Planets Craft Template

This printable is available in our members area. Become a member and gain aces to our growing collection of educational and crafty printables.
Why become a member:
  • access to 3D Paper Mobile Planets Craft printable as well as all other printable in our membership library
  • new quality resources added multiple times per week
  • save time searching for quality resources
  • spend more quality time with your kids

Monday, November 12, 2018

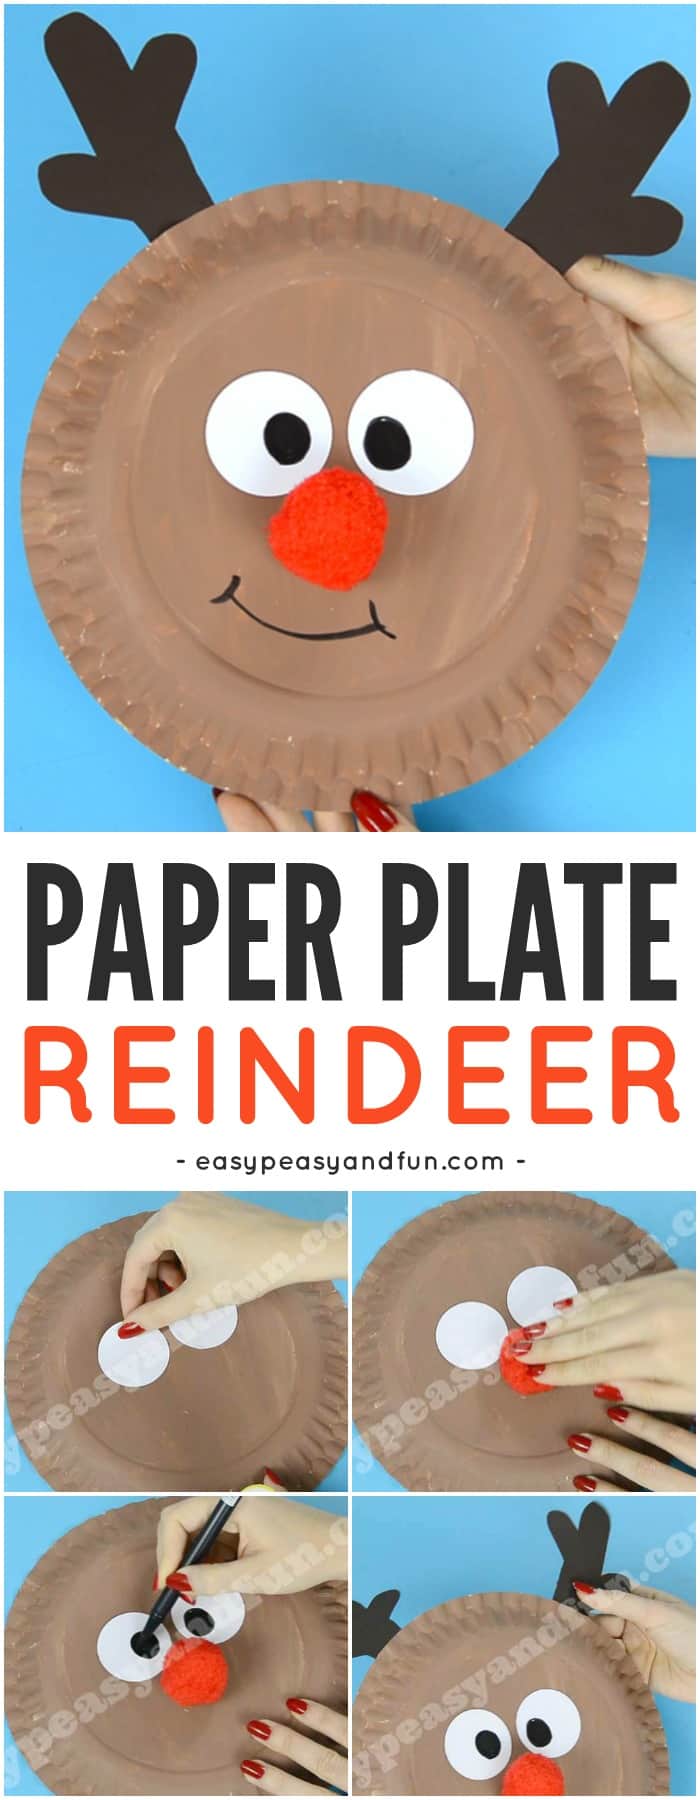
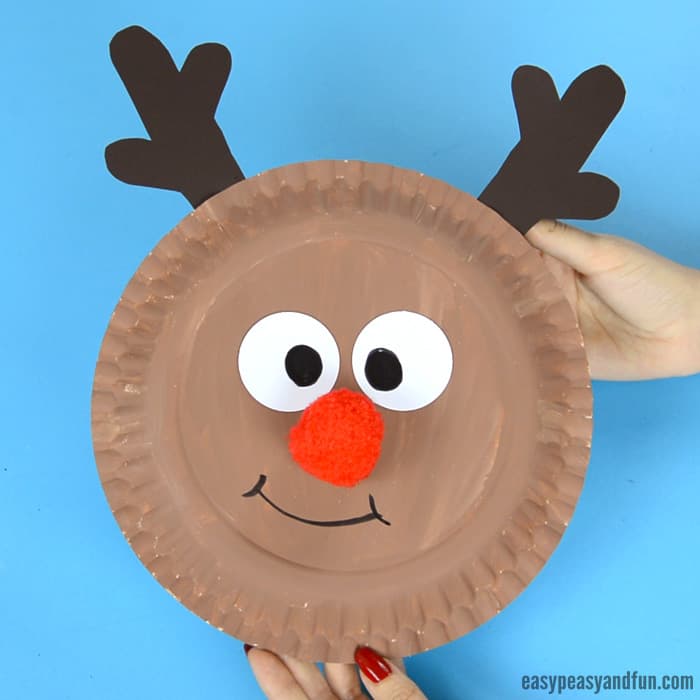
Time to get crafty with the young ones as we have the easiest reindeer paper plate craft idea to share with you today!
This one will be done in no time and most preschoolers and kids in kindergarten will manage to make this one on their own.
Cute Reindeer Paper Plate Craft for Kids. Fun Christmas Activity for Kids to Make. #Craftforkids #Christmascraftsforkids #Reindeercraftsforkids*this post contains affiliate links*
We love making all kinds of Christmas themed paper plate crafts, paper plates sure are a frugal crafting material and, because of their size, are easy to handle by younger kids.
The simpler the crafting process, the better and this one is probably the easiest paper plate reindeer you’ll ever make! And due to it’s colossal red nose, extremely fun looking.
Our collection of fun and easy Christmas crafts ideas for kids to make is rapidly growing and we’re always happy when we add a new reindeer craft such as this one.
Ready to make one of your own?
Let’s get crafting!

Paper Plate Reindeer Craft for Kids
How to Make a Reindeer Paper Plate Craft
Materials you need:
Glitter decorations always welcome to make this one even more festive!

Watch the Video Tutorial

Follow the Step by Step Instructions

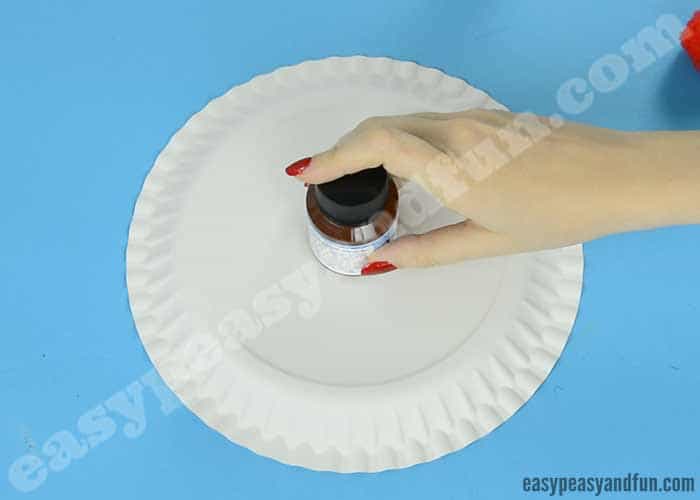
Start by painting the paper plate brown. Let the paint dry.
We love to paint our paper plates with sponge paint brushes, they are easy to handle, quick to paint with and fun!
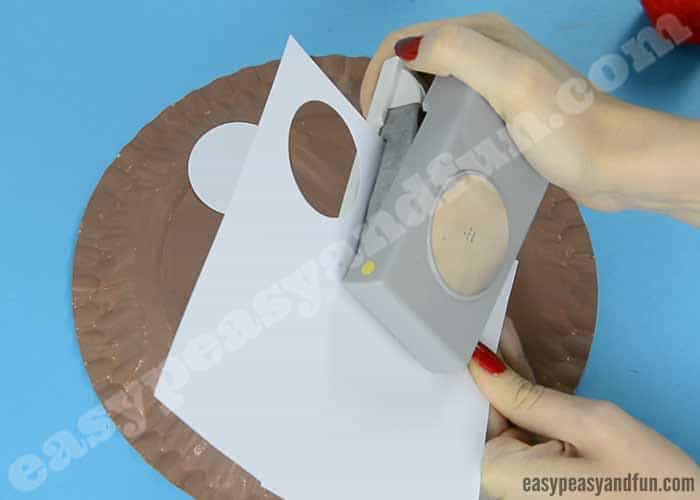
While you wait for the paint to dry, punch two circles out of white paper.

Kids love punching circles.
Glue the white circles on the paper plate (position them on the upper half, as these will be the eyes).

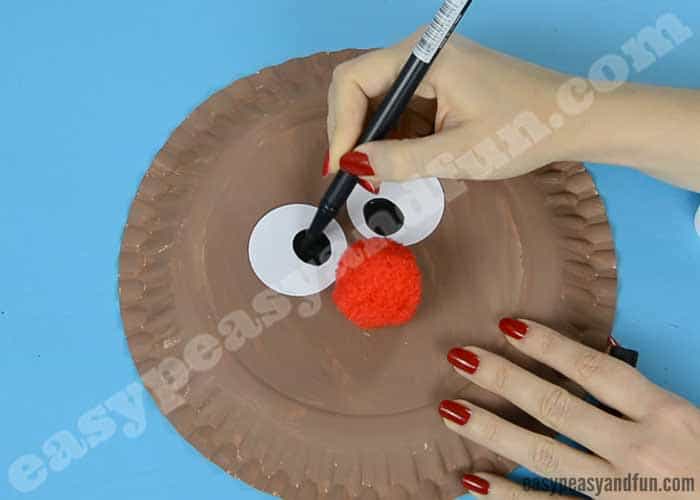
Apply a generous amount of glue in between the eyes and press the large red pom pom on the paper plate.

Let it stick. You could also use large glue dots (another kid favorite).
Draw in the black dots in the eyes.

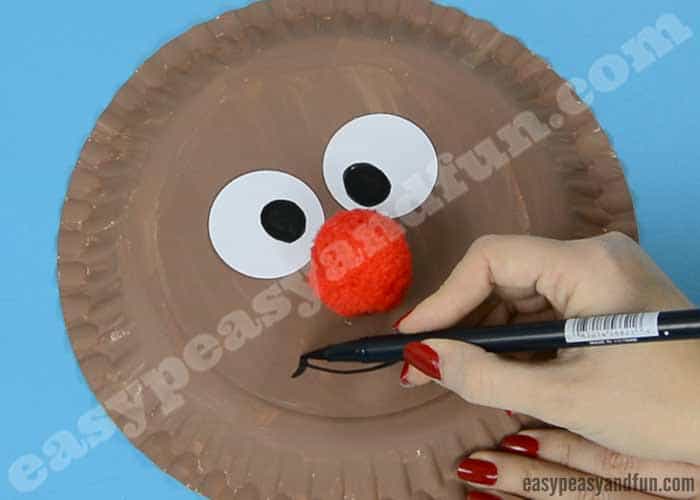
Draw mouth with a black marker.

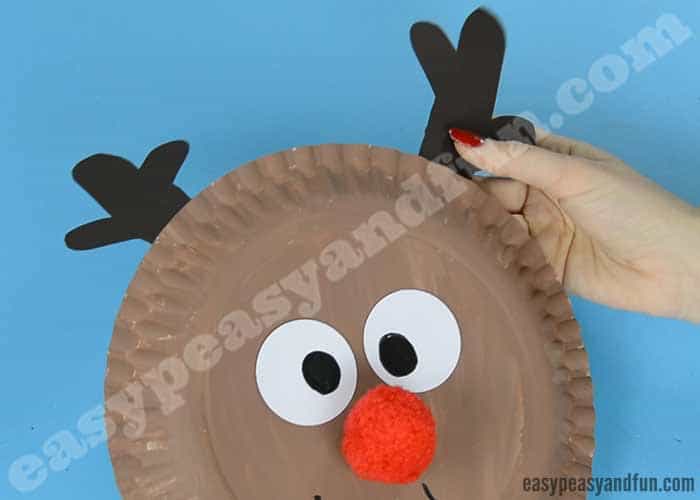
Cut antlers out of dark brown construction paper.

Glue them on the back of the paper plate.

All done! Your Reindeer Paper Plate Craft is all done and ready for display! This one, along with a paper plate Santa craft or paper plate snowman makes the most adorable classroom decoration for Christmas.
Reindeer Paper Plate Craft for Kids

Unlock VIP Printables - Become a Member


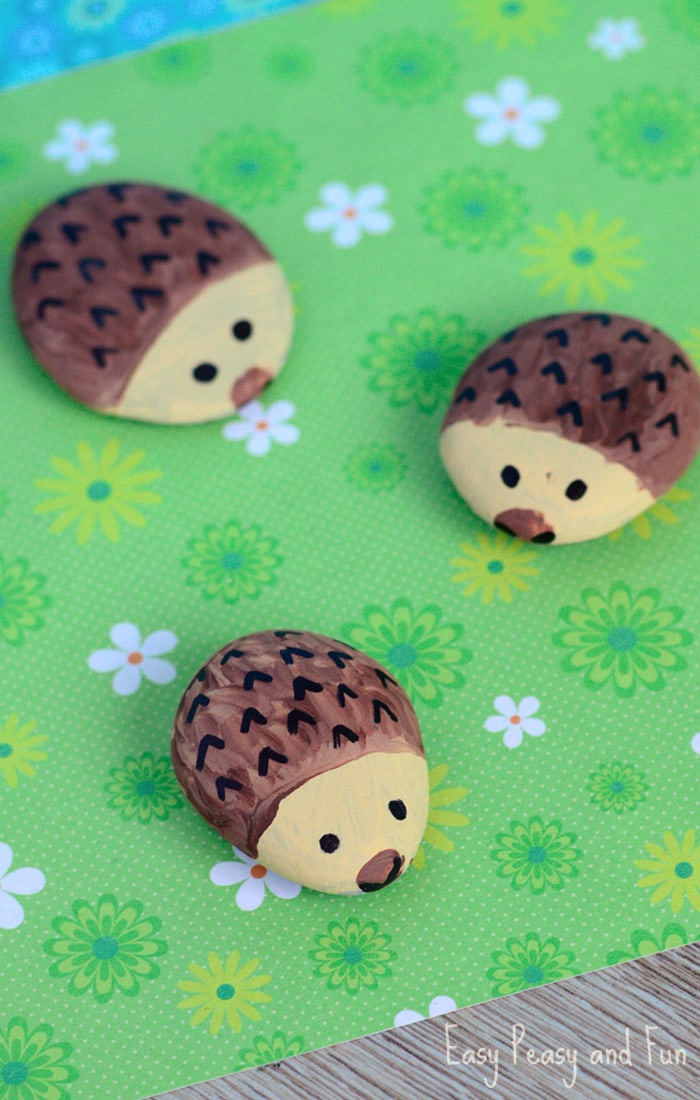
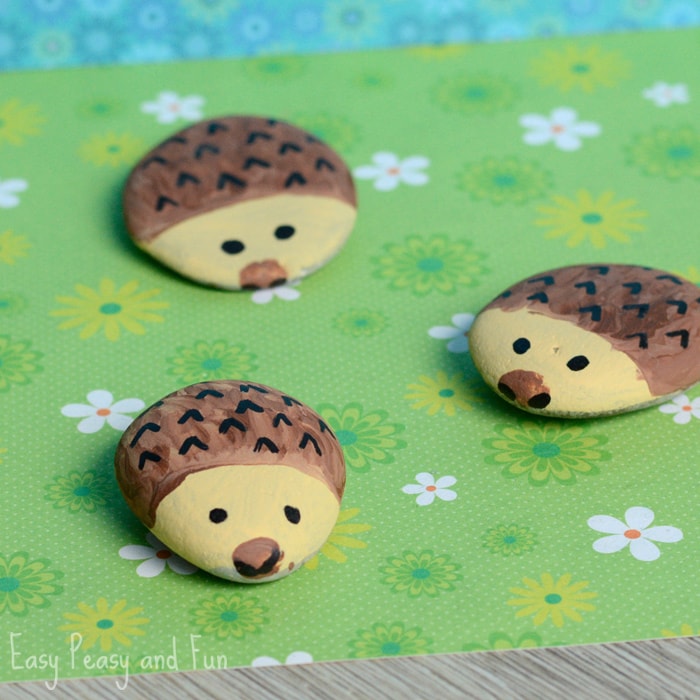
Hedgehog Painted Rocks – Rock Crafts for Kids


anteing and we love hedgehogs so these cute fellows were a must.Hedgehog Painted Rocks - Rock Crafts for Kids


Hedgehog Painted Rocks
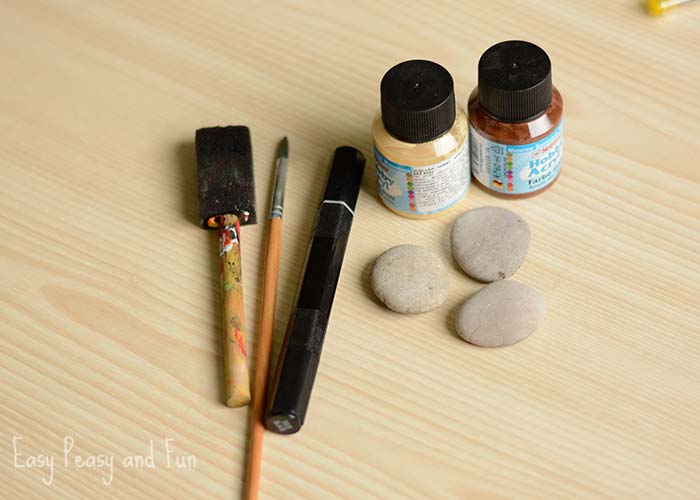
What you need
stones (river stones gathered on your next walk or picked up in a dollar or craft store)
brown acrylic paint
beige acrylic paint
paintbrush
black markerstep1

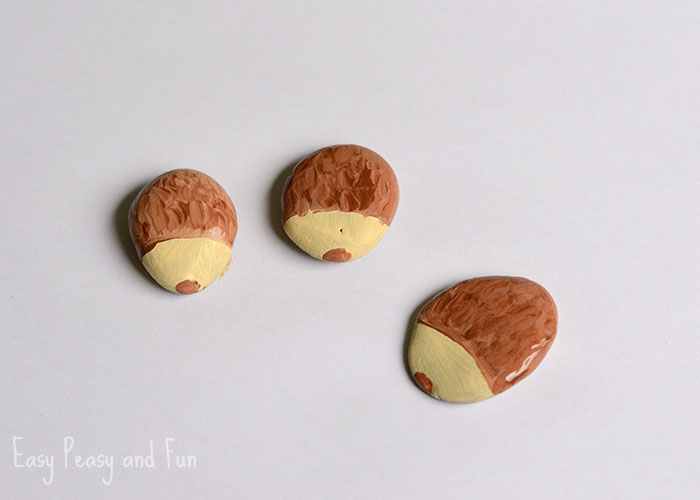
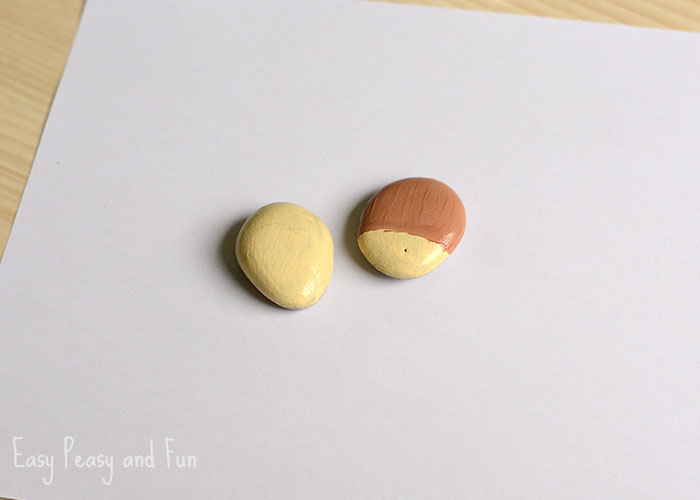
Wash the stones and dry them to get rid of dust and dirt. Paint them with a coat of beige color. Let it dry. Paint over with brown, leave beige head.
step2

You can add some texture already by adding more (wavy) layers of brown paint. Make a brown spot for the nose. Let dry completely.

step3
When the paint dries completely draw spines, eyes and nostrils with a black marker. You are all done. Repeat as many times as you want :).
So how many of these hedgehog painted rocks will you make?

Andreja Easy Peasy and FunHedgehog Painted Rock Art for KidsHedgehog Painted Rock Art for Little Ones

Friday, November 9, 2018

Unicorn Toilet Paper Roll Craftنتيجة بحث الصور عن ‪crafty girls logo‬‏

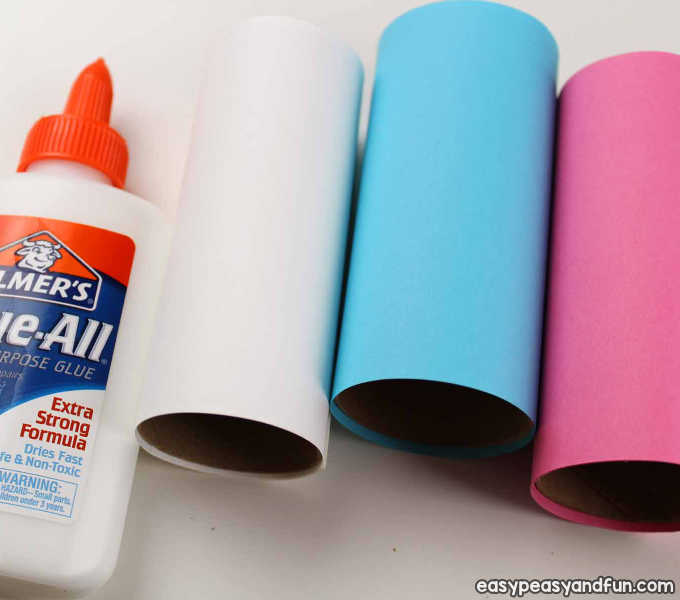
You can either paint the paper rolls or wrap them with colored .

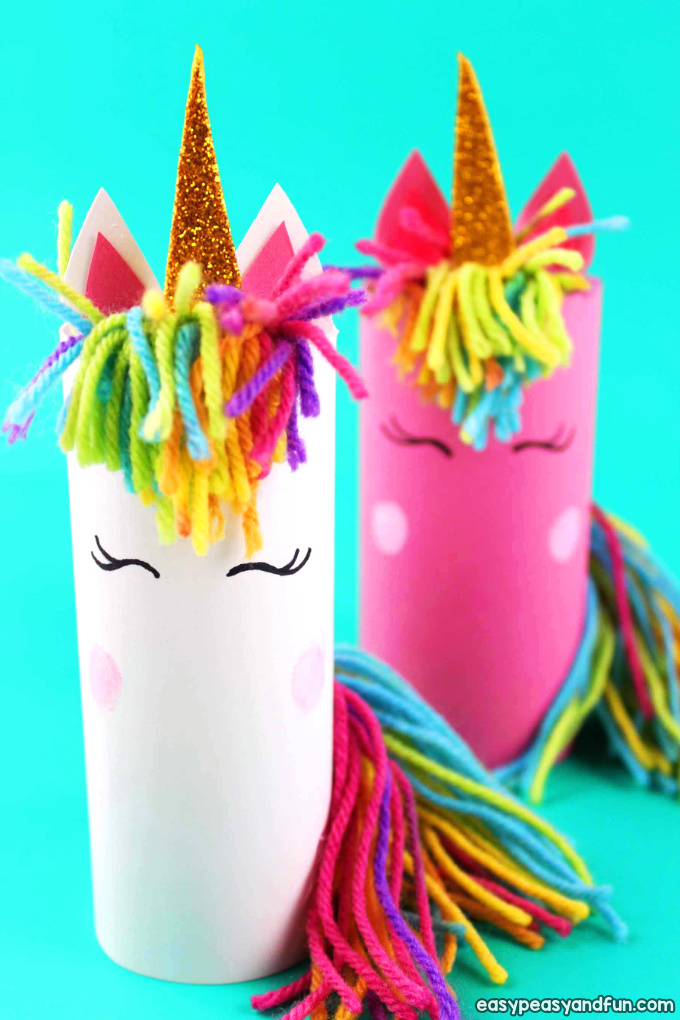
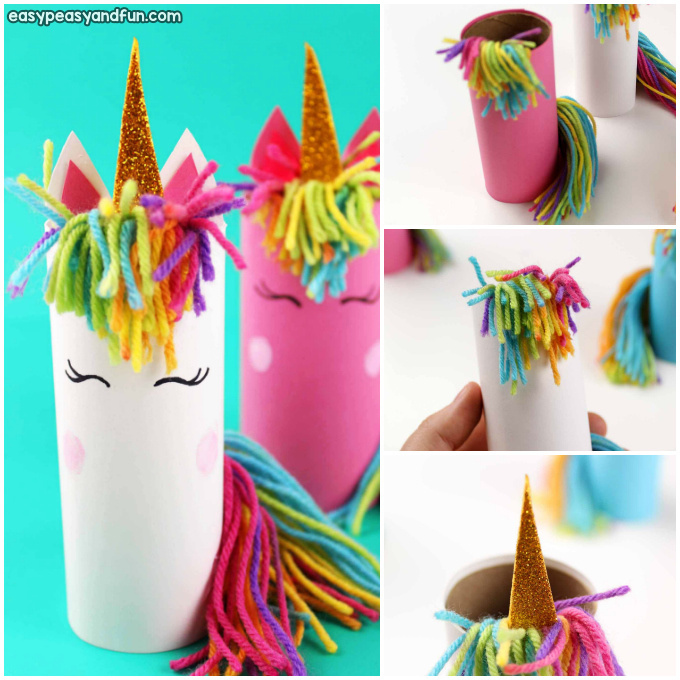
Raise your hands if you love unicorns! This unicorn toilet paper roll craft is the cutest ever! The clever use of yarn to make the mane really turns this craft into a wonderful display

Unicorn Toilet Paper Roll Craft
Step by Step Tutorial
You can either paint the paper rolls or wrap them with colored paper.

Unicorns are magical and we love them, we’ve shared quite a few fun tutorials already – like this how to draw a unicorn tutorial, or the many cool unicorn crafts and activities we have in our exclusive members area.

This toilet paper roll craft will be especially popular with the fairy tale lovers (which are usually all kids).
Ready to make one or two? Let’s get crafty!
How to Make a Crocodile Paper Bag Puppet with our Template
What you need:
toilet paper rolls or kitchen paper towel paper rolls
acrylic yarn (preferably in rainbow color)
craft paints (white, pink, blue…) or colored paper
glue
black marker
scissors
cardstock or craft foam for horn
cardstock for ears

If wrapping with paper, cut a strip of paper as wide as the paper roll and glue it around the paper roll.

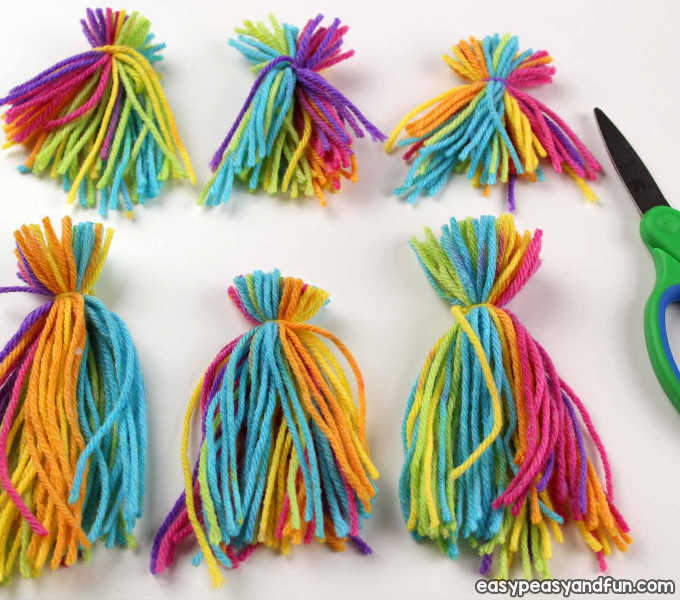
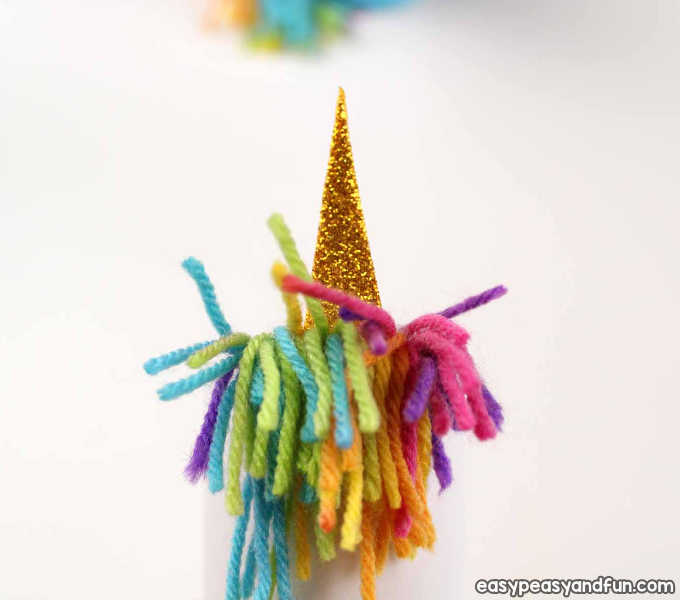
Time to make the mane and the tail. Put 2-3 fingers together (2 for mane, 3 for tail), depending on size you are working with and wrap yarn around them over and over until you have a thick “circle” of yarn.
Pull the yarn off your fingers, gently (you should see a “ring” or a “circle”. Tie the yarn up, still keeping the circle shape (think of ring on a necklace). Cut the circle of yarn, close to the knot you tied. Trim the shape if necessary.
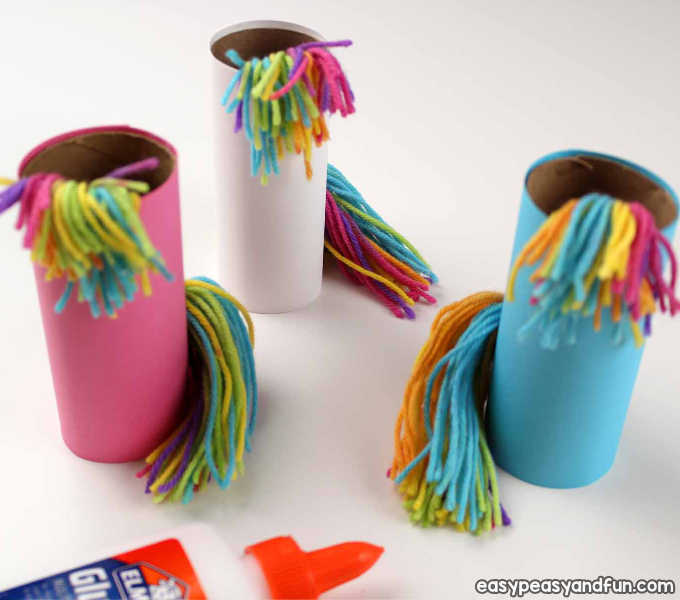
Repeat for the tail (using 3-4 fingers).


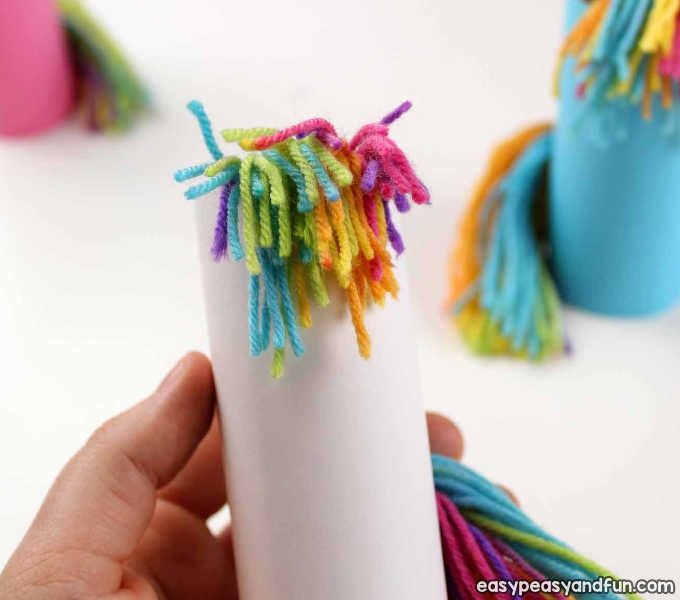
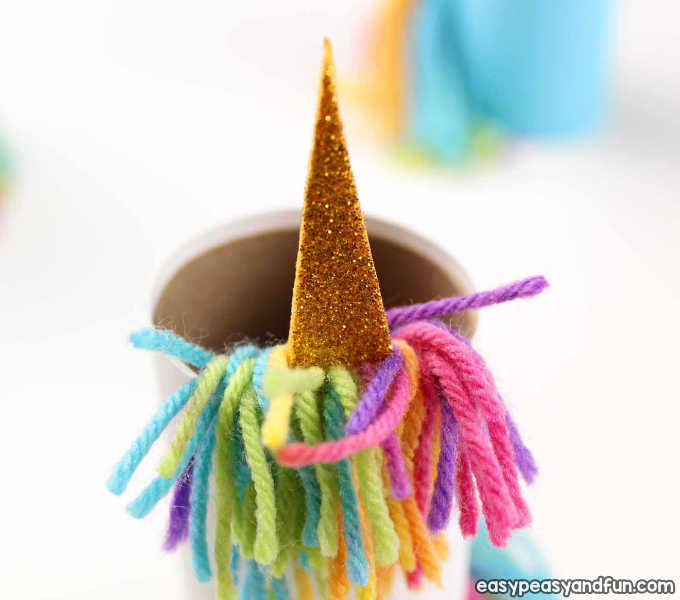
Glue the yarn mane inside the top of the toilet paper
Cut a horn shape and stick it on the mane
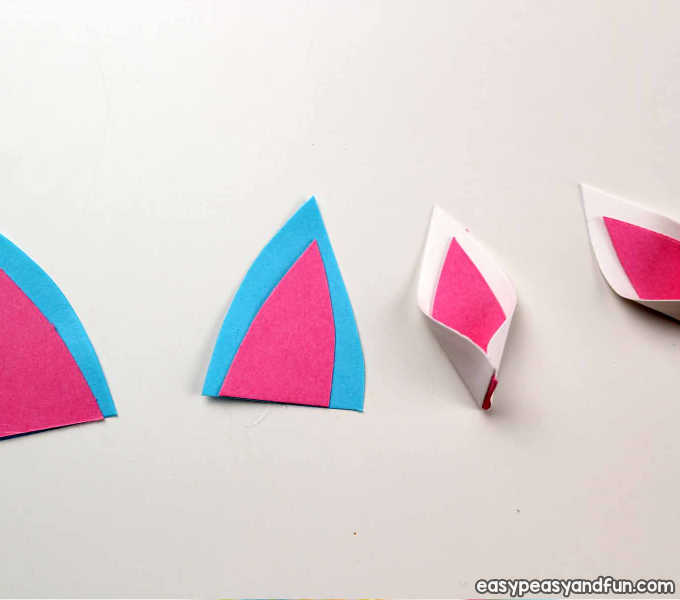
Cut ears from card stock, stick them on the mane or paper roll.
Draw the eyes with black marker (you can also use googly eyes).
Dip your finger into pink paint or dip the eraser (from a pencil with an eraser) in paint and dab on the roll to make pink cheeks.
All done! You’ve made a Unicorn Toilet Paper Roll CraftUnicorn Toilet Paper Roll Craft for Kids

Fairy Garden in a Jar by  Andreja   1 Comment If you are one of those people (as are we) that loves anything that has to do with fai...